English
English
Appearance
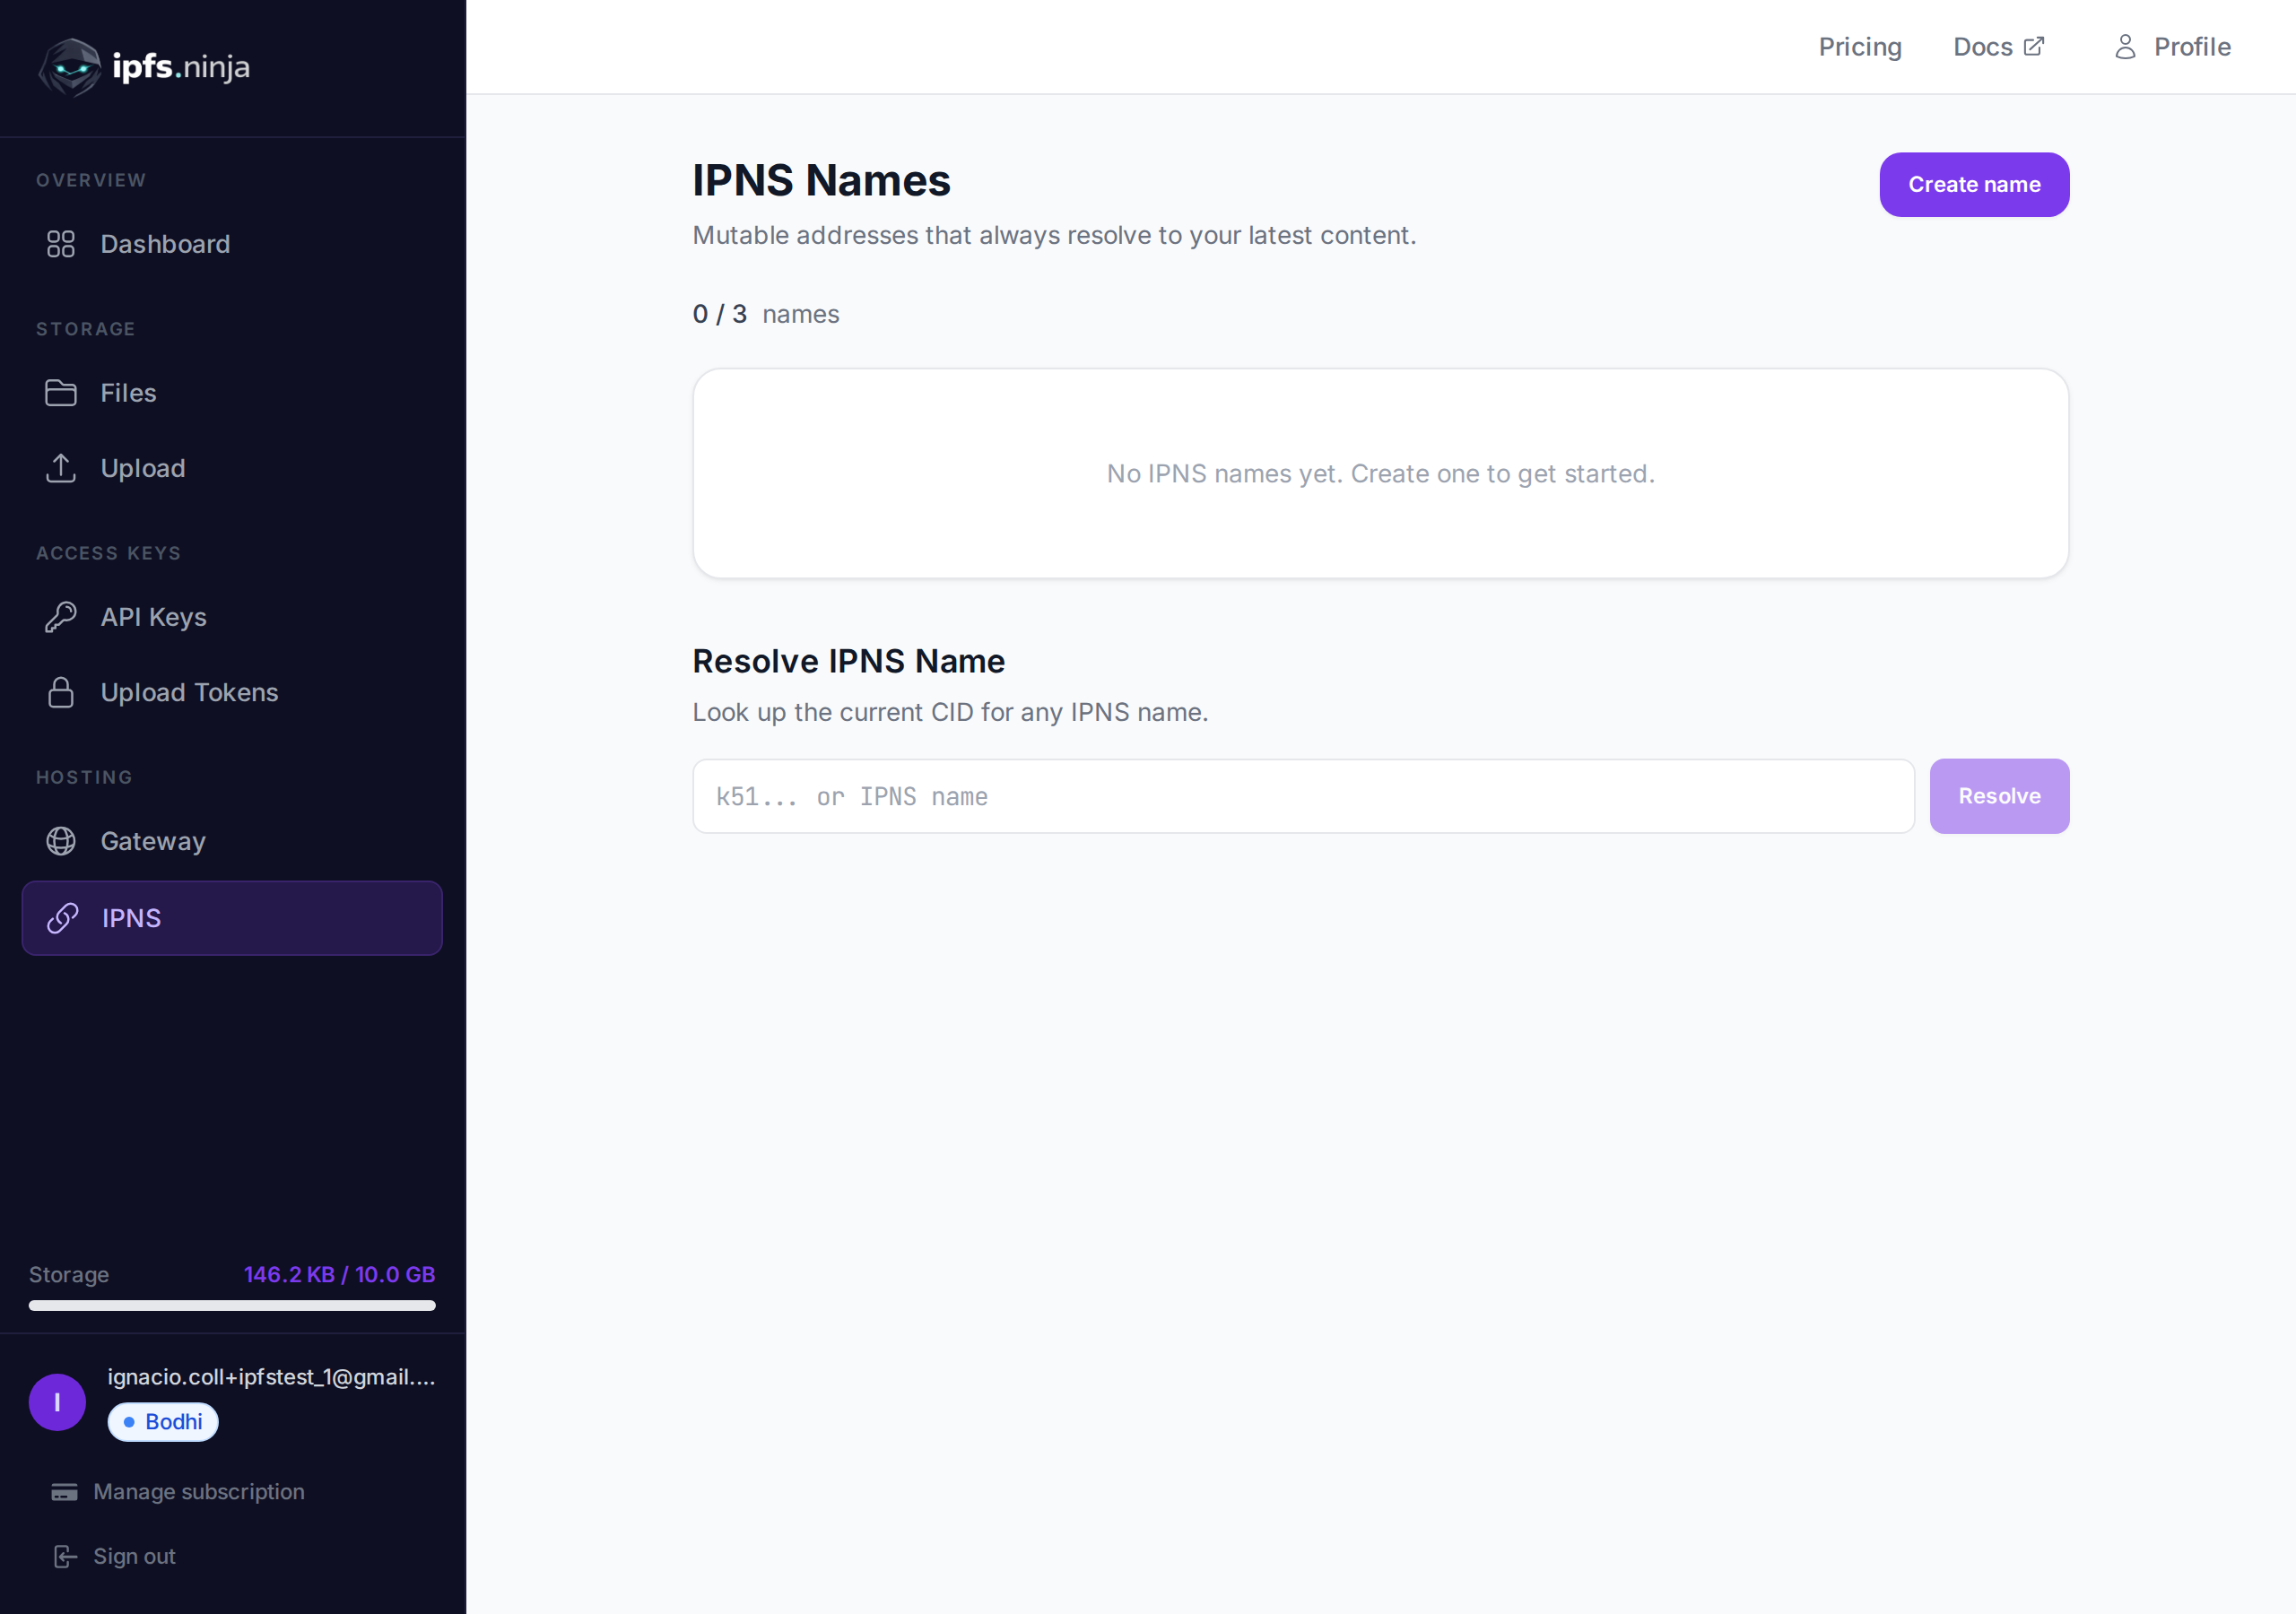
IPNS (InterPlanetary Name System) gives you stable, shareable addresses that can be updated to point to different content over time. While IPFS CIDs change every time content changes, an IPNS name stays the same — you just update where it points.
Available on Bodhi (1 name, 10 publishes/mo), Karma (3 names, 50 publishes/mo), and Nirvana (10 names, 1,000 publishes/mo) plans.
Learn more about IPNS
For a deep dive into how IPNS works at the protocol level, see the official IPFS documentation on IPNS.
The problem: Every time you upload a new version of a file to IPFS, you get a different CID. If you shared the old CID with users, they still see the old content. You'd have to share a new link every time.
The solution: Create an IPNS name once, share it, and update what it points to whenever your content changes. Anyone with the IPNS address always gets the latest version.
tokenURI to an IPNS address. Update the metadata (e.g., game item levels up) without changing the smart contract.https://yourdomain.com always serves the latest IPFS content.k51...) — this is your permanent, shareable address.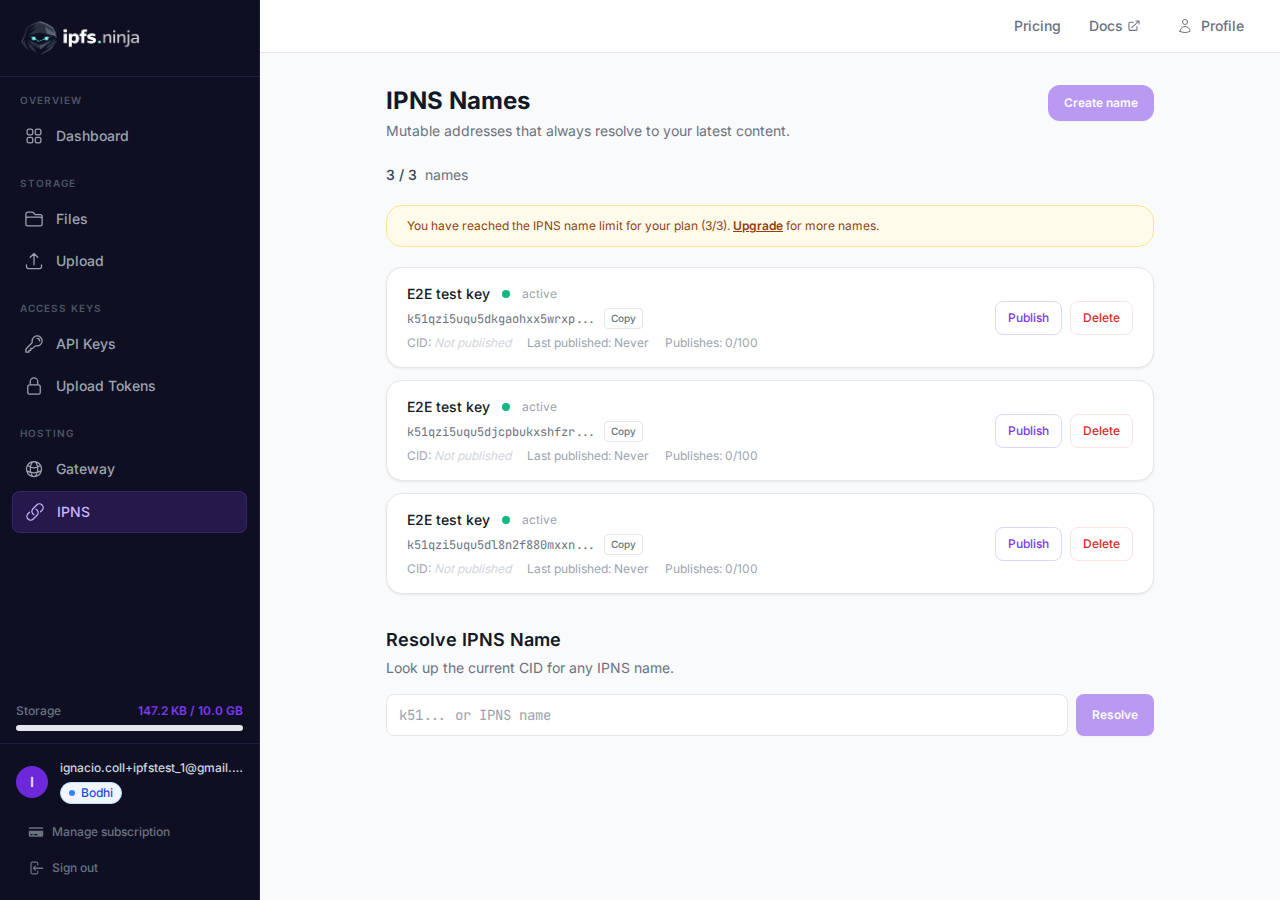
QmXk7VRz... or bafybei...).https://ipfs.ninja/ipns/{your-ipns-name}https://dweb.link/ipns/{your-ipns-name}ipns://{your-ipns-name}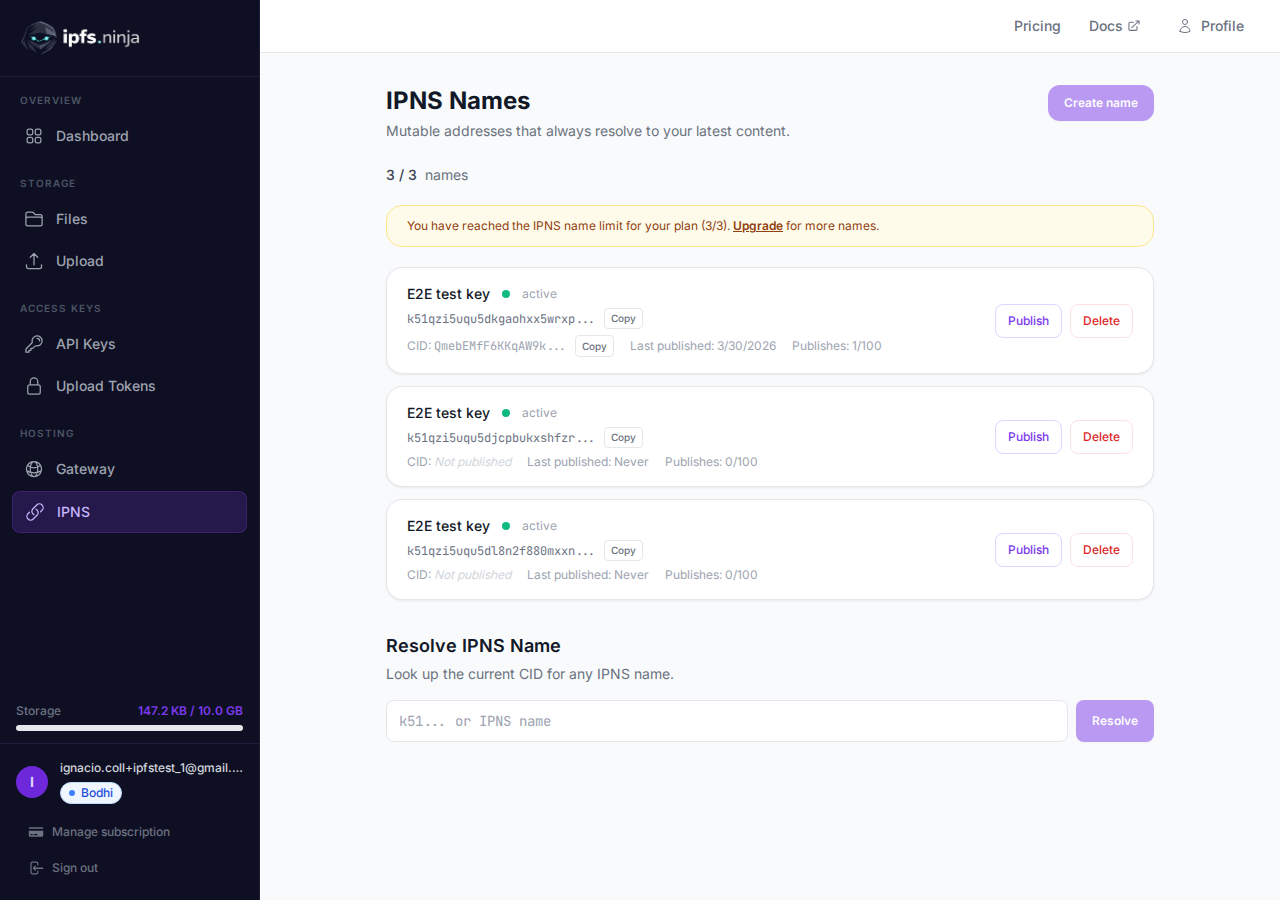
When your content changes:
Use the Resolve section at the bottom of the page to look up the current CID for any IPNS name — yours or anyone else's.
Click the delete button next to any name. The IPNS record will expire from the network within 48 hours.
You can point your own domain name to an IPNS address using DNSLink. This lets users access your IPFS content through a regular URL like https://yourdomain.com.
Create an IPNS name and publish your content CID to it (steps above).
Add a DNS TXT record at your domain's DNS provider:
_dnslink.yourdomain.com TXT "dnslink=/ipns/{your-ipns-name}"Example: If your IPNS name is k51qzi5uqu5djcpbukxs...:
_dnslink.myapp.com TXT "dnslink=/ipns/k51qzi5uqu5djcpbukxs..."Verify the record using dig or nslookup:
dig +short TXT _dnslink.myapp.com
# Should return: "dnslink=/ipns/k51qzi5uqu5djcpbukxs..."
Access via any IPFS gateway that supports DNSLink:
https://ipfs.ninja/ipns/myapp.comOr via a browser with IPFS support (like Brave):
ipns://myapp.comDNS propagation
DNS changes can take up to 24 hours to propagate globally. After adding the TXT record, wait a few hours before testing.
TIP
You only need to set up DNSLink once. When you publish a new CID to your IPNS name, the domain automatically resolves to the new content — no DNS changes needed.
If you use Cloudflare:
_dnslink, Content: dnslink=/ipns/k51..._dnslink.yourdomain.com, Type: TXT, Value: "dnslink=/ipns/k51..."# 1. Build your site
npm run build
# 2. Upload the build output to IPFS
CID=$(curl -s -X POST https://api.ipfs.ninja/upload/new \
-H "X-Api-Key: bws_your_api_key" \
-H "Content-Type: application/json" \
-d "{\"content\": $(cat dist/index.html | base64 -w0 | jq -Rs .), \"description\": \"Website v2.1\"}" \
| jq -r '.cid')
echo "Uploaded: $CID"
# 3. Update your IPNS name to point to the new build
curl -X POST https://api.ipfs.ninja/ipns/publish \
-H "X-Api-Key: bws_your_api_key" \
-H "Content-Type: application/json" \
-d "{\"ipnsName\": \"k51qzi5uqu5dlvj2bv6...\", \"cid\": \"$CID\"}"
# Your site at ipns://k51... now serves the new version// Smart contract points tokenURI to IPNS address:
// tokenURI = "ipns://k51qzi5uqu5dlvj2bv6..."
// When the NFT evolves (e.g., game item levels up):
const newMetadata = {
name: "Dragon Sword",
description: "A legendary weapon — Level 5",
image: "ipfs://QmNewImageCID...",
attributes: [
{ trait_type: "Level", value: 5 },
{ trait_type: "Damage", value: 150 }
]
};
// Upload new metadata
const uploadRes = await fetch("https://api.ipfs.ninja/upload/new", {
method: "POST",
headers: {
"Content-Type": "application/json",
"X-Api-Key": "bws_your_api_key"
},
body: JSON.stringify({ content: newMetadata, description: "Dragon Sword v5" })
});
const { cid } = await uploadRes.json();
// Update the IPNS pointer — tokenURI stays the same!
await fetch("https://api.ipfs.ninja/ipns/publish", {
method: "POST",
headers: {
"Content-Type": "application/json",
"X-Api-Key": "bws_your_api_key"
},
body: JSON.stringify({ ipnsName: "k51qzi5uqu5dlvj2bv6...", cid })
});# GitHub Actions: auto-publish to IPNS on every push
- name: Upload to IPFS and publish IPNS
run: |
CID=$(curl -s -X POST https://api.ipfs.ninja/upload/new \
-H "X-Api-Key: ${{ secrets.IPFS_NINJA_API_KEY }}" \
-H "Content-Type: application/json" \
-d '{"content": '"$(cat build/output.json)"', "description": "Deploy ${{ github.sha }}"}' \
| jq -r '.cid')
curl -X POST https://api.ipfs.ninja/ipns/publish \
-H "X-Api-Key: ${{ secrets.IPFS_NINJA_API_KEY }}" \
-H "Content-Type: application/json" \
-d '{"ipnsName": "${{ vars.IPNS_NAME }}", "cid": "'"$CID"'"}'All API examples use the X-Api-Key header. Get your API key from the API Keys page.
curl https://api.ipfs.ninja/ipns/keys \
  -H "X-Api-Key: bws_your_api_key_here"
Response:
[
  {
    "ipnsName": "k51qzi5uqu5dlvj2bv6...",
    "keyName": "my-website",
    "currentCid": "bafybeigdyrzt5sfp7udm7hu76uh7y26nf3efuylqabf3oclgtqy55fbzdi",
    "lastPublishedAt": 1711123200000,
    "publishCountMonth": 12,
    "status": "active",
    "createdAt": 1711036800000
  }
]curl -X POST https://api.ipfs.ninja/ipns/keys \
-H "X-Api-Key: bws_your_api_key_here" \
-H "Content-Type: application/json" \
-d '{"name": "my-website"}'Response 201:
{
  "ipnsName": "k51qzi5uqu5dlvj2bv6...",
  "keyName": "my-website",
  "createdAt": 1711036800000
}Publishing updates the IPNS name to point to a new CID. This propagates to the IPFS DHT and may take up to 60 seconds.
curl -X POST https://api.ipfs.ninja/ipns/publish \
  -H "X-Api-Key: bws_your_api_key_here" \
  -H "Content-Type: application/json" \
  -d '{"ipnsName": "k51qzi5uqu5dlvj2bv6...", "cid": "bafybeigdyrzt5sfp7udm7hu76uh7y26nf3efuylqabf3oclgtqy55fbzdi"}'
Response:
{
  "ipnsName": "k51qzi5uqu5dlvj2bv6...",
  "cid": "bafybeigdyrzt5sfp7udm7hu76uh7y26nf3efuylqabf3oclgtqy55fbzdi",
  "published": true
}Look up the current CID for any IPNS name.
curl https://api.ipfs.ninja/ipns/resolve/k51qzi5uqu5dlvj2bv6... \
  -H "X-Api-Key: bws_your_api_key_here"
Response:
{
  "ipnsName": "k51qzi5uqu5dlvj2bv6...",
  "cid": "bafybeigdyrzt5sfp7udm7hu76uh7y26nf3efuylqabf3oclgtqy55fbzdi"
}curl -X DELETE https://api.ipfs.ninja/ipns/keys/k51qzi5uqu5dlvj2bv6... \
-H "X-Api-Key: bws_your_api_key_here"Response:
{ "success": true }k51...).| Plan | IPNS Names | Publishes / Month |
|---|---|---|
| Dharma (Free) | Not available | — |
| Bodhi ($5/mo) | 1 | 10 |
| Karma ($19/mo) | 3 | 50 |
| Nirvana ($59/mo) | 10 | 1,000 |