Migrating from Web3.Storage to IPFS.NINJA — Step-by-Step
Migrate your pinned files from Web3.Storage (Storacha) to IPFS.NINJA. Automated migration script included.
Nacho founded IPFS.NINJA to make content-addressed storage feel as simple as an S3 PUT — a single API call, a permanent CID, no wallets or peer discovery to reason about.
- Migrate pinned files from Web3.Storage (Storacha) to IPFS Ninja with an automated re-pinning script.
- Export your CID list from Web3.Storage first, then re-pin each one against the IPFS Ninja API.
- Update gateway URLs and API endpoints in your app as the final step after re-pinning completes.
- Verify migration success by checking pin status before decommissioning your Web3.Storage account.
Web3.Storage completed its rebrand to Storacha, moving to a UCAN-capability-based (w3up) architecture with new tooling and a new CLI. If you’re planning to migrate your IPFS pinned files to a more reliable and developer-friendly service, IPFS.NINJA offers a seamless solution with powerful features and competitive pricing.
This comprehensive guide will walk you through migrating from Web3.Storage (Storacha) to IPFS.NINJA, including automated scripts to streamline the process.
Web3.Storage vs IPFS.NINJA: Feature Comparison#
Storacha’s w3up architecture uses UCAN capabilities, spaces, and agents instead of Web3.Storage’s older API-key model. Here’s how IPFS.NINJA compares:
| Web3.Storage (Storacha) | IPFS.NINJA |
|---|---|
| UCAN-capability model: spaces, agents, and delegated tokens | Stable, versioned API with a simple X-Api-Key header |
CLI-first tooling (@storacha/cli) for account/space management | REST API and dashboard, no CLI required |
| Per-GB overage pricing above plan storage/egress limits | Transparent pricing starting with a generous free tier |
| Content addressed by CID only (no built-in file names/sizes) | Advanced features: custom gateways and image optimization |
Understanding the Migration Process#
Before diving into the migration steps, it’s important to understand what IPFS pinning is and how it works. When you pin content on IPFS, you’re ensuring that your files remain accessible on the network by maintaining copies on specific nodes.
The migration process involves three main steps:
- Export your data from Web3.Storage
- Re-pin content on IPFS.NINJA
- Verify successful migration and update your applications
Step 1: Exporting Data from Web3.Storage#
Getting Your CID List#
First, you’ll need to export your pinned content identifiers (CIDs) from Web3.Storage (now Storacha). The dashboard gives you a quick visual check; the CLI is the recommended path for exporting a full list.
Using the Storacha Console#
For a quick visual check, log into console.storacha.network and browse your space’s uploads. For a full export, use the CLI below instead.
Using the Storacha CLI (recommended)#
Storacha’s CLI, @storacha/cli (bin name storacha), replaced the old w3cli tool:
npm install -g @storacha/cli
storacha login your-email@example.com
storacha space ls
storacha space use <space-did>
storacha ls --json > storacha-uploads.ndjson
If your account has more than one space, repeat storacha space use <did> followed by storacha ls --json >> storacha-uploads.ndjson for each space.
storacha ls --json writes one JSON object per line (newline-delimited), shaped like:
{"root":{"/":"bafybeiyourcontenthash"},"shards":[{"/":"bagbaiershard..."}],"insertedAt":"2026-01-15T10:30:00Z","updatedAt":"2026-01-15T10:30:00Z"}Note that Storacha addresses content by CID only — there’s no name or size field at the protocol level, unlike Web3.Storage’s older uploads API.
Using the UCAN-HTTP Bridge (advanced, no CLI)#
If you’re exporting programmatically from a server without shelling out to the CLI, Storacha exposes an HTTP bridge (POST /bridge against https://up.storacha.network) that accepts UCAN-signed invocations, including the upload/list capability. You’ll need to generate bridge tokens first with storacha bridge generate-tokens. See the W3 UCAN Bridge spec for the request format — this path requires handling UCAN delegation yourself, so most readers will find the CLI simpler.
Organizing Your Data#
The migration script in Step 3 expects a web3-storage-export.json array shaped like [{cid, name, created}]. Use this small adapter script to convert the CLI’s newline-delimited output into that shape:
// adapt.mjs — reads storacha-uploads.ndjson, writes web3-storage-export.json
import fs from 'fs/promises';

const lines = (await fs.readFile('storacha-uploads.ndjson', 'utf8'))
  .split('\n')
  .filter(Boolean);

const entries = lines.map(line => {
  const entry = JSON.parse(line);
  return {
    cid: entry.root['/'],
    name: entry.name, // not provided by the CLI; leave undefined if unknown
    created: entry.insertedAt
  };
});

await fs.writeFile('web3-storage-export.json', JSON.stringify(entries, null, 2));
console.log(`Wrote ${entries.length} entries to web3-storage-export.json`);
node adapt.mjsStep 2: Setting Up IPFS.NINJA#
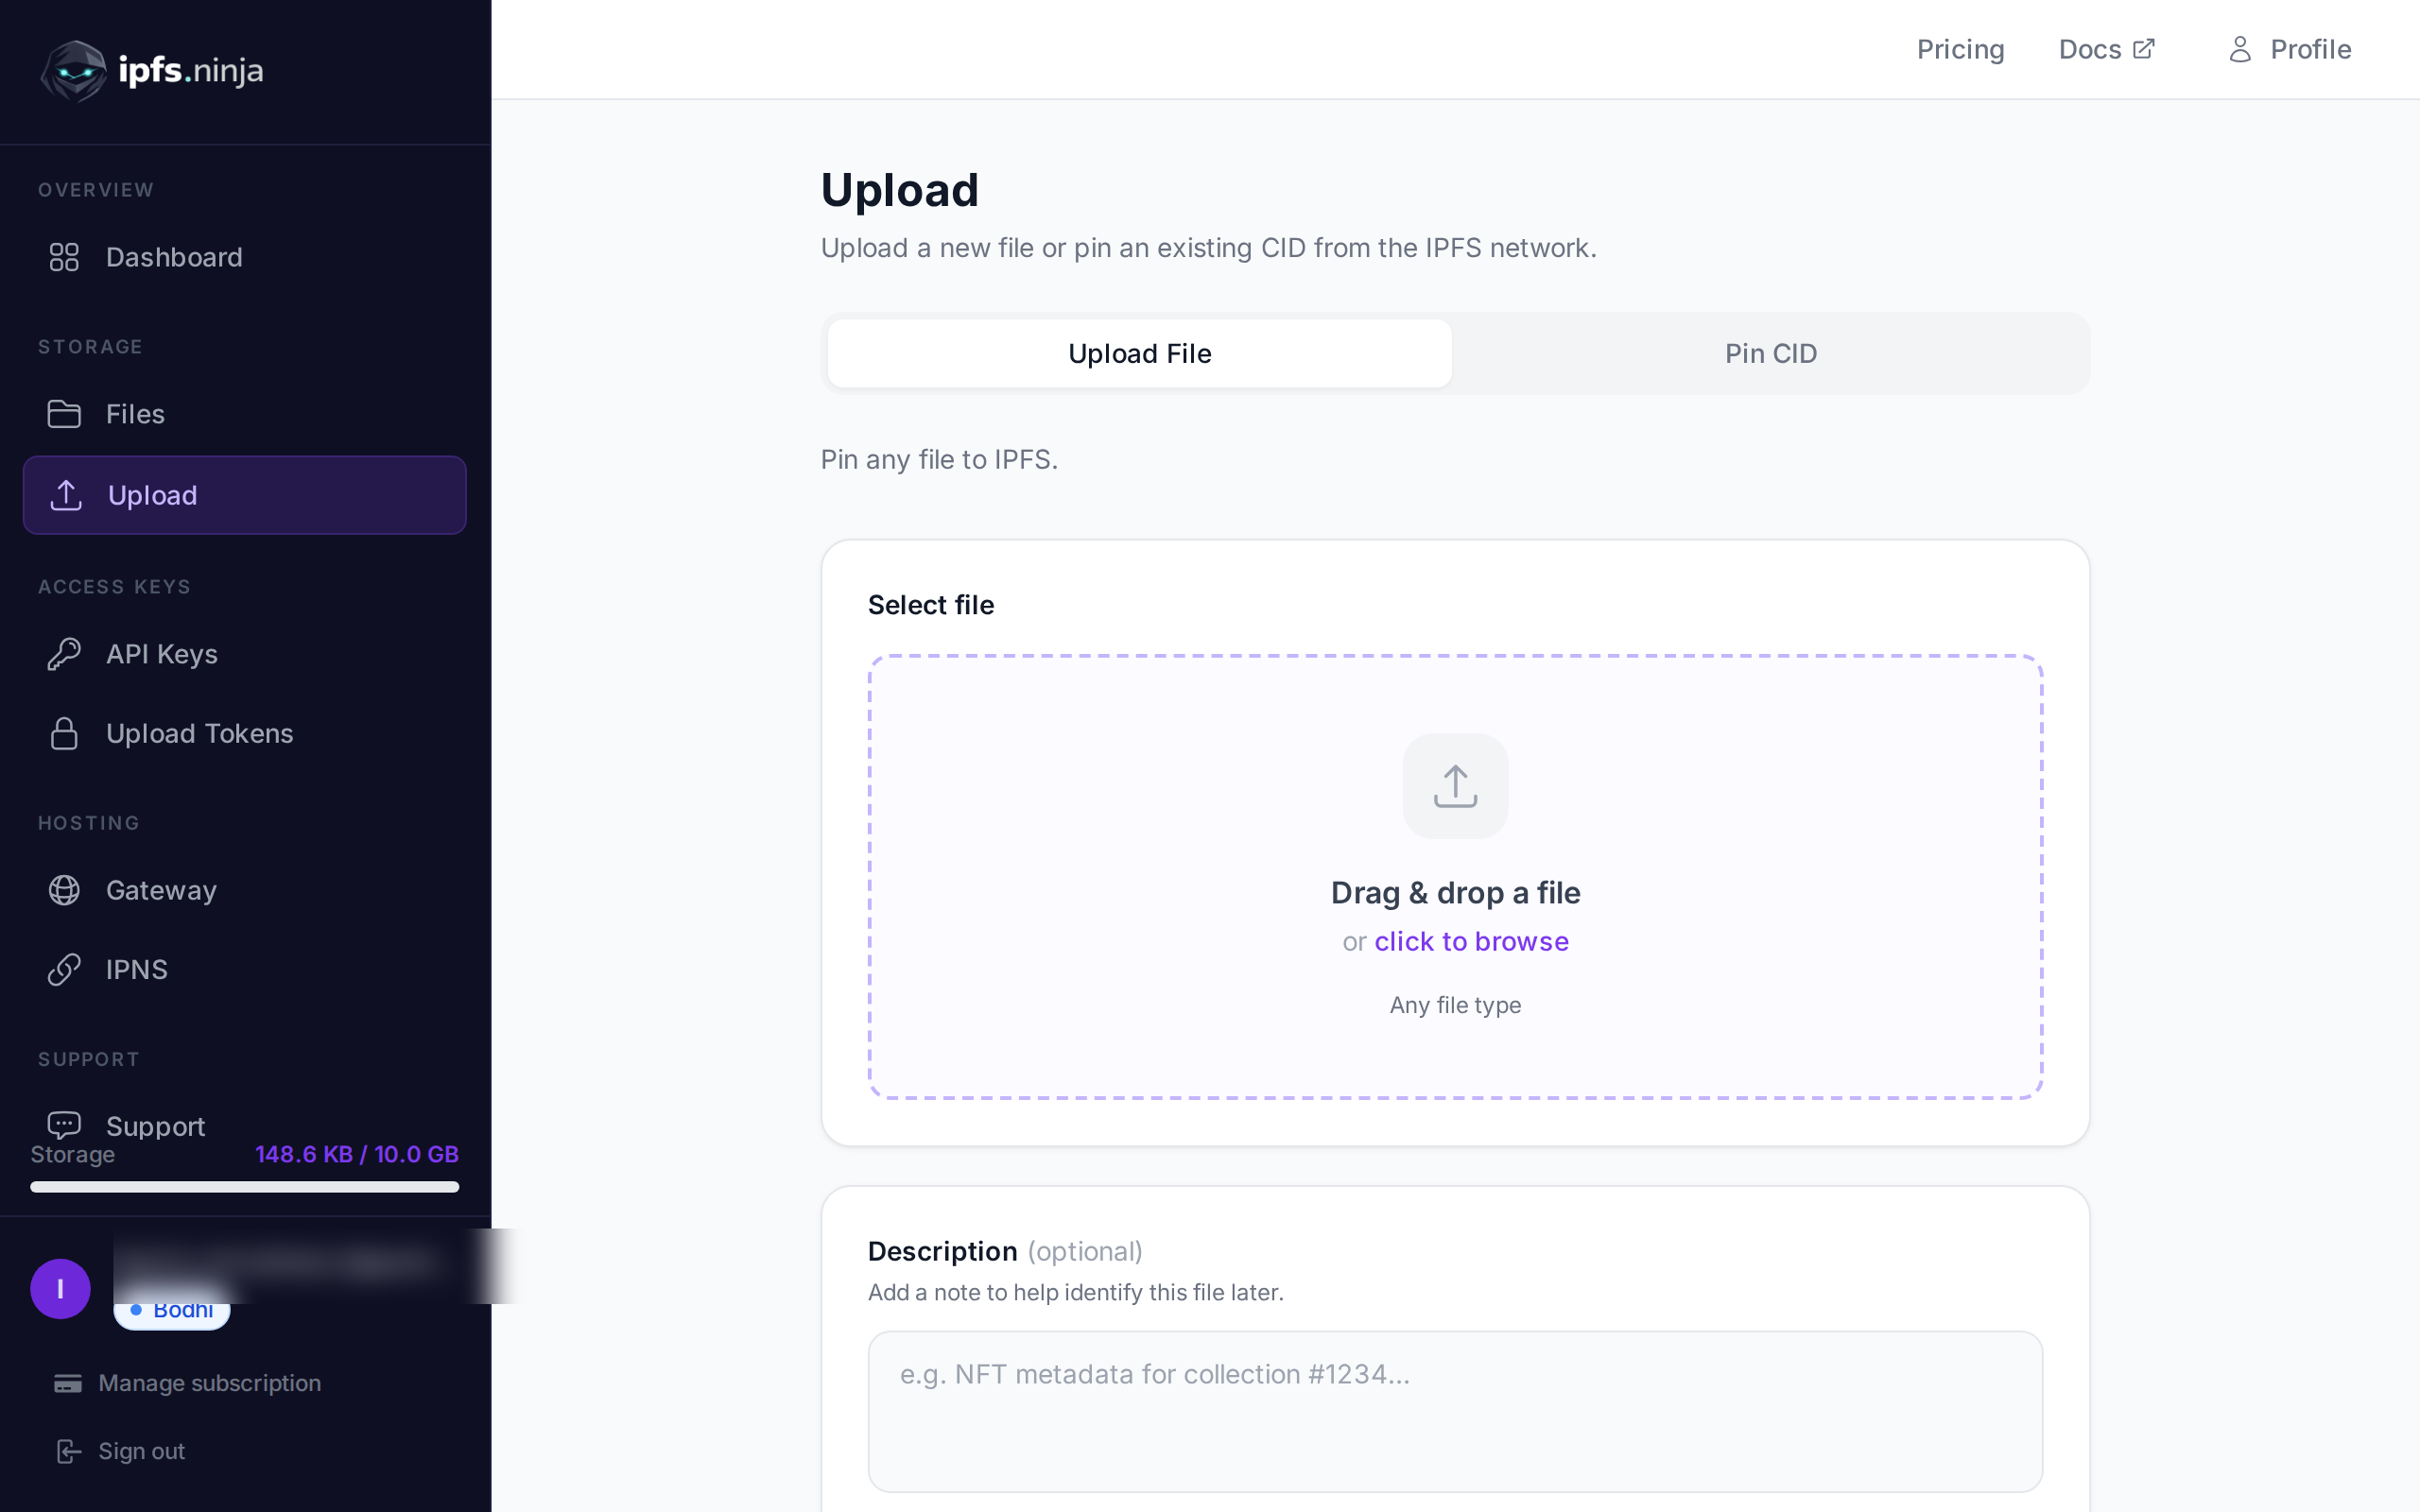
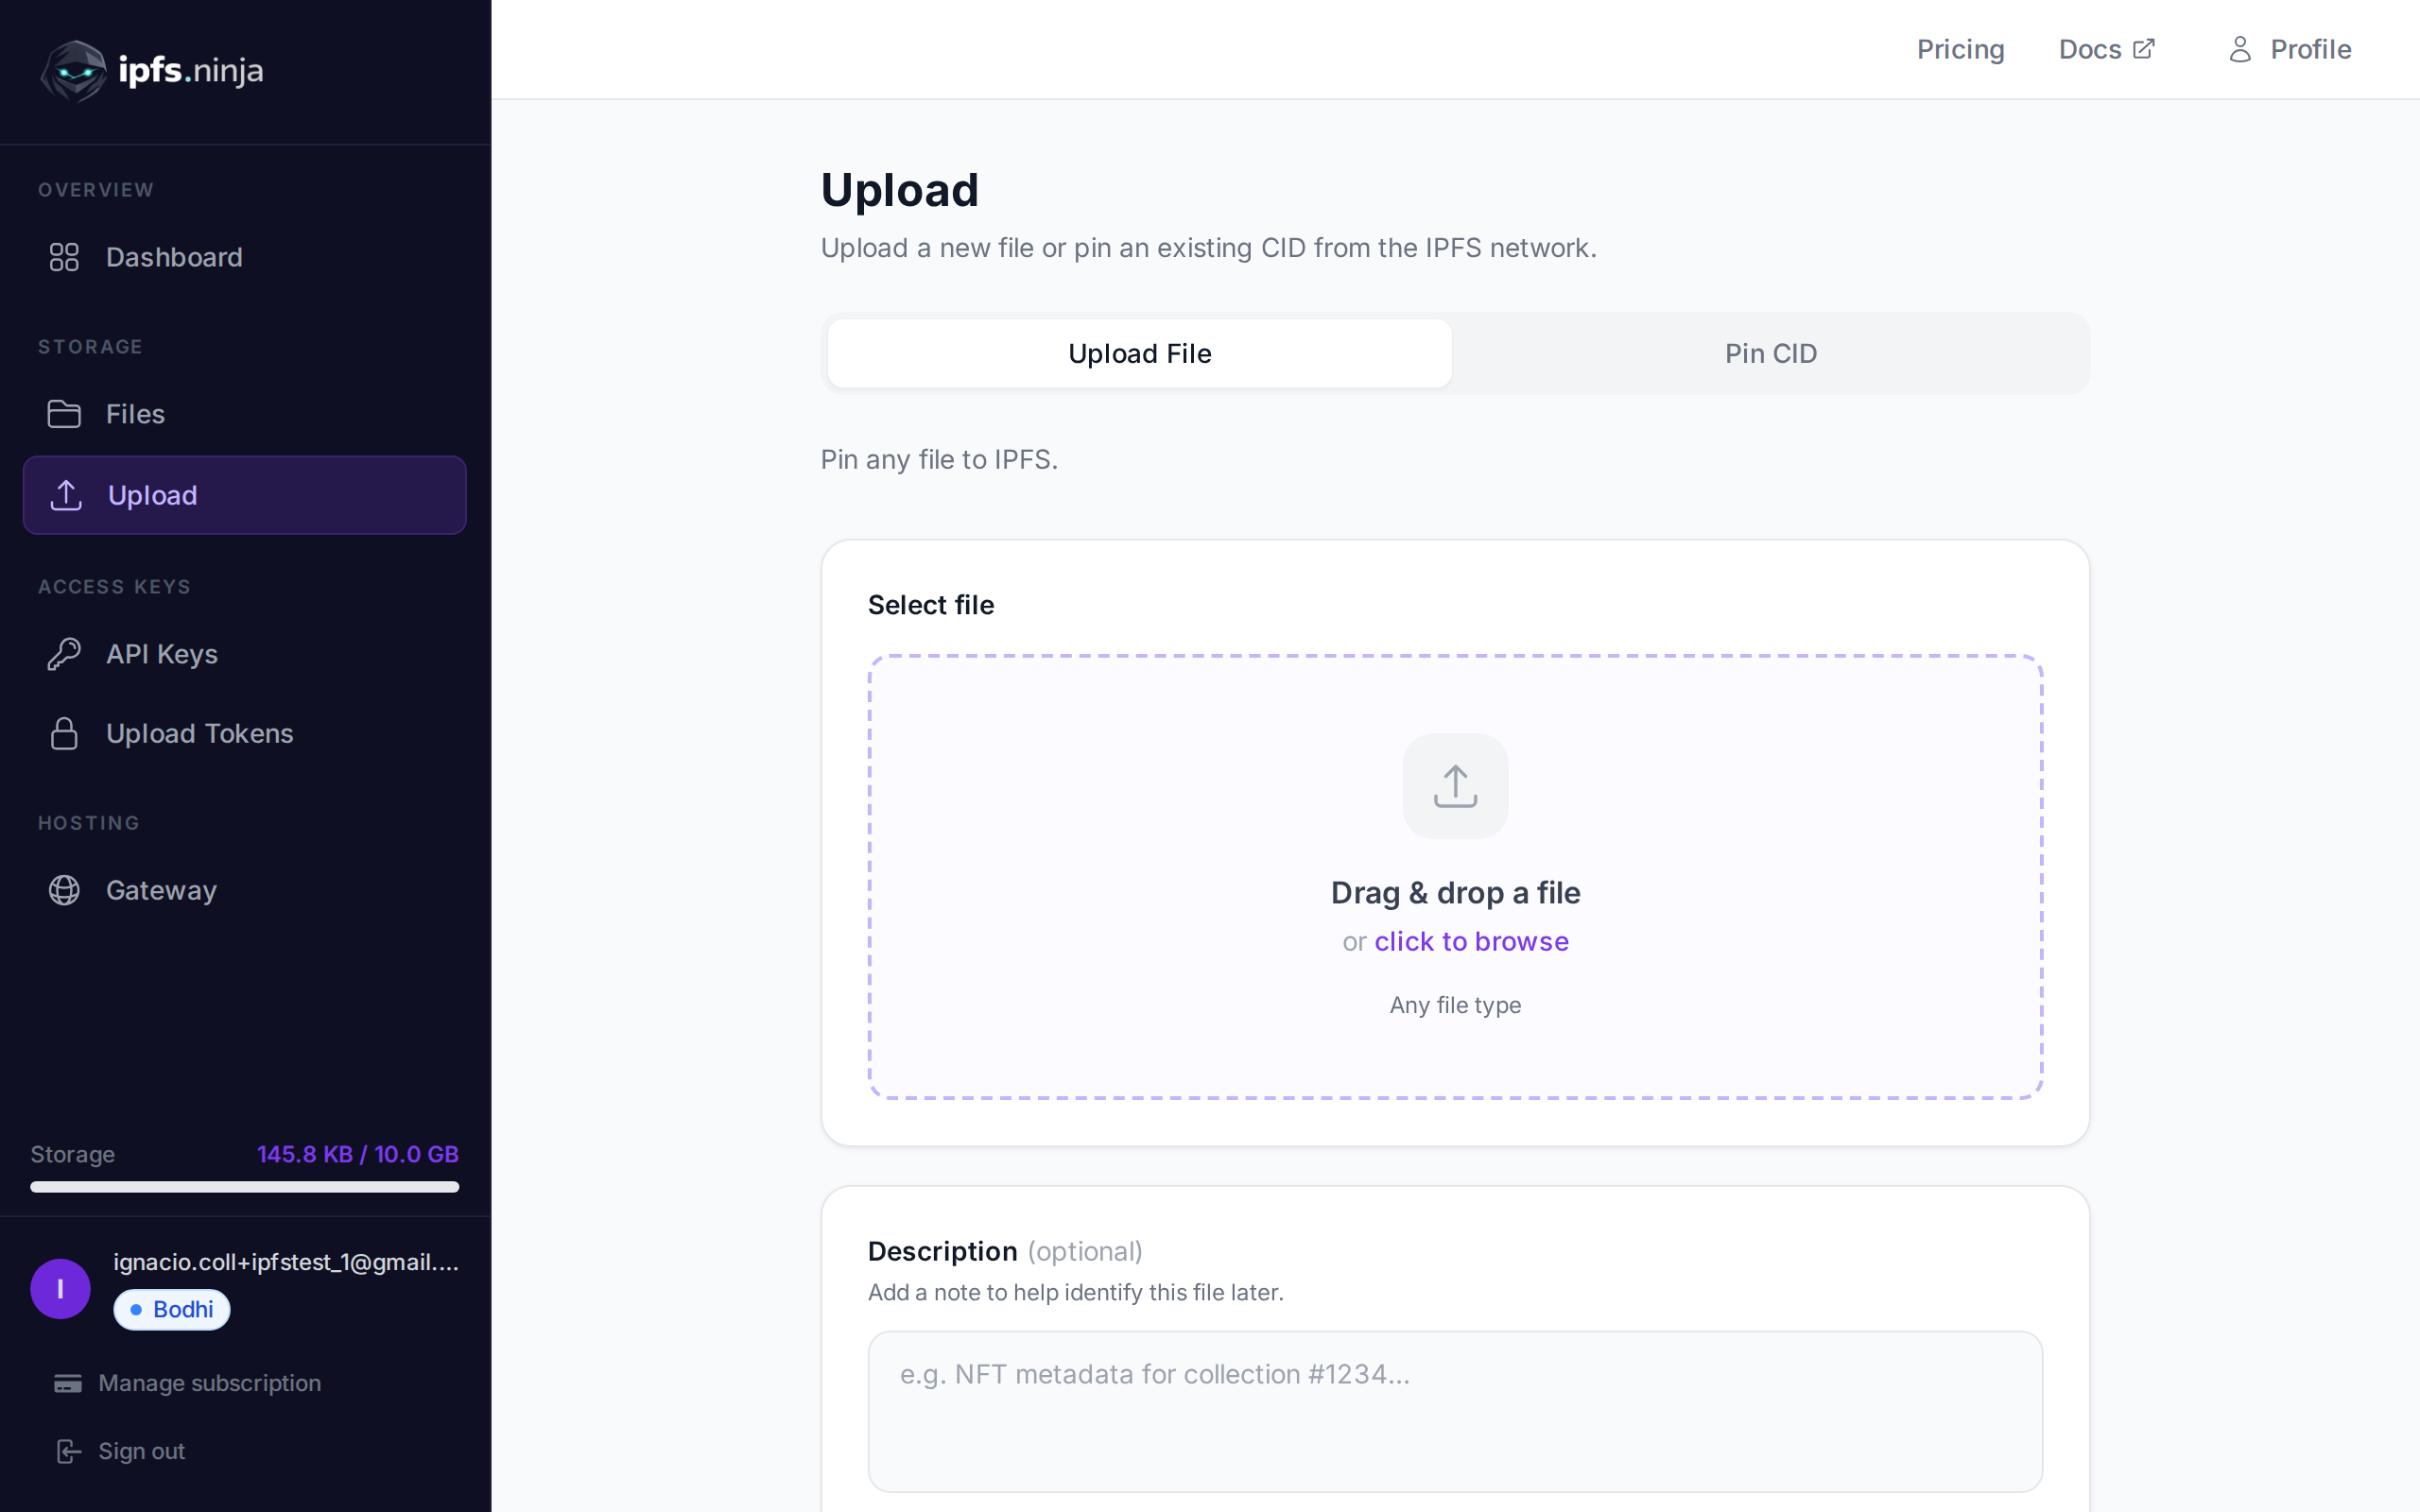
Creating Your Account#
Start by creating a free IPFS.NINJA account. The free Dharma plan includes:
- 50 files
- 1 GB storage
- 2 GB bandwidth per month
- 1 API key
- 0 custom gateways
Getting Your API Key#
- Navigate to the API Keys section in your dashboard
- Create a new API key for migration
- Copy your key (format:
bws_followed by 32 hexadecimal characters) - Store it securely for the migration process
Step 3: Migration Script#
Here’s a comprehensive Node.js script to automate your migration from Web3.Storage to IPFS.NINJA:
import fetch from 'node-fetch';
import fs from 'fs/promises';

class IPFSMigrator {
  constructor(ipfsNinjaApiKey) {
    this.apiKey = ipfsNinjaApiKey;
    this.apiBase = 'https://api.ipfs.ninja';
    this.retryDelay = 1000;
    this.maxRetries = 3;
  }

  async pinExistingContent(cid, description = '') {
    const url = `${this.apiBase}/pin`;
    const payload = {
      cid,
      description
    };

    try {
      const response = await fetch(url, {
        method: 'POST',
        headers: {
          'Content-Type': 'application/json',
          'X-Api-Key': this.apiKey
        },
        body: JSON.stringify(payload)
      });

      if (!response.ok) {
        const error = await response.text();
        throw new Error(`HTTP ${response.status}: ${error}`);
      }

      const result = await response.json();
      return result;
    } catch (error) {
      console.error(`Failed to pin ${cid}:`, error.message);
      throw error;
    }
  }

  async migrateWithRetry(cid, description, attempt = 1) {
    try {
      const result = await this.pinExistingContent(cid, description);
      console.log(`✅ Successfully pinned: ${cid}`);
      return result;
    } catch (error) {
      if (attempt <= this.maxRetries) {
        console.log(`⏳ Retrying ${cid} (attempt ${attempt}/${this.maxRetries})`);
        await this.sleep(this.retryDelay * attempt);
        return this.migrateWithRetry(cid, description, attempt + 1);
      } else {
        console.error(`❌ Failed to pin after ${this.maxRetries} attempts: ${cid}`);
        return { error: error.message, cid };
      }
    }
  }

  async batchMigrate(contentList, batchSize = 10) {
    const results = [];
    const failed = [];

    console.log(`Starting migration of ${contentList.length} files...`);

    for (let i = 0; i < contentList.length; i += batchSize) {
      const batch = contentList.slice(i, i + batchSize);
      console.log(`Processing batch ${Math.floor(i/batchSize) + 1}/${Math.ceil(contentList.length/batchSize)}`);

      const batchPromises = batch.map(async (item) => {
        const description = `Migrated from Web3.Storage: ${item.name || 'Unnamed file'}`;
        return this.migrateWithRetry(item.cid, description);
      });

      const batchResults = await Promise.allSettled(batchPromises);

      batchResults.forEach((result, index) => {
        if (result.status === 'fulfilled' && !result.value.error) {
          results.push(result.value);
        } else {
          failed.push({
            cid: batch[index].cid,
            error: result.value?.error || result.reason?.message
          });
        }
      });

      // Rate limiting - wait between batches
      if (i + batchSize < contentList.length) {
        await this.sleep(2000);
      }
    }

    return { successful: results, failed };
  }

  sleep(ms) {
    return new Promise(resolve => setTimeout(resolve, ms));
  }

  async generateMigrationReport(results) {
    const report = {
      timestamp: new Date().toISOString(),
      total: results.successful.length + results.failed.length,
      successful: results.successful.length,
      failed: results.failed.length,
      successRate: ((results.successful.length / (results.successful.length + results.failed.length)) * 100).toFixed(2),
      failedItems: results.failed
    };

    await fs.writeFile('migration-report.json', JSON.stringify(report, null, 2));
    console.log('\n📊 Migration Report:');
    console.log(`Total files: ${report.total}`);
    console.log(`Successful: ${report.successful}`);
    console.log(`Failed: ${report.failed}`);
    console.log(`Success rate: ${report.successRate}%`);

    if (report.failed > 0) {
      console.log('\n❌ Failed migrations saved to migration-report.json');
    }

    return report;
  }
}

// Usage example
async function migrate() {
  // Your IPFS.NINJA API key
  const API_KEY = 'bws_your_32_character_hex_api_key_here';

  // Load your exported CID list
  const contentList = JSON.parse(await fs.readFile('web3-storage-export.json', 'utf8'));

  const migrator = new IPFSMigrator(API_KEY);

  try {
    const results = await migrator.batchMigrate(contentList);
    const report = await migrator.generateMigrationReport(results);

    console.log('\n🎉 Migration completed!');

  } catch (error) {
    console.error('Migration failed:', error);
  }
}

// Run the migration
migrate().catch(console.error);
Running the Migration Script#
- Install dependencies:
npm install node-fetchPrepare your data: Save your exported CIDs as
web3-storage-export.jsonUpdate the script: Replace
bws_your_32_character_hex_api_key_herewith your actual API keyRun the migration:
node migrate.jsStep 4: Verification and Testing#
After running the migration script, verify that your content is properly pinned on IPFS.NINJA:
Check via Dashboard#
- Log into your IPFS.NINJA dashboard
- Navigate to the Files section
- Verify that your migrated files appear in the list
- Check that the CIDs match your original data
Programmatic Verification#
// Verify a specific CID is pinned
async function verifyCID(cid, apiKey) {
  const response = await fetch(`https://api.ipfs.ninja/file/${cid}`, {
    headers: {
      'X-Api-Key': apiKey
    }
  });

  if (response.ok) {
    const fileInfo = await response.json();
    console.log(`✅ ${cid} is successfully pinned`);
    console.log(`Gateway URL: https://ipfs.ninja/ipfs/${cid}`);
    return true;
  } else {
    console.log(`❌ ${cid} not found`);
    return false;
  }
}
Test Gateway Access#
Verify that your content is accessible through IPFS.NINJA’s gateway:
// Test gateway access
async function testGatewayAccess(cid) {
  try {
    const response = await fetch(`https://ipfs.ninja/ipfs/${cid}`, {
      method: 'HEAD'
    });

    if (response.ok) {
      console.log(`✅ ${cid} is accessible via gateway`);
      return true;
    } else {
      console.log(`❌ ${cid} not accessible (Status: ${response.status})`);
      return false;
    }
  } catch (error) {
    console.log(`❌ Error accessing ${cid}:`, error.message);
    return false;
  }
}
Step 5: Updating Your Applications#
Once your migration is complete, you’ll need to update your applications to use IPFS.NINJA’s endpoints:
Update API Endpoints#
Replace Web3.Storage API calls with IPFS.NINJA equivalents:
// Before (Web3.Storage)
const response = await fetch('https://api.web3.storage/upload', {
  method: 'POST',
  headers: {
    'Authorization': `Bearer ${web3StorageToken}`,
    'Content-Type': 'application/json'
  },
  body: JSON.stringify({ content })
});

// After (IPFS.NINJA)
const response = await fetch('https://api.ipfs.ninja/upload/new', {
  method: 'POST',
  headers: {
    'X-Api-Key': `${ipfsNinjaApiKey}`,
    'Content-Type': 'application/json'
  },
  body: JSON.stringify({
    content,
    description: 'Uploaded via IPFS.NINJA'
  })
});
For detailed upload instructions, check our IPFS upload API tutorial.
Update Gateway URLs#
Replace Web3.Storage gateway URLs with IPFS.NINJA:
// Before
const fileUrl = `https://storacha.link/ipfs/${cid}`;

// After
const fileUrl = `https://ipfs.ninja/ipfs/${cid}`;
Custom Gateway Configuration#
IPFS.NINJA offers custom gateways for enhanced performance and branding:
- Navigate to Gateways in your dashboard
- Create a custom gateway with your preferred subdomain
- Configure access controls and restrictions
- Use your custom gateway:
https://yourname.gw.ipfs.ninja/ipfs/${cid}
Advanced Migration Features#
Folder Organization#
IPFS.NINJA supports folder organization for better content management:
// Create folders during migration
async function createFolder(name, description, apiKey) {
  const response = await fetch('https://api.ipfs.ninja/folders', {
    method: 'POST',
    headers: {
      'Content-Type': 'application/json',
      'X-Api-Key': apiKey
    },
    body: JSON.stringify({
      name,
      description
    })
  });

  return response.json();
}

// Organize content into folders
async function organizeContent(contentList, apiKey) {
  const webAppsFolder = await createFolder('Web Apps', 'Migrated web applications', apiKey);
  const assetsFolder = await createFolder('Assets', 'Static assets and media', apiKey);

  // Pin content to specific folders
  for (const item of contentList) {
    const folderId = item.type === 'webapp' ? webAppsFolder.id : assetsFolder.id;

    await fetch('https://api.ipfs.ninja/pin', {
      method: 'POST',
      headers: {
        'Content-Type': 'application/json',
        'X-Api-Key': apiKey
      },
      body: JSON.stringify({
        cid: item.cid,
        description: item.name,
        folderId
      })
    });
  }
}
Metadata Preservation#
Maintain your existing metadata during migration:
async function pinWithMetadata(cid, originalMetadata, apiKey) {
  const enhancedMetadata = {
    ...originalMetadata,
    migratedFrom: 'web3.storage',
    migrationDate: new Date().toISOString(),
    originalUploadDate: originalMetadata.created
  };

  return fetch('https://api.ipfs.ninja/pin', {
    method: 'POST',
    headers: {
      'Content-Type': 'application/json',
      'X-Api-Key': apiKey
    },
    body: JSON.stringify({
      cid,
      description: originalMetadata.name || 'Migrated content',
      metadata: enhancedMetadata
    })
  });
}
Troubleshooting Common Migration Issues#
Content Not Found#
If some CIDs fail to pin:
- Verify CID format: Ensure CIDs are valid and not corrupted
- Check content availability: Some content might no longer be available on the IPFS network
- Network timeout: Increase retry delays for large files
- Rate limiting: Reduce batch size if you encounter rate limits
Large File Migrations#
For files larger than 100MB, use IPFS.NINJA’s large file upload capabilities:
// Check file size before migration
async function checkContentSize(cid) {
  try {
    const response = await fetch(`https://ipfs.ninja/ipfs/${cid}`, {
      method: 'HEAD'
    });

    const contentLength = response.headers.get('content-length');
    return parseInt(contentLength) || 0;
  } catch (error) {
    return 0;
  }
}

// Handle large files differently
async function smartMigration(item, apiKey) {
  const size = await checkContentSize(item.cid);

  if (size > 100 * 1024 * 1024) { // 100MB threshold
    console.log(`Large file detected (${size} bytes): ${item.cid}`);
    // Use specialized large file handling
    return await pinLargeContent(item.cid, item.description, apiKey);
  } else {
    return await pinExistingContent(item.cid, item.description, apiKey);
  }
}
Cost Comparison and Plan Selection#
When migrating from Web3.Storage, consider IPFS.NINJA’s pricing structure:
Free Tier (Dharma Plan)#
- 50 files
- 1 GB storage
- 2 GB bandwidth/month
- Perfect for: Small projects and testing
Paid Tiers#
- Bodhi Plan ($5/month): 200 files, 10 GB storage
- Karma Plan ($19/month): 1,000 files, 100 GB storage
- Nirvana Plan ($59/month): Unlimited files, 1 TB storage
For a detailed comparison with other services, check our best IPFS pinning services comparison or our specific IPFS.NINJA vs Pinata analysis.
Post-Migration Best Practices#
Monitor Your Usage#
- Set up analytics to track your file access patterns
- Monitor bandwidth usage to optimize costs
- Review pinned content regularly to remove unused files
Optimize Performance#
- Use custom gateways for faster content delivery
- Enable image optimization for web assets
- Configure proper caching headers on your applications
Backup Strategy#
- Export your new CID list regularly
- Document your folder structure and organization
- Keep migration logs for future reference
Conclusion#
Migrating from Web3.Storage to IPFS.NINJA provides you with a more stable, feature-rich platform for your IPFS pinning needs. With the automated migration script and verification tools provided in this guide, you can ensure a smooth transition with minimal downtime.
IPFS.NINJA’s developer-friendly approach, transparent pricing, and advanced features make it an excellent choice for both small projects and enterprise applications. The platform’s focus on reliability and performance ensures your content remains accessible while providing you with the tools to optimize your IPFS workflow.
For more information on getting started with IPFS, check out our comprehensive guide on how to upload files to IPFS.
Ready to start pinning? Create a free account — 50 files, 1 GB storage, 2 GB bandwidth/month. No credit card required.

About the author
Nacho Coll
Founder & Engineer at IPFS.NINJA
Nacho founded IPFS.NINJA to make content-addressed storage feel as simple as an S3 PUT — a single API call, a permanent CID, no wallets or peer discovery to reason about. Writes about IPFS internals, decentralized storage patterns, and the pinning-service landscape from the operator side of the wire.