· Nacho Coll · Tutorials · 10 min read
How to Upload Files to IPFS in 2026 — Complete Guide
Learn how to upload JSON, images, PDFs and any file to IPFS using the dashboard, REST API, JavaScript, or Python. Step-by-step guide with code examples.
How to Upload Files to IPFS in 2026 — Complete Guide
If you have ever wanted to store a file in a way that no single company controls, that anyone can verify, and that resists censorship, the InterPlanetary File System (IPFS) is the answer. This guide walks you through every practical way to upload files to IPFS — from a simple drag-and-drop dashboard to production-ready code in JavaScript and Python.
What Is IPFS and Why Should You Use It?
IPFS is a peer-to-peer protocol for storing and sharing files. Instead of addressing content by where it lives (a URL on a specific server), IPFS addresses content by what it is. Every file gets a unique Content Identifier (CID) derived from a cryptographic hash of its contents. This design gives you three properties that traditional hosting cannot match:
- Content addressing. A CID guarantees the data you receive is exactly the data that was uploaded. If a single byte changes, the CID changes. No one can tamper with your file without invalidating its address.
- Permanence. As long as at least one node on the network pins your file, it remains available. Pinning services like IPFS Ninja ensure your files stay online without you running your own infrastructure. To understand why pinning matters and how garbage collection works, see What is IPFS Pinning?.
- Censorship resistance. Files on IPFS are not tied to a single domain or server. There is no single point of failure that a government or corporation can shut down.
Common use cases include NFT metadata and media, decentralized application assets, scientific datasets, public records, and any scenario where data integrity matters.
Prerequisites
Before uploading anything you need two things:
An IPFS Ninja account. Sign up for free at https://ipfs.ninja/signup. The free plan gives you 500 files and 1 GB of storage — more than enough to get started.
An API key. After signing in, go to the API Keys section in your dashboard and generate a new key. It will look something like
bws_a1b2c3d4e5f6a7b8c9d0e1f2a3b4c5d6(the prefixbws_a1b2c3d4is shown in the dashboard for identification). Keep this key secret. You will pass it in theX-Api-Keyheader with every API request.
If you only want to use the web dashboard you can skip the API key step, but having one unlocks programmatic uploads from your own applications.
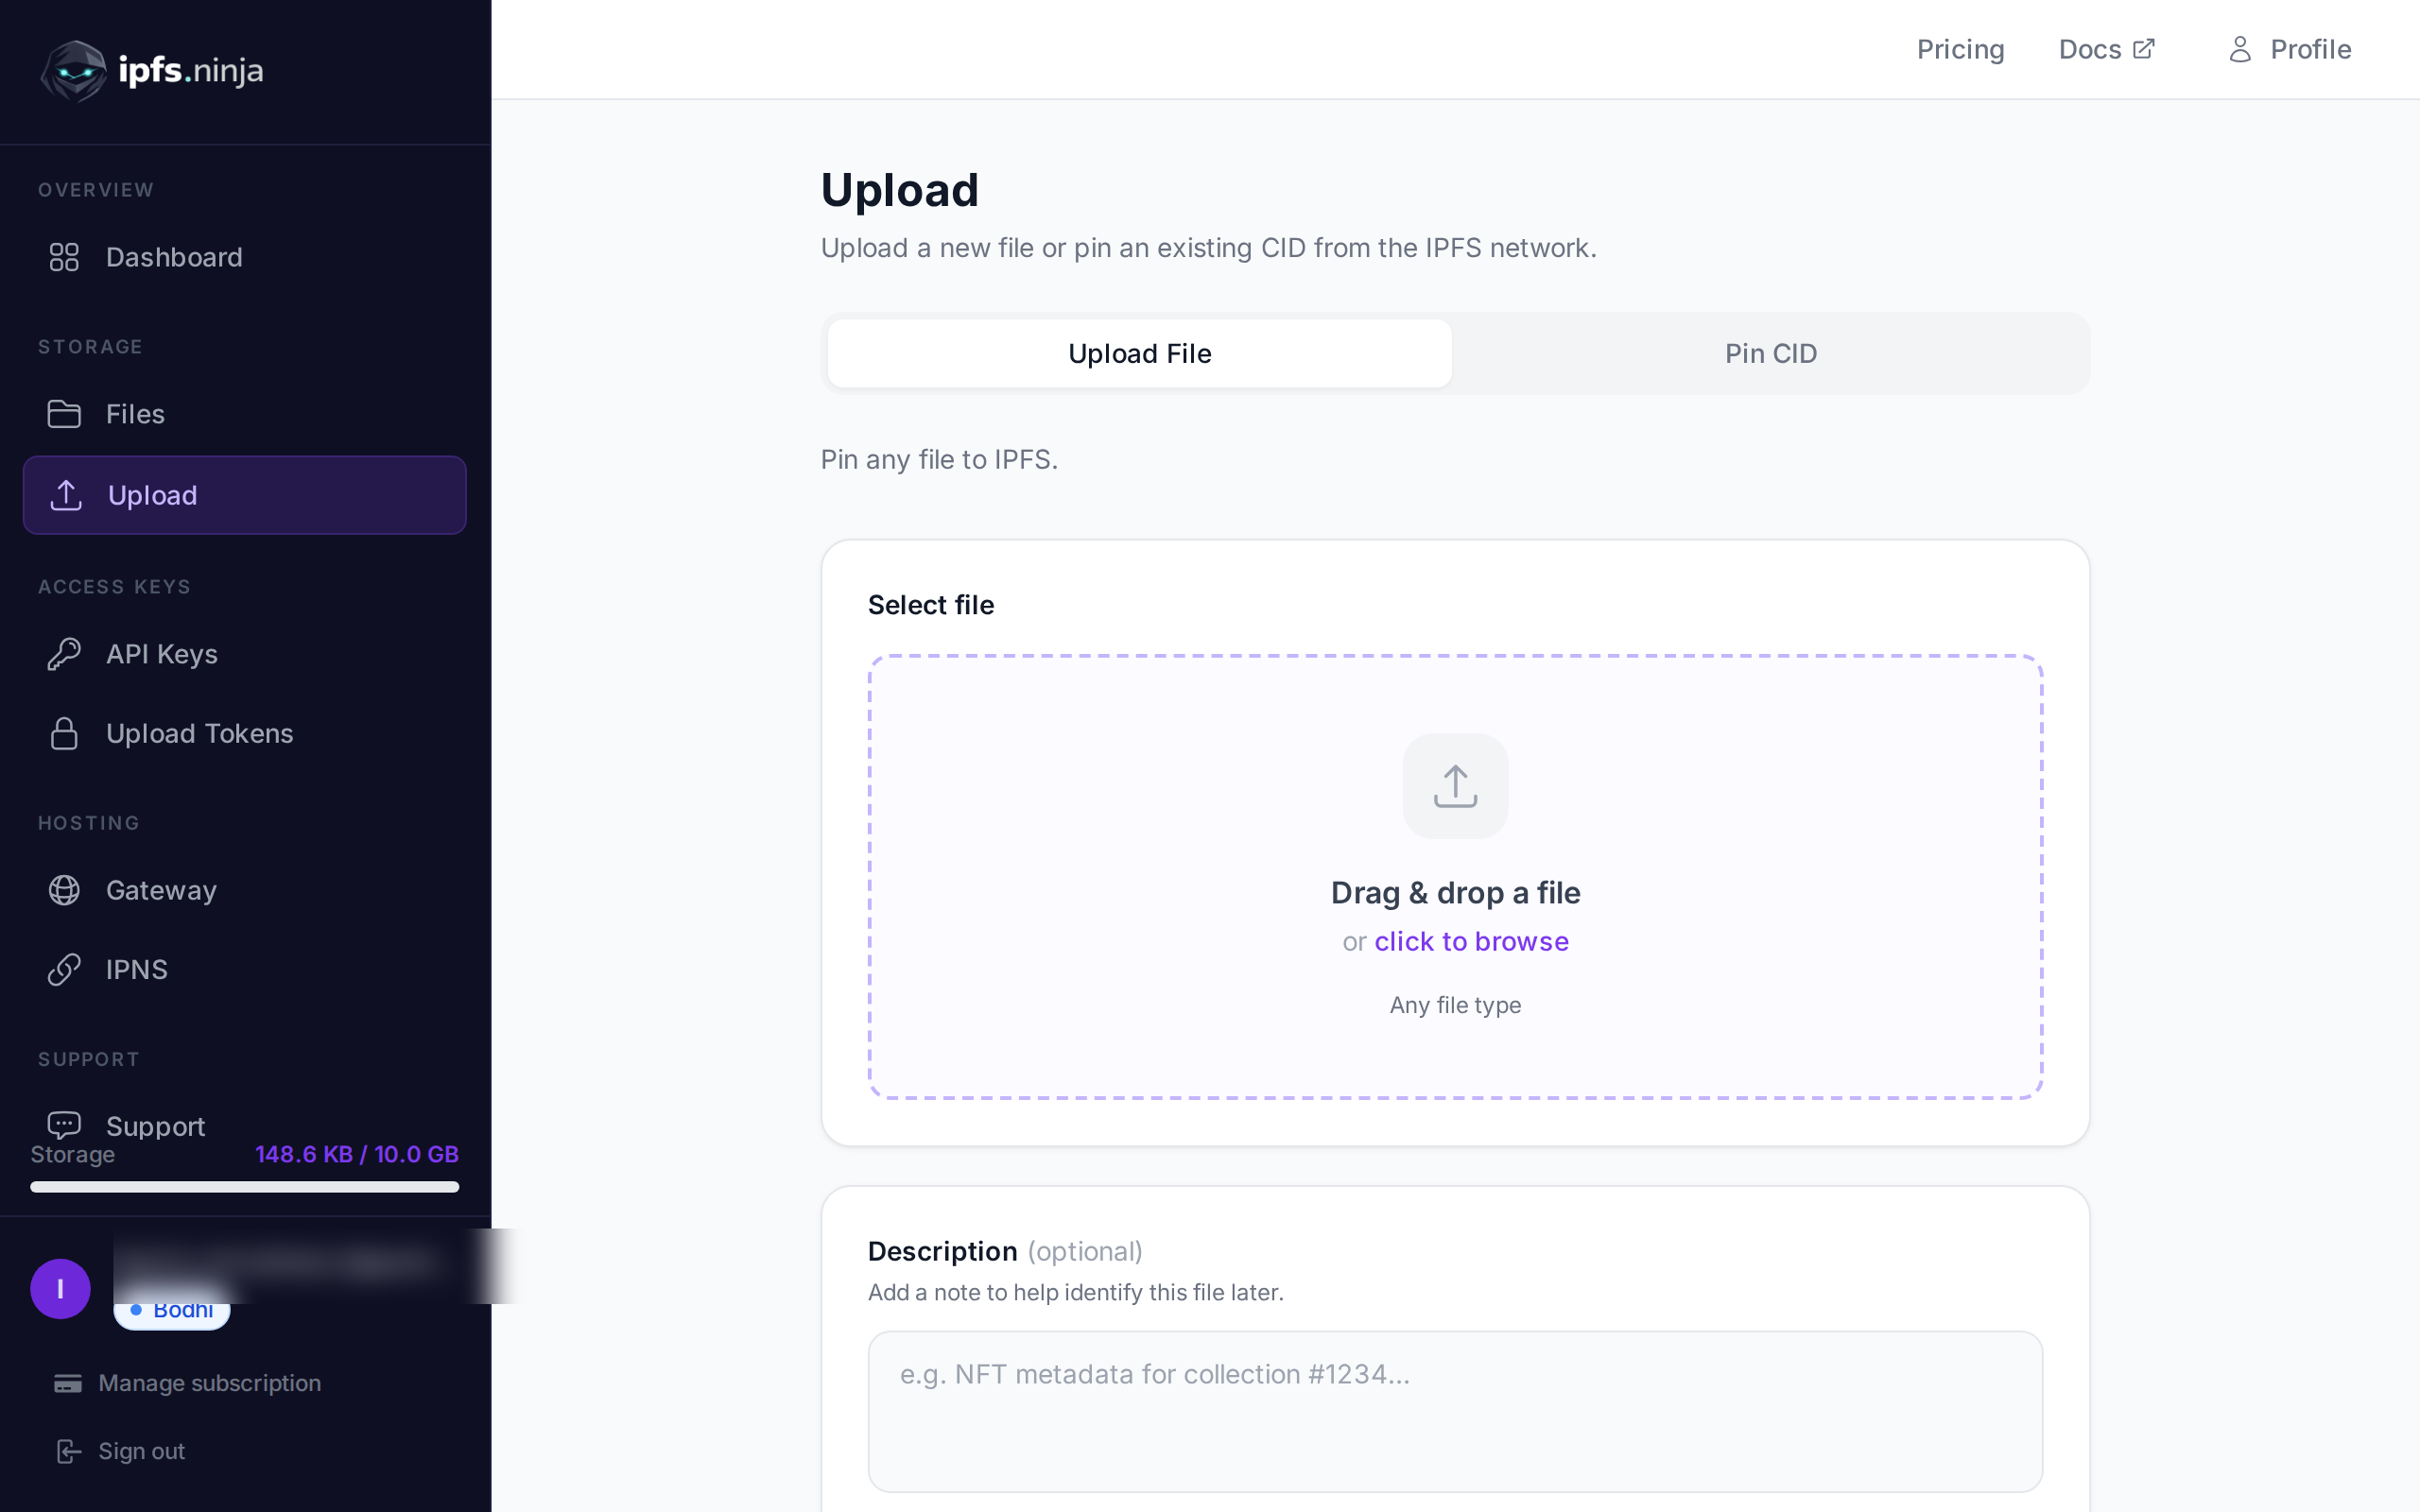
Method 1: Web Dashboard (Drag and Drop)
The fastest way to upload a file is through the IPFS Ninja dashboard.
- Navigate to https://ipfs.ninja/upload and sign in.
- Drag and drop any file — JSON, PNG, JPEG, PDF, SVG, or any other type — onto the upload area, or click to browse your filesystem.
- Optionally add a description and metadata (key-value pairs) to help you organize your files later.
- Click Upload. Within seconds your file is pinned to IPFS and you receive a CID and a gateway URL.
This method supports any file type and requires zero code. It is ideal for one-off uploads, quick tests, or non-technical team members who need to pin content.
Method 2: REST API with curl
For automation and scripting, the REST API is the most direct approach. The endpoint is:
POST https://api.ipfs.ninja/upload/newEvery request requires the X-Api-Key header and a JSON body with a content field.
Uploading JSON
To upload a JSON object, pass it directly as the value of content:
curl -X POST https://api.ipfs.ninja/upload/new \
  -H "Content-Type: application/json" \
  -H "X-Api-Key: bws_a1b2c3d4e5f6a7b8c9d0e1f2a3b4c5d6" \
  -d '{
    "content": {
      "name": "Astro Cat #42",
      "description": "A fearless cat exploring the cosmos.",
      "image": "ipfs://bafkreigh2akiscaildc7lqnpfuh3sksq4ogrtz7tpk2aulid5fhqotmqm",
      "attributes": [
        { "trait_type": "Background", "value": "Nebula" },
        { "trait_type": "Helmet", "value": "Gold" }
      ]
    },
    "description": "NFT metadata for Astro Cat #42",
    "metadata": { "collection": "astro-cats", "tokenId": "42" }
  }'
The description and metadata fields are optional. They are stored alongside your file in the IPFS Ninja dashboard and API responses to help you identify and filter uploads later. They are not included in the content pinned to IPFS.
Uploading an Image (Binary File)
For binary files such as images or PDFs, base64-encode the file and pass the encoded string as content:
curl -X POST https://api.ipfs.ninja/upload/new \
  -H "Content-Type: application/json" \
  -H "X-Api-Key: bws_a1b2c3d4e5f6a7b8c9d0e1f2a3b4c5d6" \
  -d "{
    \"content\": \"$(base64 -w 0 photo.png)\",
    \"description\": \"Product photo for landing page\",
    \"metadata\": { \"project\": \"website-redesign\" }
  }"
The API detects the content type automatically. There is no need to specify whether you are uploading JSON, an image, or a PDF — the service handles it for you.
Method 3: JavaScript / Node.js
Using the built-in fetch API (Node.js 18+ or any modern browser), uploading to IPFS takes just a few lines.
Upload JSON
const API_KEY = "bws_a1b2c3d4e5f6a7b8c9d0e1f2a3b4c5d6";

const metadata = {
  name: "Astro Cat #42",
  description: "A fearless cat exploring the cosmos.",
  image: "ipfs://bafkreigh2akiscaildc7lqnpfuh3sksq4ogrtz7tpk2aulid5fhqotmqm",
  attributes: [
    { trait_type: "Background", value: "Nebula" },
    { trait_type: "Helmet", value: "Gold" },
  ],
};

const response = await fetch("https://api.ipfs.ninja/upload/new", {
  method: "POST",
  headers: {
    "Content-Type": "application/json",
    "X-Api-Key": API_KEY,
  },
  body: JSON.stringify({
    content: metadata,
    description: "NFT metadata for Astro Cat #42",
  }),
});

const result = await response.json();
console.log("CID:", result.cid);
console.log("Gateway URL:", result.uris.url);
Upload a Binary File
import { readFileSync } from "node:fs";

const API_KEY = "bws_a1b2c3d4e5f6a7b8c9d0e1f2a3b4c5d6";
const fileBuffer = readFileSync("photo.png");
const base64Content = fileBuffer.toString("base64");

const response = await fetch("https://api.ipfs.ninja/upload/new", {
  method: "POST",
  headers: {
    "Content-Type": "application/json",
    "X-Api-Key": API_KEY,
  },
  body: JSON.stringify({
    content: base64Content,
    description: "Product photo",
    metadata: { project: "website-redesign" },
  }),
});

const result = await response.json();
console.log("CID:", result.cid);
console.log("IPFS URI:", result.uris.ipfs);
console.log("Gateway URL:", result.uris.url);
Batch Upload with Error Handling
In production you often need to upload many files. Here is a reusable helper with retries:
import { readFileSync } from "node:fs";

const API_KEY = "bws_a1b2c3d4e5f6a7b8c9d0e1f2a3b4c5d6";
const API_URL = "https://api.ipfs.ninja/upload/new";

async function uploadToIPFS(content, options = {}) {
  const body = { content };
  if (options.description) body.description = options.description;
  if (options.metadata) body.metadata = options.metadata;

  const response = await fetch(API_URL, {
    method: "POST",
    headers: {
      "Content-Type": "application/json",
      "X-Api-Key": API_KEY,
    },
    body: JSON.stringify(body),
  });

  if (!response.ok) {
    const error = await response.text();
    throw new Error(`Upload failed (${response.status}): ${error}`);
  }

  return response.json();
}

// Upload JSON
const jsonResult = await uploadToIPFS(
  { name: "My Data", values: [1, 2, 3] },
  { description: "Sample dataset" }
);

// Upload image
const imageBase64 = readFileSync("banner.jpg").toString("base64");
const imageResult = await uploadToIPFS(imageBase64, {
  description: "Banner image",
  metadata: { format: "jpg", width: "1200" },
});

console.log("JSON CID:", jsonResult.cid);
console.log("Image CID:", imageResult.cid);
Method 4: Python
Python’s requests library makes IPFS uploads straightforward.
Upload JSON
import requests

API_KEY = "bws_a1b2c3d4e5f6a7b8c9d0e1f2a3b4c5d6"
API_URL = "https://api.ipfs.ninja/upload/new"

headers = {
    "Content-Type": "application/json",
    "X-Api-Key": API_KEY,
}

payload = {
    "content": {
        "name": "Astro Cat #42",
        "description": "A fearless cat exploring the cosmos.",
        "image": "ipfs://bafkreigh2akiscaildc7lqnpfuh3sksq4ogrtz7tpk2aulid5fhqotmqm",
        "attributes": [
            {"trait_type": "Background", "value": "Nebula"},
            {"trait_type": "Helmet", "value": "Gold"},
        ],
    },
    "description": "NFT metadata for Astro Cat #42",
    "metadata": {"collection": "astro-cats", "tokenId": "42"},
}

response = requests.post(API_URL, json=payload, headers=headers)
result = response.json()

print(f"CID: {result['cid']}")
print(f"Gateway URL: {result['uris']['url']}")
Upload a Binary File
import base64
import requests

API_KEY = "bws_a1b2c3d4e5f6a7b8c9d0e1f2a3b4c5d6"
API_URL = "https://api.ipfs.ninja/upload/new"

headers = {
    "Content-Type": "application/json",
    "X-Api-Key": API_KEY,
}

with open("photo.png", "rb") as f:
    encoded = base64.b64encode(f.read()).decode("utf-8")

payload = {
    "content": encoded,
    "description": "Product photo",
    "metadata": {"project": "website-redesign"},
}

response = requests.post(API_URL, json=payload, headers=headers)
result = response.json()

print(f"CID: {result['cid']}")
print(f"Size: {result['sizeMB']} MB")
print(f"IPFS URI: {result['uris']['ipfs']}")
print(f"Gateway URL: {result['uris']['url']}")
Batch Upload
import base64
from pathlib import Path
import requests

API_KEY = "bws_a1b2c3d4e5f6a7b8c9d0e1f2a3b4c5d6"
API_URL = "https://api.ipfs.ninja/upload/new"
HEADERS = {"Content-Type": "application/json", "X-Api-Key": API_KEY}


def upload_file(file_path, description=None, metadata=None):
    with open(file_path, "rb") as f:
        encoded = base64.b64encode(f.read()).decode("utf-8")

    payload = {"content": encoded}
    if description:
        payload["description"] = description
    if metadata:
        payload["metadata"] = metadata

    response = requests.post(API_URL, json=payload, headers=HEADERS)
    response.raise_for_status()
    return response.json()


# Upload all PNGs in a directory
for png in Path("./images").glob("*.png"):
    result = upload_file(png, description=f"Image: {png.name}")
    print(f"{png.name} -> {result['cid']}")
Understanding the Response
Every successful upload returns a JSON object with the following fields:
{
  "cid": "bafkreigh2akiscaildc7lqnpfuh3sksq4ogrtz7tpk2aulid5fhqotmqm",
  "sizeMB": 0.024,
  "uris": {
    "ipfs": "ipfs://bafkreigh2akiscaildc7lqnpfuh3sksq4ogrtz7tpk2aulid5fhqotmqm",
    "url": "https://ipfs.ninja/ipfs/bafkreigh2akiscaildc7lqnpfuh3sksq4ogrtz7tpk2aulid5fhqotmqm"
  }
}| Field | Description |
|---|---|
cid | The Content Identifier — a unique hash of your file’s contents. This is the permanent address of your file on IPFS. |
sizeMB | The size of the uploaded file in megabytes. |
uris.ipfs | The IPFS-native URI (ipfs://CID). Use this when referencing files from smart contracts, NFT metadata, or other IPFS-aware applications. |
uris.url | A direct HTTPS gateway URL you can open in any browser. Ideal for sharing, embedding in websites, or quick verification. |
Accessing Your Files
Once a file is pinned, there are two main ways to retrieve it.
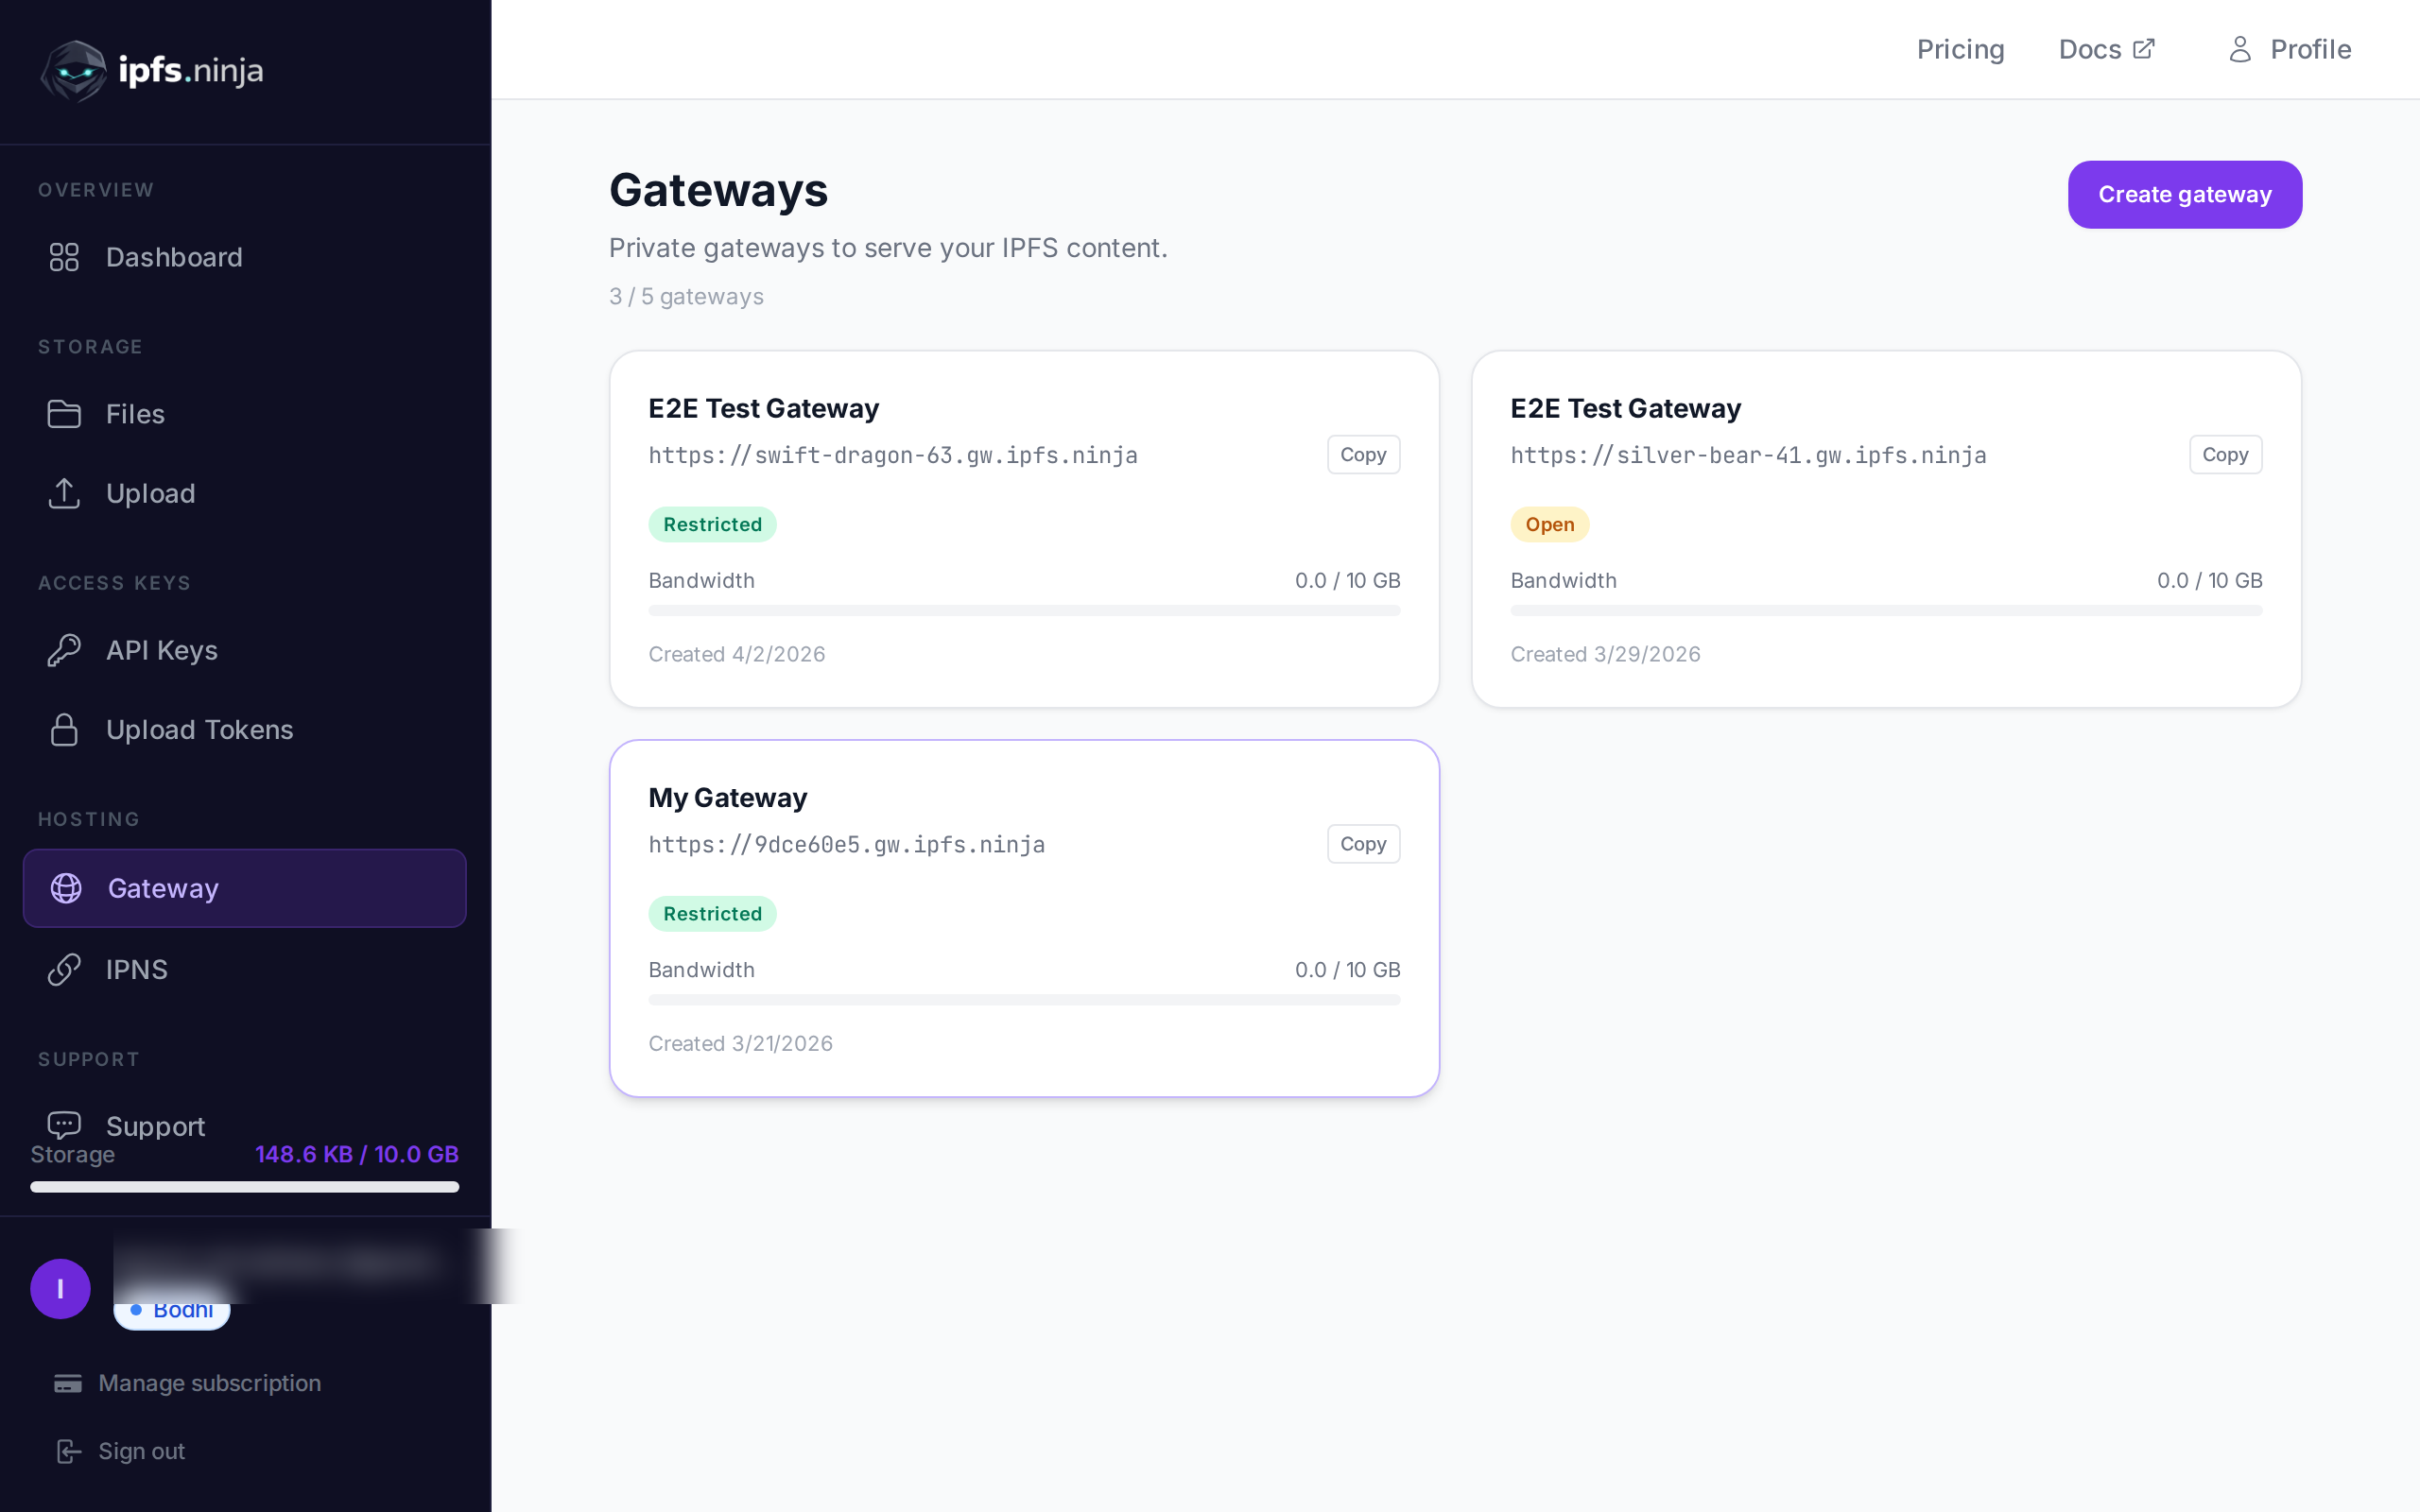
Dedicated Gateway
Every IPFS Ninja account includes a dedicated gateway with a custom slug:
https://your-slug.gw.ipfs.ninja/ipfs/{CID}Dedicated gateways are faster and more reliable than public gateways because they connect directly to the IPFS Ninja pinning infrastructure. You can access your files through your dedicated gateway using the CID from the upload response.
Public IPFS Gateways
Any IPFS gateway can serve your content using the CID:
https://ipfs.ninja/ipfs/{CID}     ← your dedicated gateway
https://dweb.link/ipfs/{CID}       ← public gateway
https://w3s.link/ipfs/{CID}        ← public gateway
Public gateways are useful when you want to verify that your content is reachable from outside the IPFS Ninja network. Keep in mind they may be slower or rate-limited compared to your dedicated gateway.
From Smart Contracts and dApps
When storing references on-chain (for example in an ERC-721 token URI), use the ipfs:// URI:
ipfs://bafkreigh2akiscaildc7lqnpfuh3sksq4ogrtz7tpk2aulid5fhqotmqmWallets, marketplaces, and other IPFS-aware applications know how to resolve this URI through any available gateway.
Best Practices
Keep individual files under 100 MB. While the API accepts larger uploads, smaller files pin faster and replicate more efficiently across the IPFS network. If you are dealing with large datasets, split them into smaller chunks.
Use descriptive metadata. The description and metadata fields cost nothing and make it far easier to manage your uploads later. Include project names, version numbers, or any identifiers that help you search and filter.
Store CIDs in your own database. Even though IPFS Ninja stores your upload history, maintaining your own mapping of CIDs to application-level identifiers (user IDs, order numbers, token IDs) makes your integration more resilient.
Use the IPFS URI for on-chain references. Always store ipfs://CID rather than an HTTPS gateway URL in smart contracts or immutable records. Gateway URLs can change; CIDs cannot.
Prefer JSON content for structured data. When your data is structured (metadata, configuration, records), pass it as a JSON object rather than encoding it as a string. The API stores it more efficiently and the resulting IPFS content is human-readable.
Handle errors gracefully. Check HTTP status codes and implement retries with exponential backoff for 5xx responses. The API returns clear error messages for 4xx responses (invalid API key, missing content, insufficient credits) that you should surface to your users.
Conclusion
Uploading files to IPFS has never been simpler. Whether you prefer a visual dashboard, a quick curl command, or a production-grade integration in JavaScript or Python, IPFS Ninja gives you a single endpoint and a consistent experience across all content types.
The free Dharma plan includes 50 files, 1 GB of storage, and 2 GB of monthly bandwidth — enough to build and test your integration end to end. When you are ready to scale, the Bodhi plan at $5/month, the Karma plan at $19/month, and the Nirvana plan at $59/month offer higher limits, dedicated gateways, and (on Nirvana) priority support.
Create your free account and start uploading files to IPFS in under a minute.
For a deeper API walkthrough with signed tokens and client-side uploads, see our IPFS Upload API Tutorial. For a full API reference including listing files, managing API keys, and configuring gateways, visit the documentation.