

Automating IPFS Workflows: Webhooks, Cron Jobs, and CI/CD Integration
Automate IPFS uploads in your CI/CD pipeline. GitHub Actions, GitLab CI, and cron job examples for continuous content pinning.
 by Nacho Coll
Nacho founded IPFS.NINJA to make content-addressed storage feel as simple as an S3 PUT — a single API call, a permanent CID, no wallets or peer discovery to reason about.
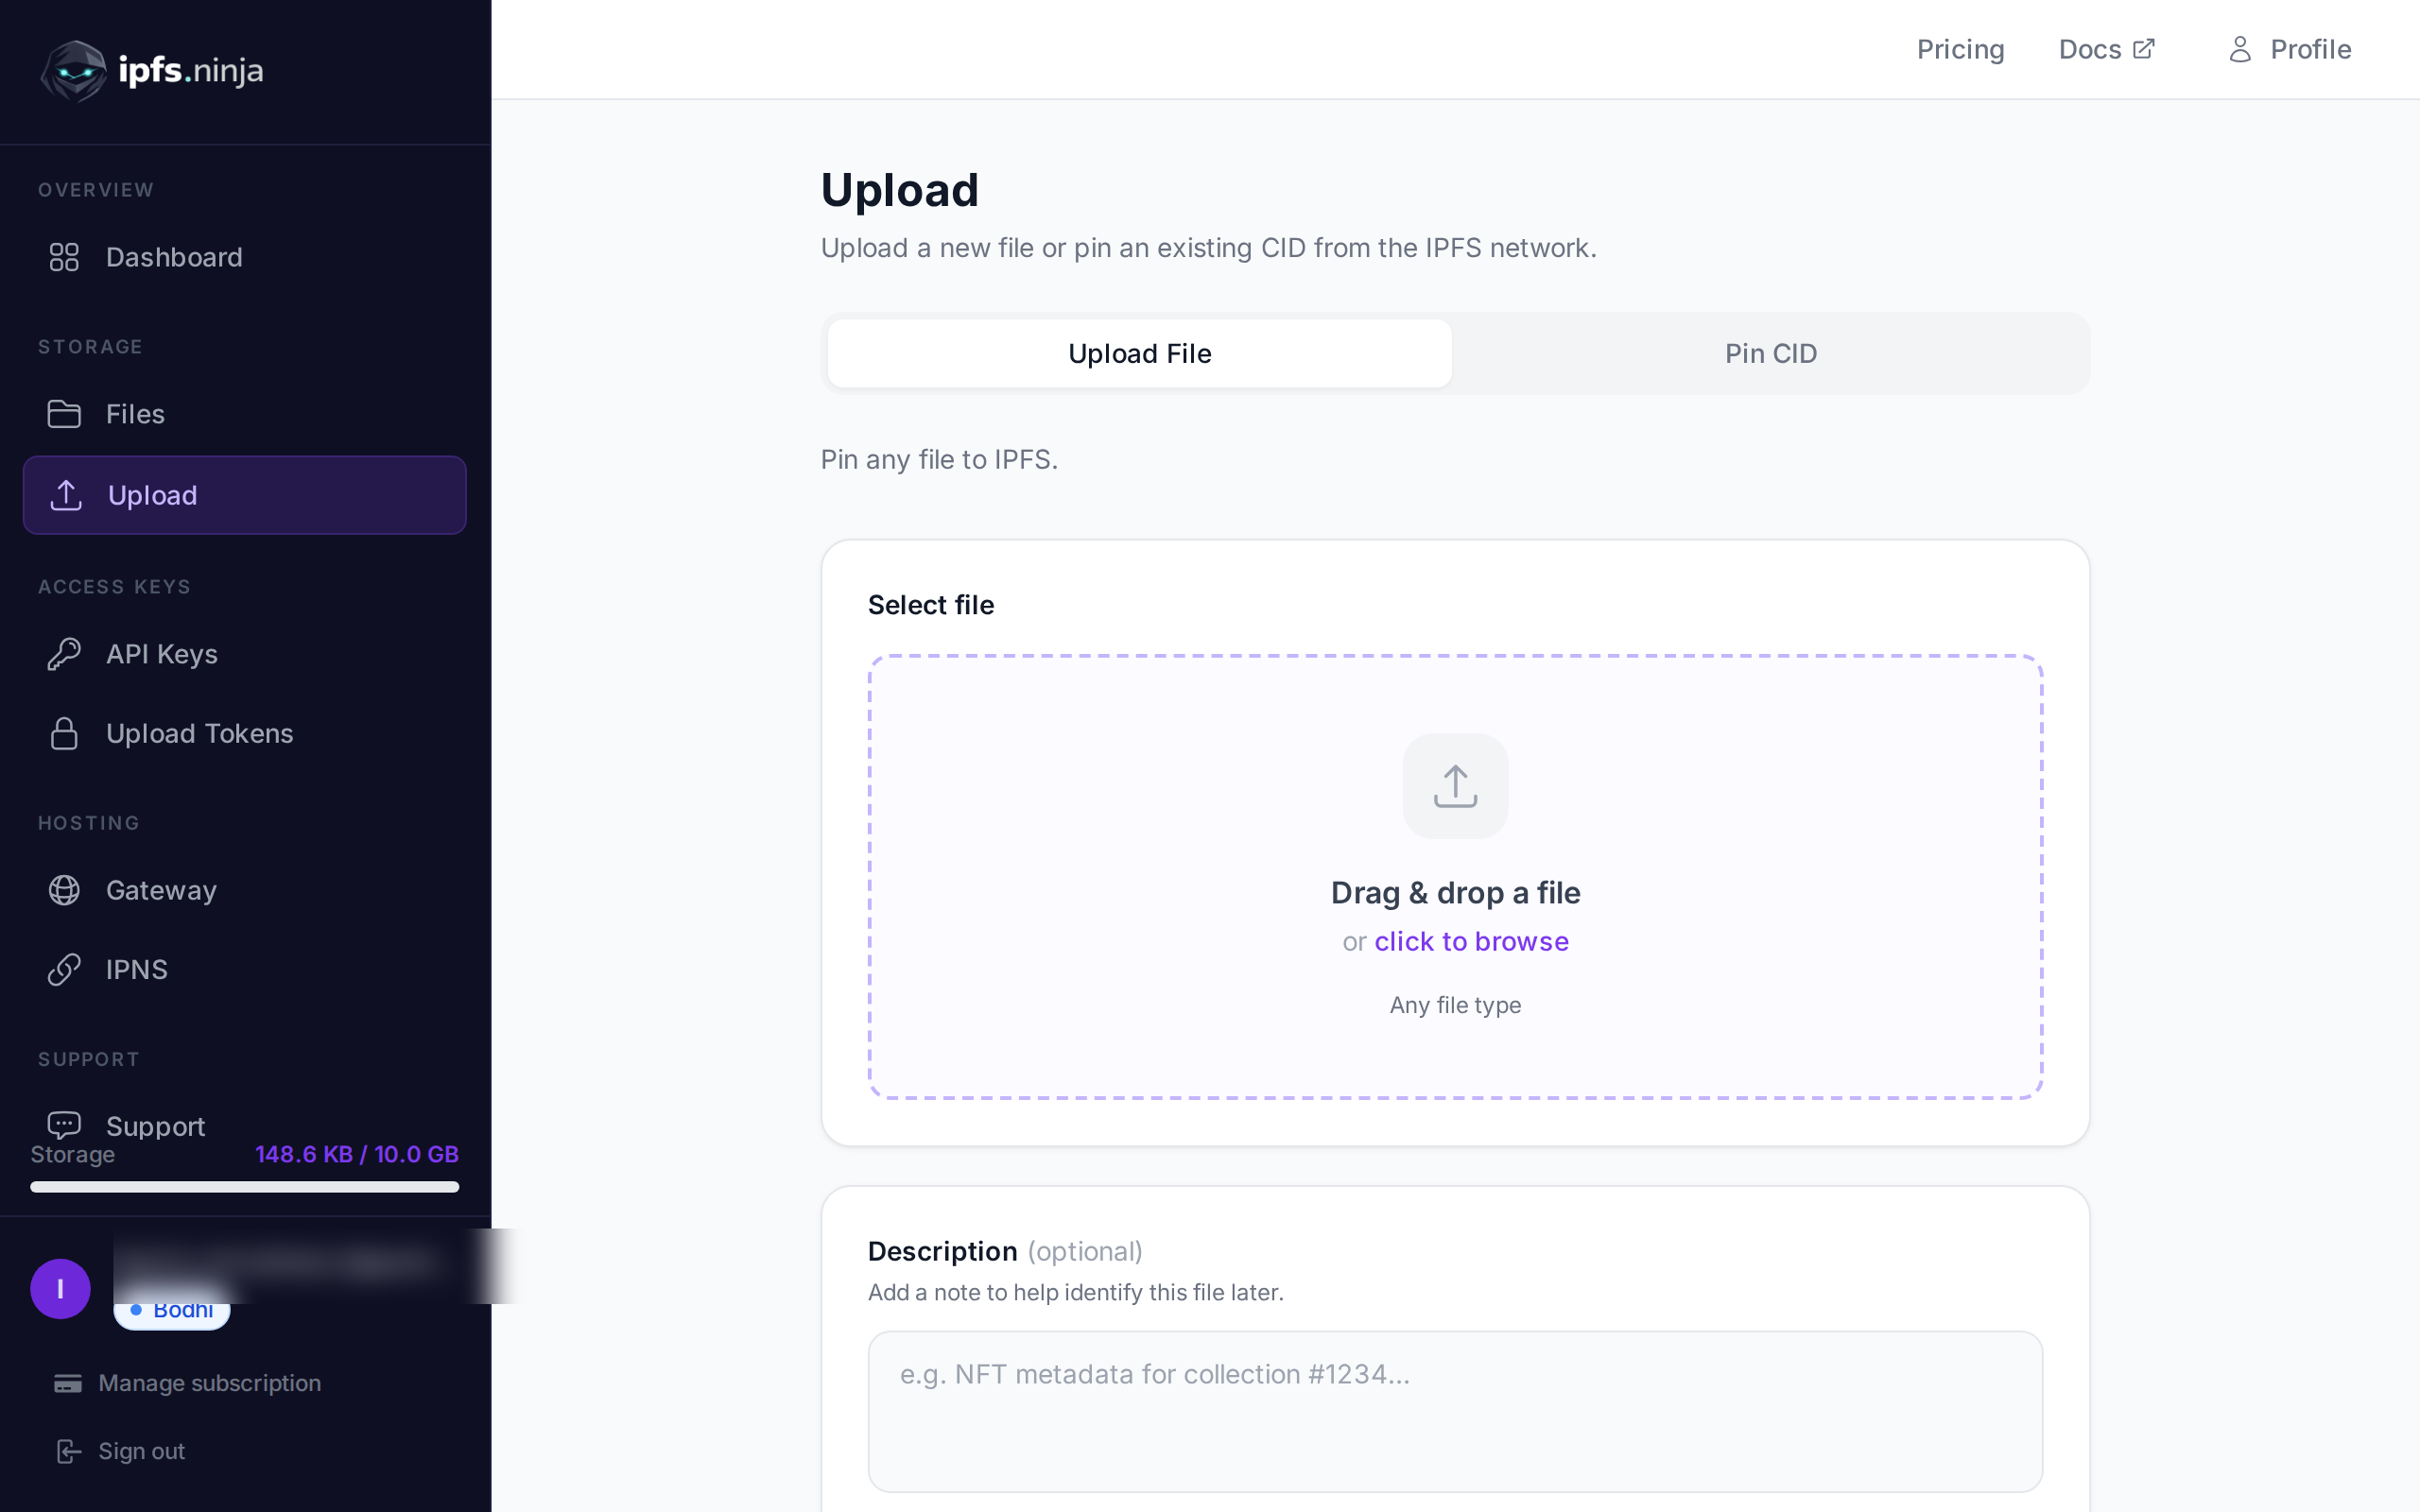
Manually uploading a file to IPFS every time you cut a release, merge a doc change, or generate a new dataset snapshot doesn’t scale past the first week. This guide covers three ways to make pinning automatic: as a CI/CD step (GitHub Actions, GitLab CI), on a fixed schedule (cron), and in response to an external event (a webhook receiver). All three use nothing more than a curl call or fetch() against the IPFS.NINJA REST API — no SDK, no extra service to run.
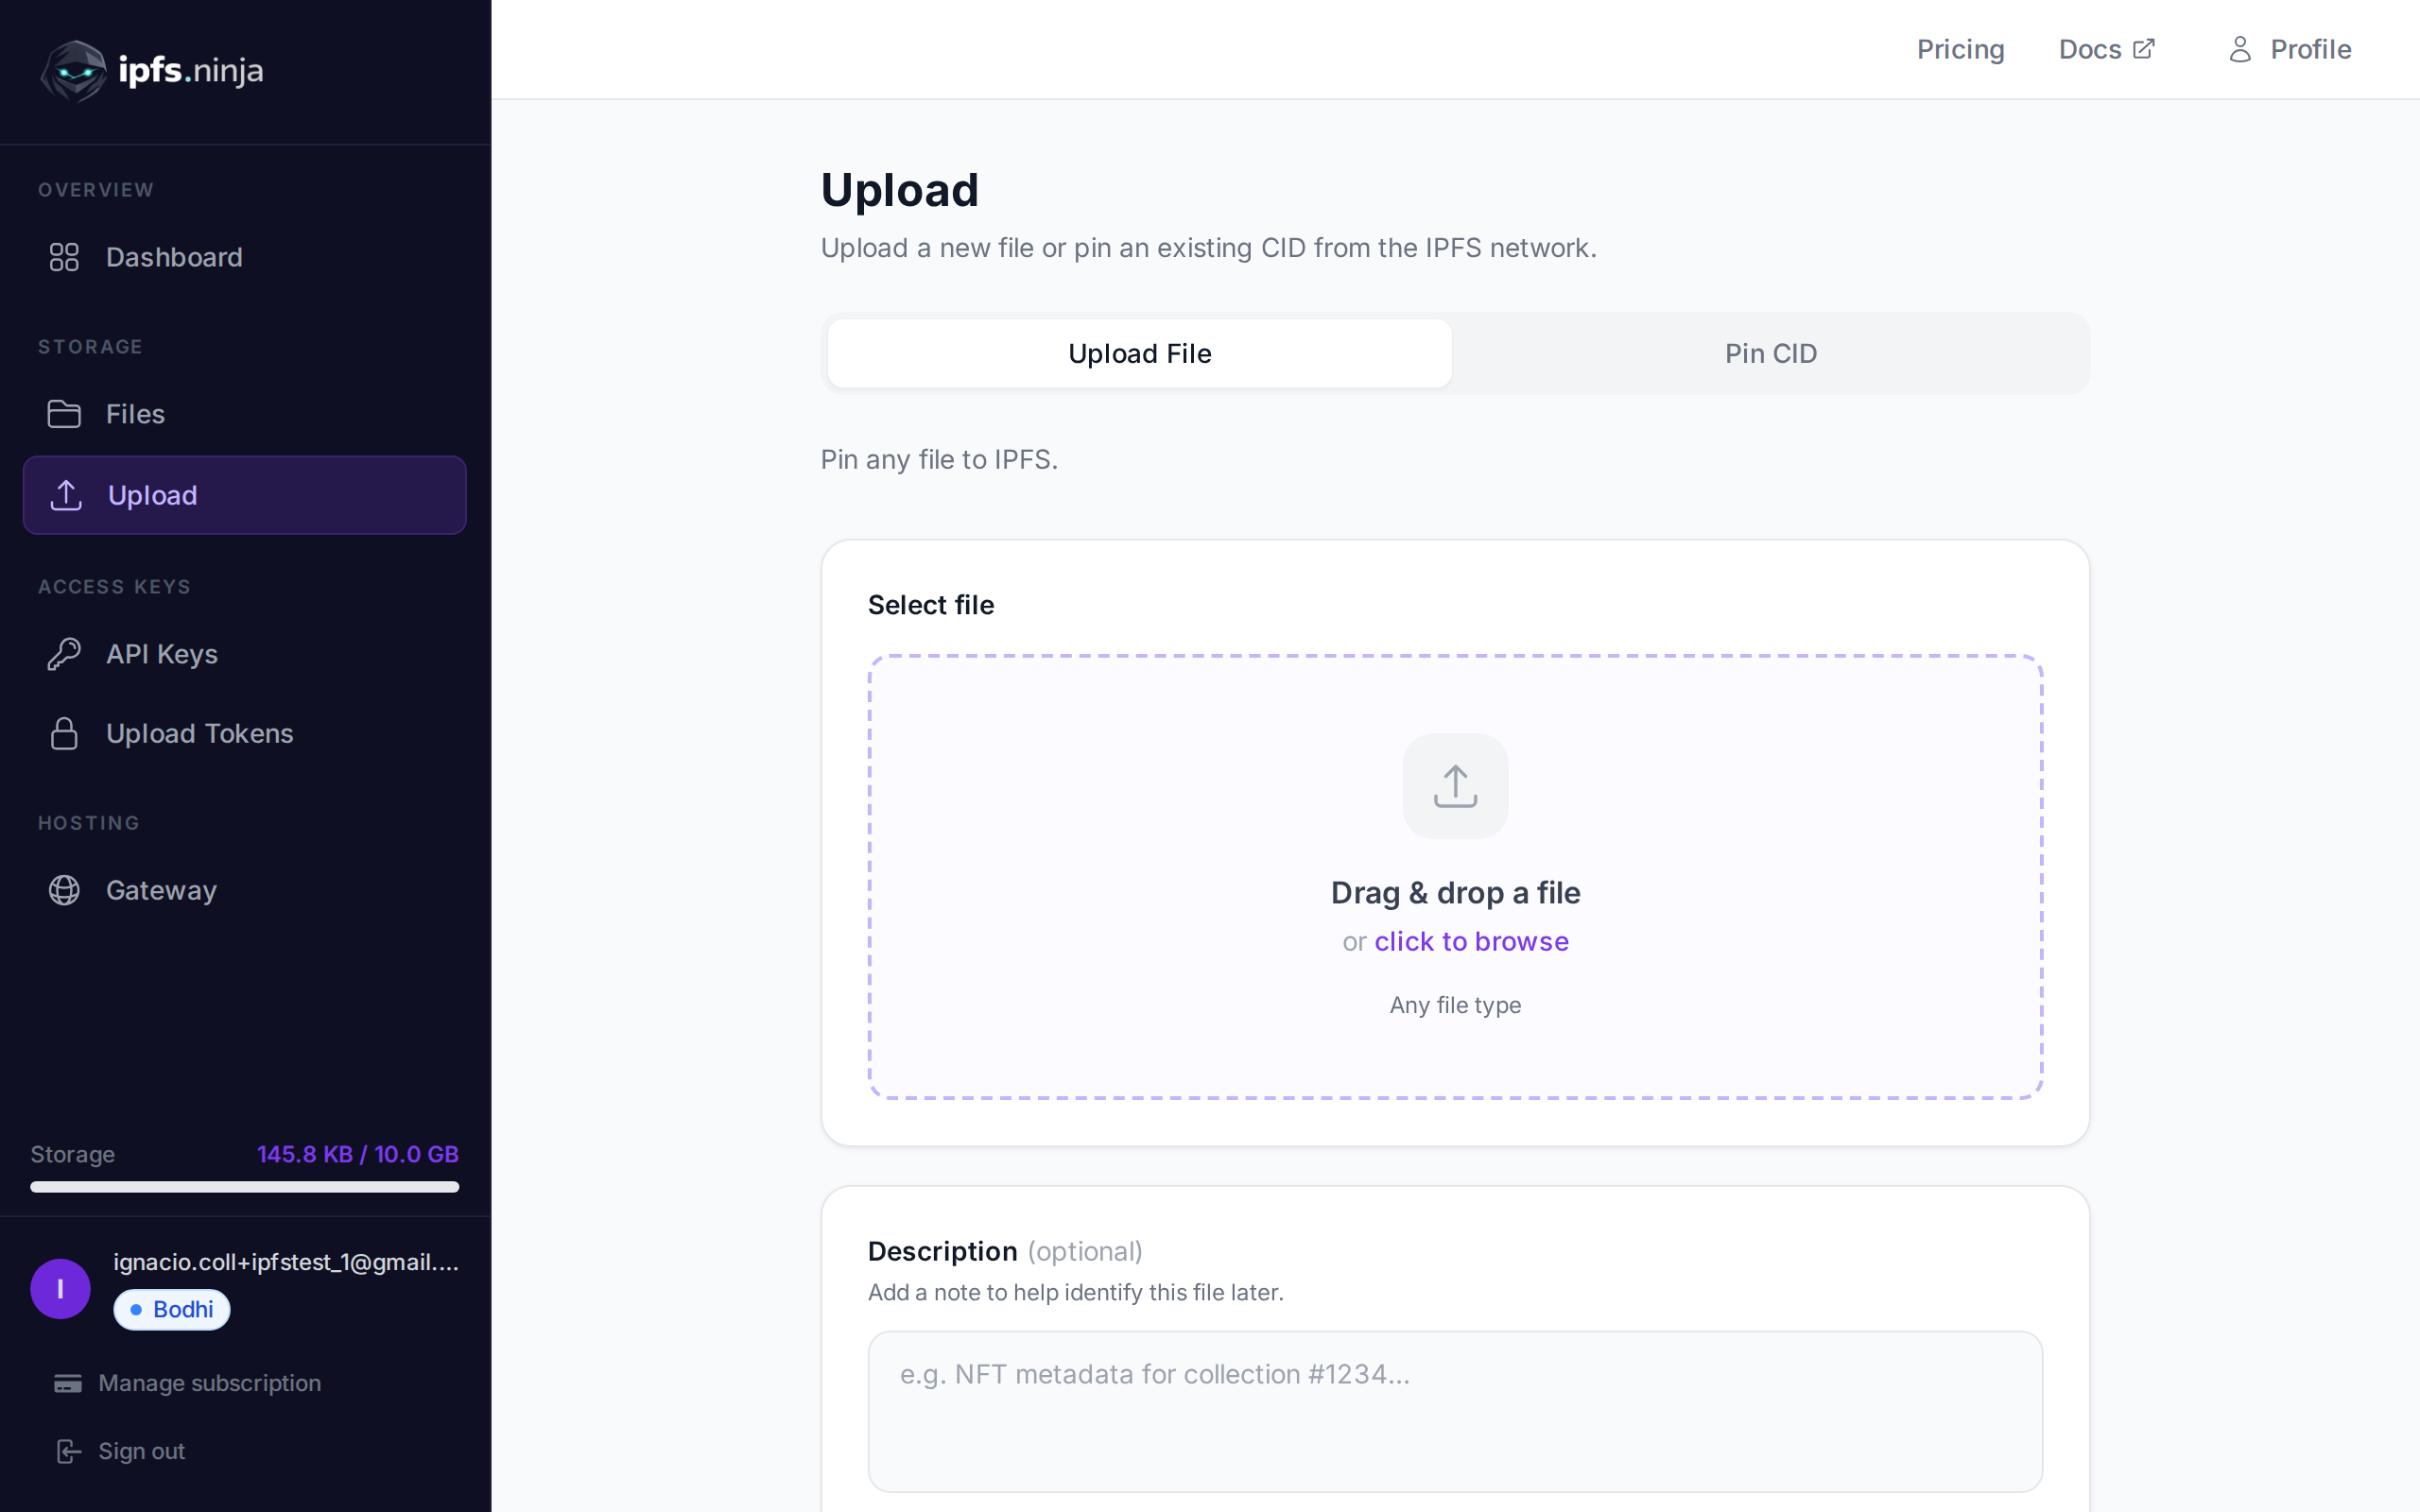
Pin a Build Artifact from GitHub Actions in 3 Lines#
The fastest way to see this working: add a step to an existing workflow that pins a build output right after it’s produced.
# .github/workflows/build.yml
- name: Pin build artifact to IPFS
  run: |
    curl -s -X POST https://api.ipfs.ninja/upload/new \
      -H "X-Api-Key: ${{ secrets.IPFS_NINJA_API_KEY }}" \
      -H "Content-Type: application/json" \
      -d "{\"content\": \"$(base64 -w0 dist/bundle.js)\", \"description\": \"CI build ${{ github.sha }}\"}"
Store your API key as a repo secret (Settings → Secrets and variables → Actions → New repository secret, name it IPFS_NINJA_API_KEY) and this step runs on every workflow trigger — push, PR, tag, whatever you already have configured.
Pin Documentation on Merge to Main#
A common pattern: every time docs merge to main, pin the rendered output so you have a permanent, content-addressed snapshot of what shipped at that commit.
# .github/workflows/pin-docs.yml
name: Pin docs to IPFS
on:
  push:
    branches: [main]
    paths:
      - "docs/**"
jobs:
  pin:
    runs-on: ubuntu-latest
    steps:
      - uses: actions/checkout@v4
      - name: Build docs
        run: npm run docs:build
      - name: Pin docs bundle to IPFS
        id: pin
        run: |
          RESULT=$(curl -s -X POST https://api.ipfs.ninja/upload/new \
            -H "X-Api-Key: ${{ secrets.IPFS_NINJA_API_KEY }}" \
            -H "Content-Type: application/json" \
            -d "{\"content\": \"$(base64 -w0 docs/dist/index.html)\", \"description\": \"docs @ ${{ github.sha }}\"}")
          echo "cid=$(echo "$RESULT" | jq -r .cid)" >> "$GITHUB_OUTPUT"
      - name: Comment CID on commit
        run: |
          curl -s -X POST \
            -H "Authorization: token ${{ secrets.GITHUB_TOKEN }}" \
            -d "{\"body\": \"Docs pinned: https://ipfs.ninja/ipfs/${{ steps.pin.outputs.cid }}\"}" \
            "https://api.github.com/repos/${{ github.repository }}/commits/${{ github.sha }}/comments"
The path filter means this only runs when docs actually changed, and the cid output makes the resulting content identifier available to later steps — useful if you also want to write it into a changelog or a status page.
Automate Pinning from GitLab CI#
The same request shape works unchanged in GitLab — it’s just an HTTP call, not a GitHub-specific integration.
# .gitlab-ci.yml
pin-to-ipfs:
  stage: deploy
  image: alpine:3
  before_script:
    - apk add --no-cache curl jq
  script:
    - |
      RESULT=$(curl -s -X POST https://api.ipfs.ninja/upload/new \
        -H "X-Api-Key: $IPFS_NINJA_API_KEY" \
        -H "Content-Type: application/json" \
        -d "{\"content\": \"$(base64 -w0 build/output.tar.gz)\", \"description\": \"GitLab CI $CI_COMMIT_SHORT_SHA\"}")
      echo "Pinned CID: $(echo "$RESULT" | jq -r .cid)"
  rules:
    - if: '$CI_COMMIT_BRANCH == "main"'
Set IPFS_NINJA_API_KEY under Settings → CI/CD → Variables and mark it masked and protected so it never shows up in job logs or runs on non-protected branches.
Scheduled Pinning with Cron#
For content that changes on a schedule rather than on a commit — a nightly dataset export, a weekly report — a plain cron entry calling curl is often simpler than wiring up a CI trigger.
# /etc/cron.d/ipfs-snapshot — runs nightly at 02:00
0 2 * * * root /usr/local/bin/pin-snapshot.sh >> /var/log/ipfs-snapshot.log 2>&1
#!/usr/bin/env bash
# pin-snapshot.sh
set -euo pipefail
API_KEY="bws_a1b2c3d4e5f6a1b2c3d4e5f6a1b2c3d4"
SNAPSHOT_PATH="/data/exports/latest.json"
RESULT=$(curl -sf -X POST https://api.ipfs.ninja/upload/new \
-H "X-Api-Key: ${API_KEY}" \
-H "Content-Type: application/json" \
-d "{\"content\": $(cat "${SNAPSHOT_PATH}"), \"description\": \"nightly snapshot $(date -u +%Y-%m-%dT%H:%M:%SZ)\"}")
echo "Pinned: $(echo "${RESULT}" | jq -r .cid)"If your snapshot is itself JSON, you can pass it as content directly (no base64 needed) — the API accepts a plain JSON body under content and only requires base64 encoding for binary payloads.
Webhook-Driven Pinning#
Sometimes the trigger isn’t your own CI pipeline but an external event — a CMS publish hook, a GitHub push webhook aimed at your own infrastructure instead of Actions, or a queue message from another service. In that case you need a small receiver that accepts the incoming webhook and re-pins on your behalf.
// webhook-server.mjs
import express from "express";
import crypto from "node:crypto";
const app = express();
app.use(express.json({ verify: (req, res, buf) => { req.rawBody = buf; } }));
const WEBHOOK_SECRET = process.env.WEBHOOK_SECRET;
const IPFS_API_KEY = process.env.IPFS_NINJA_API_KEY;
function verifySignature(req) {
  const signature = req.get("X-Hub-Signature-256") || "";
  const expected = "sha256=" + crypto
    .createHmac("sha256", WEBHOOK_SECRET)
    .update(req.rawBody)
    .digest("hex");
  return crypto.timingSafeEqual(Buffer.from(signature), Buffer.from(expected));
}
app.post("/webhook/publish", async (req, res) => {
  if (!verifySignature(req)) {
    return res.status(401).json({ error: "bad signature" });
  }
  const { content, description } = req.body;
  const uploadRes = await fetch("https://api.ipfs.ninja/upload/new", {
    method: "POST",
    headers: {
      "Content-Type": "application/json",
      "X-Api-Key": IPFS_API_KEY,
    },
    body: JSON.stringify({ content, description }),
  });
  const data = await uploadRes.json();
  res.json({ cid: data.cid, url: data.uris.url });
});
app.listen(3000, () => console.log("Webhook receiver on :3000"));
Always verify the incoming webhook signature before acting on it — an unauthenticated receiver that pins arbitrary payloads to your account is an easy way to burn through your plan’s file-count and storage quota.
Choosing the Right Automation Pattern#
| Trigger | Best for | Setup effort |
|---|---|---|
| CI/CD step (GitHub Actions, GitLab CI) | Pinning artifacts/docs tied to a commit or merge | Low — a few lines in an existing workflow |
| Cron job | Periodic snapshots not tied to a code change | Low — one script, one crontab entry |
| Webhook receiver | Events from external systems (CMS, third-party service) | Medium — you run and secure a small server |
CI/CD triggers are the right default if the content you’re pinning is produced by your pipeline. Reach for cron when the content changes on a clock instead of a commit. Only build a webhook receiver when the trigger genuinely originates outside anything you control directly — otherwise a CI step is less to maintain.
Handling Errors in Automated Pipelines#
Automation means nobody’s watching the terminal, so failures need to be loud and retryable rather than silent.
#!/usr/bin/env bash
set -euo pipefail
API_KEY="bws_a1b2c3d4e5f6a1b2c3d4e5f6a1b2c3d4"
MAX_RETRIES=3
for attempt in $(seq 1 $MAX_RETRIES); do
  STATUS=$(curl -s -o /tmp/ipfs-response.json -w "%{http_code}" \
    -X POST https://api.ipfs.ninja/upload/new \
    -H "X-Api-Key: ${API_KEY}" \
    -H "Content-Type: application/json" \
    -d "{\"content\": {\"attempt\": ${attempt}}}")
  if [ "$STATUS" -eq 200 ] || [ "$STATUS" -eq 201 ]; then
    echo "Pinned: $(jq -r .cid /tmp/ipfs-response.json)"
    exit 0
  fi
  if [ "$STATUS" -eq 402 ]; then
    echo "Plan limit hit — not retrying: $(jq -r .error /tmp/ipfs-response.json)" >&2
    exit 1
  fi
  echo "Attempt ${attempt} failed (HTTP ${STATUS}), retrying..." >&2
  sleep $((attempt * 2))
done
echo "Failed after ${MAX_RETRIES} attempts" >&2
exit 1
Treat 402 Payment Required (plan limit reached) as terminal, not retryable — retrying won’t make the quota bigger, and hammering the endpoint just wastes CI minutes. 429 and 5xx are worth a backoff retry; everything else should fail the pipeline loudly so someone notices.
For the underlying request/response shapes used above, see the IPFS upload API tutorial. If you’re new to pinning concepts generally, start with how to upload files to IPFS.
Ready to start pinning? Start your 7-day trial — 10 GB / 200 files / 20 GB bandwidth / 1 dedicated gateway (trial file cap — Bodhi lifts to unlimited). No credit card required. Then Bodhi $5/mo, Karma $19/mo, or Nirvana $59/mo.
About this article: This article was drafted by an AI assistant using IPFS.NINJA’s content generation workflow, then reviewed and approved by Nacho Coll. All code examples were verified against the live IPFS.NINJA API. If you spot an inaccuracy, please open an issue at https://github.com/ipfs-ninja/feedback. Read more about how we use AI in our content and meet the people behind IPFS.NINJA.
About the author
Nacho Coll
Founder & Engineer at IPFS.NINJA
Nacho founded IPFS.NINJA to make content-addressed storage feel as simple as an S3 PUT — a single API call, a permanent CID, no wallets or peer discovery to reason about. Writes about IPFS internals, decentralized storage patterns, and the pinning-service landscape from the operator side of the wire.