· Nacho Coll · Tutorials · 10 min read
IPFS Upload API — Complete Developer Tutorial
Learn to upload files to IPFS via REST API. Full code examples in JavaScript, Node.js, and curl. Upload JSON, images, use signed tokens for client-side uploads.

IPFS Upload API — Complete Developer Tutorial
Uploading files to IPFS should be as simple as making a POST request. In this tutorial you will do exactly that — upload JSON documents, images, and PDFs to IPFS with nothing more than fetch() and an API key. By the end you will have a complete Node.js script that uploads content, lists files, retrieves metadata, and generates signed tokens for secure client-side uploads. New to IPFS? Start with What is IPFS Pinning? to understand the fundamentals before diving into the code.
What You Will Build
- Upload a JSON object to IPFS and get back a content identifier (CID).
- Upload a binary image from disk.
- Attach descriptions and custom metadata to uploads.
- Query your upload history by date range.
- Retrieve details for a specific file.
- Create time-limited signed tokens so a browser can upload directly without exposing your API key.
- Handle errors and implement retry logic.
Everything runs against a single base URL: https://api.ipfs.ninja
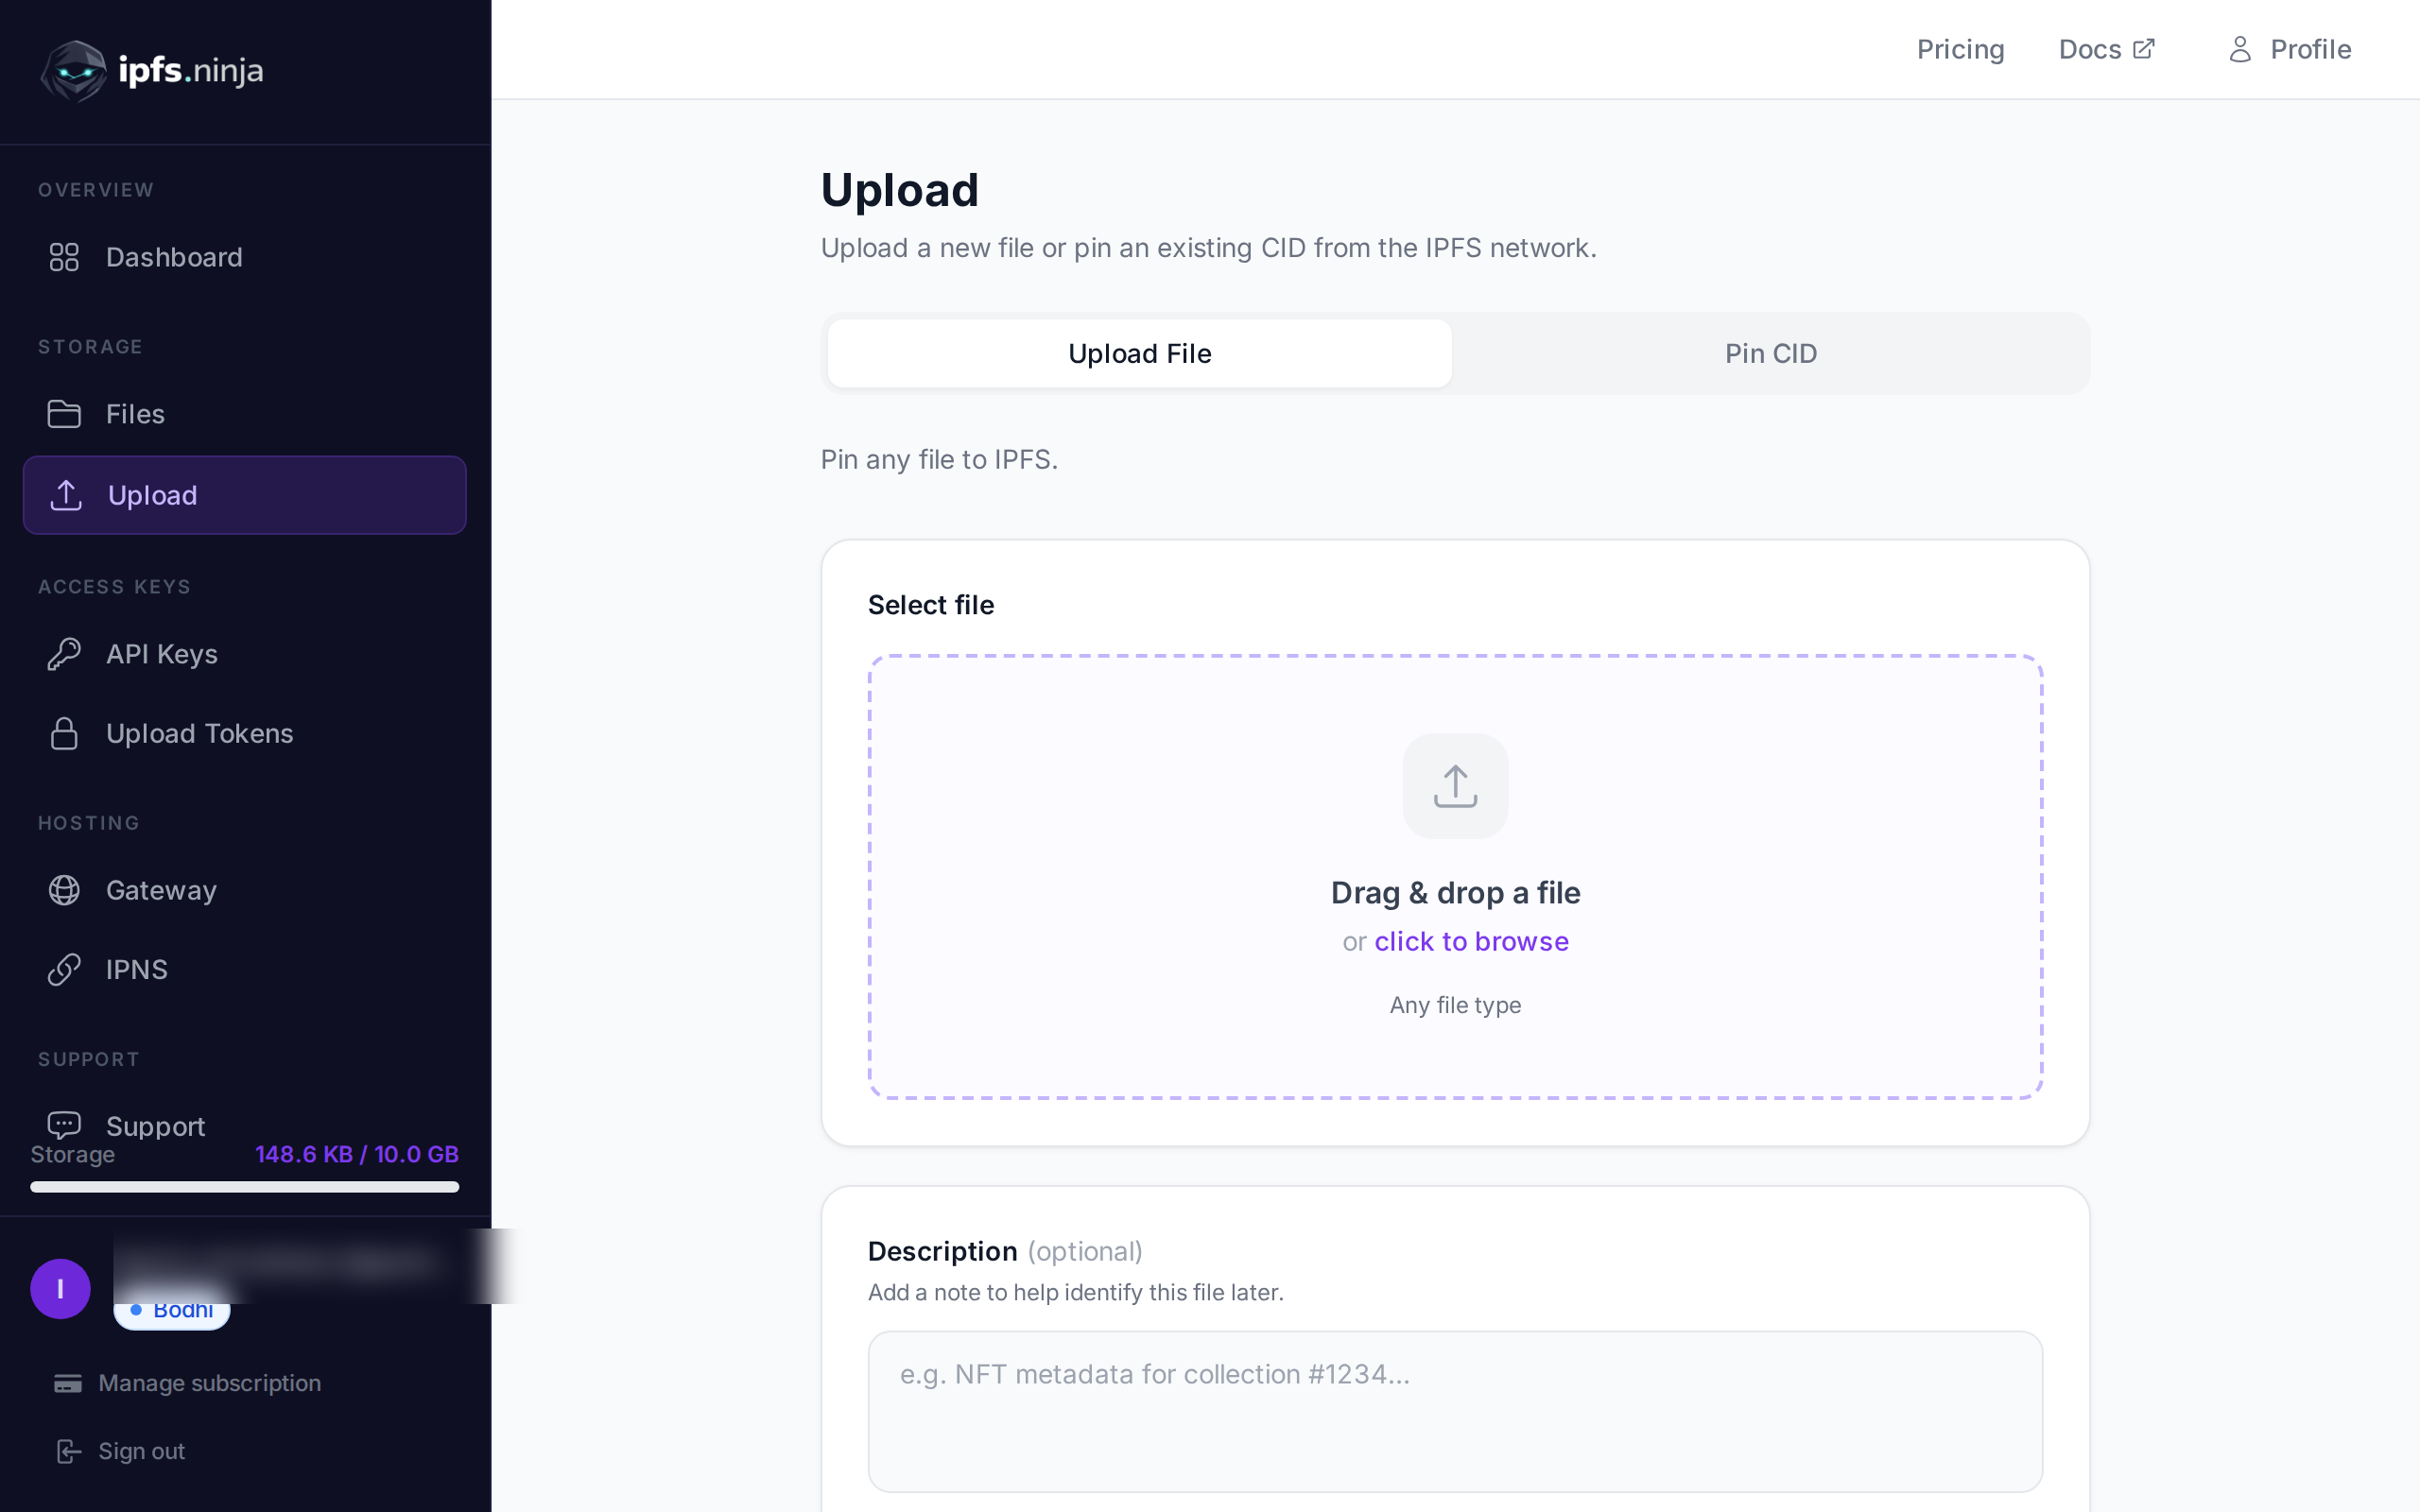
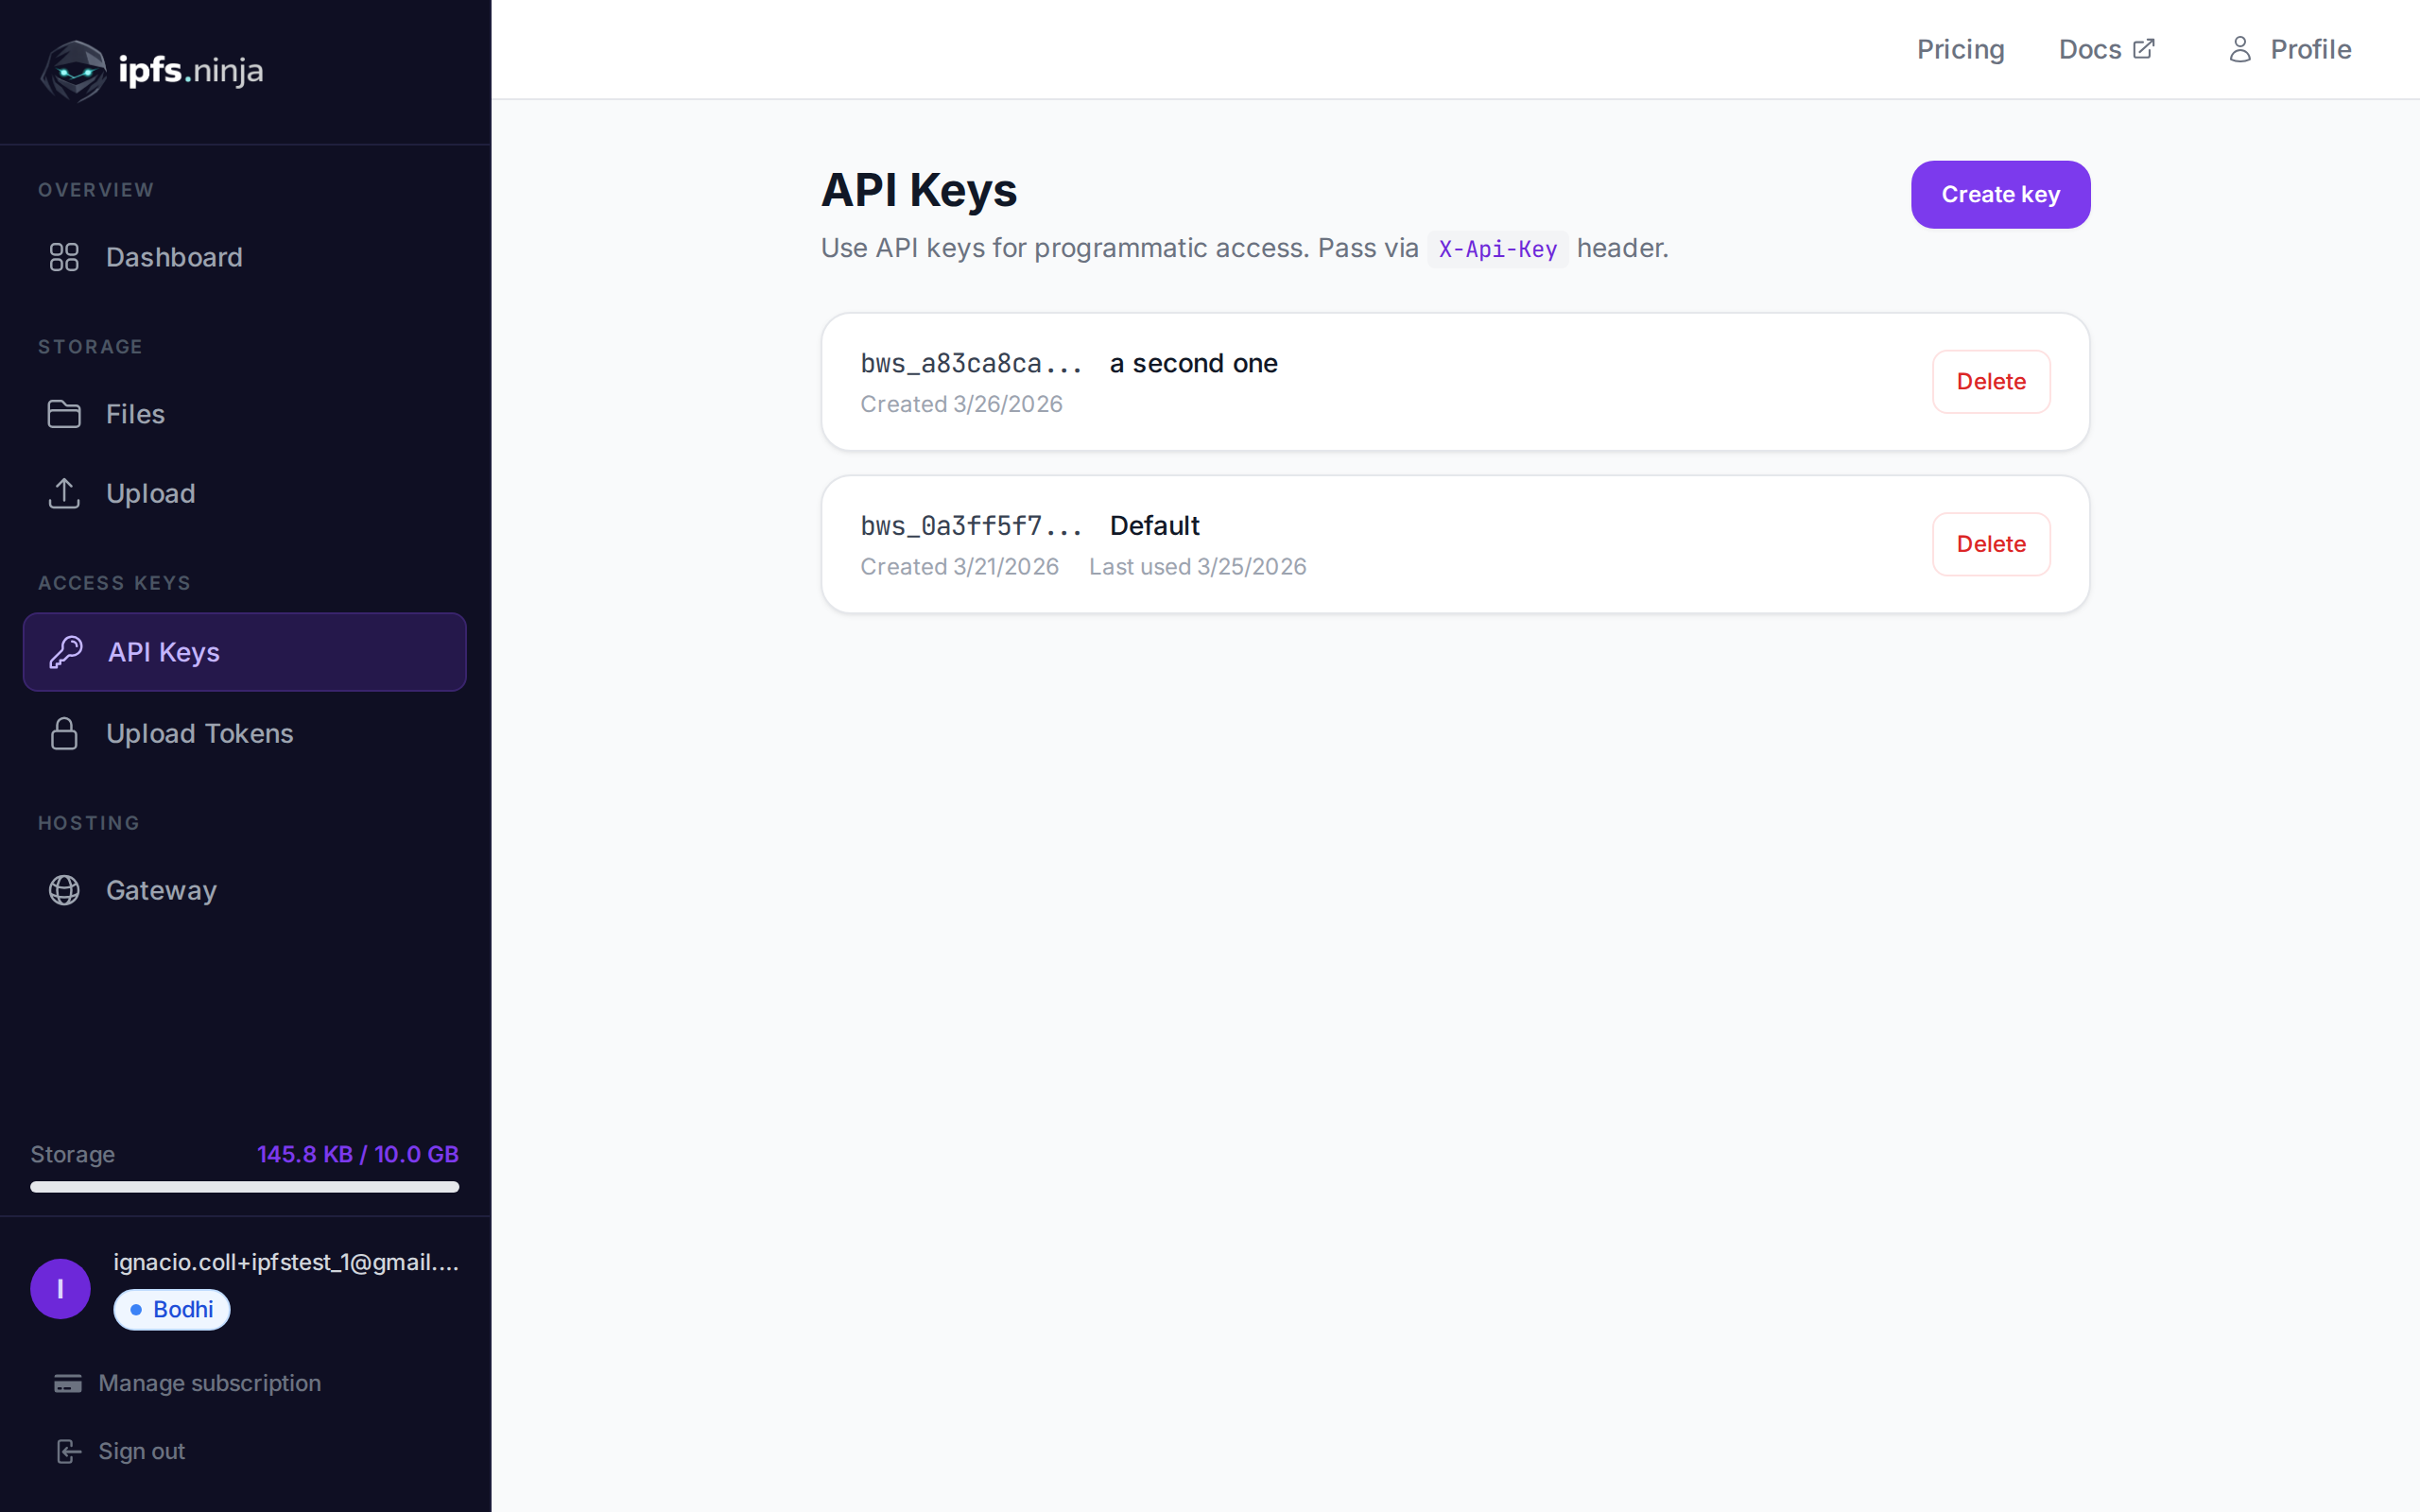
1. Setup — Sign Up and Get an API Key
- Sign up for a free account (no credit card required).
- Go to API Keys in the dashboard sidebar.
- Click Create key, give it a name, and copy the key immediately — it won’t be shown again.
Your key looks like bws_a1b2c3d4e5f6a7b8c9d0e1f2a3b4c5d6. Every example below sends it in the X-Api-Key header.
2. Upload JSON to IPFS
The simplest upload: pass a plain JavaScript object as content and the API serialises it, pins it to IPFS, and returns the CID.
// upload-json.mjs
const API = "https://api.ipfs.ninja";
const API_KEY = "bws_your_key_here";

const payload = {
  content: {
    name: "Galactic Badge #42",
    description: "Proof of attendance — Galactic Meetup 2026",
    attributes: [
      { trait_type: "Event", value: "Galactic Meetup" },
      { trait_type: "Year", value: 2026 }
    ]
  }
};

const res = await fetch(`${API}/upload/new`, {
  method: "POST",
  headers: {
    "Content-Type": "application/json",
    "X-Api-Key": API_KEY
  },
  body: JSON.stringify(payload)
});

const data = await res.json();
console.log("CID :", data.cid);
console.log("Size:", data.sizeMB, "MB");
console.log("IPFS:", data.uris.ipfs);
console.log("URL :", data.uris.url);
Run with node upload-json.mjs. A successful response looks like this:
{
  "cid": "bafkreigx7gq...",
  "sizeMB": 0.0004,
  "uris": {
    "ipfs": "ipfs://bafkreigx7gq...",
    "url": "https://ipfs.ninja/ipfs/bafkreigx7gq..."
  }
}
The url field points to a public HTTP gateway, so the content is immediately accessible in any browser.
3. Upload an Image
Binary files (images, PDFs, audio) are sent as base64-encoded strings in the content field.
// upload-image.mjs
import { readFileSync } from "node:fs";

const API = "https://api.ipfs.ninja";
const API_KEY = "bws_your_key_here";

const imageBuffer = readFileSync("./photo.png");
const base64 = imageBuffer.toString("base64");

const res = await fetch(`${API}/upload/new`, {
  method: "POST",
  headers: {
    "Content-Type": "application/json",
    "X-Api-Key": API_KEY
  },
  body: JSON.stringify({ content: base64 })
});

const data = await res.json();
console.log("Image CID:", data.cid);
console.log("Gateway  :", data.uris.url);
The API detects the MIME type automatically — PNG, JPEG, WebP, GIF, and PDF are all supported. No extra headers or content-type overrides required.
With curl the same operation looks like this:
BASE64=$(base64 -w 0 photo.png)

curl -X POST https://api.ipfs.ninja/upload/new \
  -H "Content-Type: application/json" \
  -H "X-Api-Key: bws_your_key_here" \
  -d "{\"content\": \"$BASE64\"}"
4. Upload with Metadata
Every upload accepts two optional fields: description (free-text label) and metadata (arbitrary key-value pairs). Both are stored alongside the CID and returned when you list or fetch the file later.
// upload-with-metadata.mjs
const API = "https://api.ipfs.ninja";
const API_KEY = "bws_your_key_here";

const res = await fetch(`${API}/upload/new`, {
  method: "POST",
  headers: {
    "Content-Type": "application/json",
    "X-Api-Key": API_KEY
  },
  body: JSON.stringify({
    content: { title: "Meeting Notes", body: "Q1 roadmap recap..." },
    description: "Q1 2026 planning meeting notes",
    metadata: {
      project: "acme-app",
      author: "dana",
      version: "1"
    }
  })
});

const data = await res.json();
console.log("CID:", data.cid);
Metadata makes it easy to filter and organise files on your side without parsing the IPFS content itself.
5. Pin an Existing CID
If you already have content on IPFS and want to make sure it stays available, pin it by CID:
// pin-cid.mjs
const API = "https://api.ipfs.ninja";
const API_KEY = "bws_your_key_here";

const res = await fetch(`${API}/pin`, {
  method: "POST",
  headers: {
    "Content-Type": "application/json",
    "X-Api-Key": API_KEY
  },
  body: JSON.stringify({
    cid: "bafkreigx7gq...",
    description: "Pinned from external source"
  })
});

const data = await res.json();
console.log("Pinned:", data.cid);
6. List Your Files
Retrieve every file you have uploaded within a time window. The from and to query parameters are Unix timestamps in milliseconds.
// list-files.mjs
const API = "https://api.ipfs.ninja";
const API_KEY = "bws_your_key_here";

const now = Date.now();
const oneWeekAgo = now - 7 * 24 * 60 * 60 * 1000;

const url = `${API}/upload/list?from=${oneWeekAgo}&to=${now}`;

const res = await fetch(url, {
  headers: { "X-Api-Key": API_KEY }
});

const files = await res.json();

for (const file of files) {
  console.log(`${file.cid}  ${file.description ?? "(no description)"}`);
}
With curl:
FROM=$(($(date +%s) * 1000 - 604800000))
TO=$(($(date +%s) * 1000))

curl -s "https://api.ipfs.ninja/upload/list?from=$FROM&to=$TO" \
  -H "X-Api-Key: bws_your_key_here" | jq .
7. Get File Details
Fetch the full record for a single CID, including metadata, size, and timestamps:
// get-file.mjs
const API = "https://api.ipfs.ninja";
const API_KEY = "bws_your_key_here";
const CID = "bafkreigx7gq...";

const res = await fetch(`${API}/file/${CID}`, {
  headers: { "X-Api-Key": API_KEY }
});

const details = await res.json();
console.log(JSON.stringify(details, null, 2));
8. Client-Side Uploads with Signed Tokens
Embedding an API key in a browser bundle is a security risk. Instead, generate a short-lived signed token on your server and pass it to the client.
Server (Express)
// server.mjs
import express from "express";

const app = express();
const API = "https://api.ipfs.ninja";
const API_KEY = process.env.IPFS_API_KEY;

app.post("/api/upload-token", async (req, res) => {
  const response = await fetch(`${API}/upload/signed-url`, {
    method: "POST",
    headers: {
      "Content-Type": "application/json",
      "X-Api-Key": API_KEY
    },
    body: JSON.stringify({
      name: "browser-upload",
      expiresIn: 600          // token valid for 10 minutes
    })
  });

  const { token, tokenId, expiresAt } = await response.json();
  res.json({ token, tokenId, expiresAt });
});

app.listen(3000, () => console.log("Server running on :3000"));
Browser Client
<!-- upload.html -->
<input type="file" id="filePicker" />
<button id="uploadBtn">Upload to IPFS</button>
<pre id="result"></pre>

<script>
  const API = "https://api.ipfs.ninja";

  document.getElementById("uploadBtn").addEventListener("click", async () => {
    // 1. Get a signed token from your own backend
    const tokenRes = await fetch("/api/upload-token", { method: "POST" });
    const { token } = await tokenRes.json();

    // 2. Read the selected file as base64
    const file = document.getElementById("filePicker").files[0];
    if (!file) return alert("Pick a file first");

    const base64 = await new Promise((resolve) => {
      const reader = new FileReader();
      reader.onload = () => resolve(reader.result.split(",")[1]);
      reader.readAsDataURL(file);
    });

    // 3. Upload directly to IPFS using the signed token
    const uploadRes = await fetch(`${API}/upload/new`, {
      method: "POST",
      headers: {
        "Content-Type": "application/json",
        "Authorization": `Signed ${token}`
      },
      body: JSON.stringify({
        content: base64,
        description: file.name
      })
    });

    const data = await uploadRes.json();
    document.getElementById("result").textContent = JSON.stringify(data, null, 2);
  });
</script>
The browser never sees your API key. The signed token expires automatically. Tokens are multi-use — they can be used multiple times until they expire or are revoked. The useCount is tracked but not enforced as a limit.
9. Error Handling
The API uses conventional HTTP status codes. Here are the ones you should handle explicitly:
| Status | Meaning | What to do |
|---|---|---|
| 400 | Bad request — missing or invalid fields | Check content is present and valid |
| 401 | Unauthorized — bad or missing API key | Verify X-Api-Key header |
| 413 | Payload too large | Reduce file size or split content |
| 429 | Rate limited | Back off and retry with exponential delay |
| 500 | Server error | Retry after a short delay |
A resilient upload function with exponential backoff:
// resilient-upload.mjs
const API = "https://api.ipfs.ninja";
const API_KEY = "bws_your_key_here";

async function uploadWithRetry(content, retries = 3) {
  for (let attempt = 1; attempt <= retries; attempt++) {
    const res = await fetch(`${API}/upload/new`, {
      method: "POST",
      headers: {
        "Content-Type": "application/json",
        "X-Api-Key": API_KEY
      },
      body: JSON.stringify({ content })
    });

    if (res.ok) return await res.json();

    const body = await res.text();

    if (res.status === 401) {
      throw new Error(`Authentication failed: ${body}`);
    }

    if (res.status === 413) {
      throw new Error(`Payload too large — reduce file size. ${body}`);
    }

    if (res.status === 429 || res.status >= 500) {
      const delay = Math.pow(2, attempt) * 1000;    // 2s, 4s, 8s
      console.warn(`Attempt ${attempt} failed (${res.status}). Retrying in ${delay}ms...`);
      await new Promise((r) => setTimeout(r, delay));
      continue;
    }

    throw new Error(`Upload failed (${res.status}): ${body}`);
  }

  throw new Error("Upload failed after all retries");
}

// Usage
const data = await uploadWithRetry({ hello: "world" });
console.log("CID:", data.cid);
10. Full Working Example
A single script that exercises every endpoint covered in this tutorial. Save it as ipfs-demo.mjs and run with node ipfs-demo.mjs.
// ipfs-demo.mjs
import { readFileSync } from "node:fs";

const API = "https://api.ipfs.ninja";
const API_KEY = "bws_your_key_here";

const headers = {
  "Content-Type": "application/json",
  "X-Api-Key": API_KEY
};

async function request(method, path, body) {
  const opts = { method, headers };
  if (body) opts.body = JSON.stringify(body);
  const res = await fetch(`${API}${path}`, opts);
  if (!res.ok) throw new Error(`${method} ${path} → ${res.status}: ${await res.text()}`);
  return res.json();
}

// --- 1. Upload JSON ---
console.log("--- Upload JSON ---");
const jsonResult = await request("POST", "/upload/new", {
  content: { name: "Demo Token", edition: 1 },
  description: "Tutorial demo — JSON upload",
  metadata: { tutorial: "true" }
});
console.log("CID:", jsonResult.cid);
console.log("URL:", jsonResult.uris.url);

// --- 2. Upload an image (if photo.png exists) ---
try {
  const img = readFileSync("./photo.png");
  console.log("\n--- Upload Image ---");
  const imgResult = await request("POST", "/upload/new", {
    content: img.toString("base64"),
    description: "Tutorial demo — image upload"
  });
  console.log("CID:", imgResult.cid);
  console.log("URL:", imgResult.uris.url);
} catch {
  console.log("\n--- Skipping image upload (no photo.png found) ---");
}

// --- 3. Pin the JSON CID ---
console.log("\n--- Pin CID ---");
const pinResult = await request("POST", "/pin", {
  cid: jsonResult.cid,
  description: "Pinned from tutorial"
});
console.log("Pinned:", pinResult.cid);

// --- 4. Get file details ---
console.log("\n--- File Details ---");
const details = await request("GET", `/file/${jsonResult.cid}`);
console.log(JSON.stringify(details, null, 2));

// --- 5. List recent files ---
console.log("\n--- Recent Files ---");
const now = Date.now();
const oneHourAgo = now - 60 * 60 * 1000;
const files = await request("GET", `/upload/list?from=${oneHourAgo}&to=${now}`);
console.log(`Found ${files.length} file(s) in the last hour`);
for (const f of files) {
  console.log(` - ${f.cid}  ${f.description ?? ""}`);
}

// --- 6. Create a signed upload token ---
console.log("\n--- Signed Token ---");
const tokenResult = await request("POST", "/upload/signed-url", {
  name: "demo-token",
  expiresIn: 300
});
console.log("Token ID :", tokenResult.tokenId);
console.log("Expires  :", new Date(tokenResult.expiresAt).toISOString());

// --- 7. Upload using the signed token ---
console.log("\n--- Upload with Signed Token ---");
const signedRes = await fetch(`${API}/upload/new`, {
  method: "POST",
  headers: {
    "Content-Type": "application/json",
    "Authorization": `Signed ${tokenResult.token}`
  },
  body: JSON.stringify({
    content: { note: "Uploaded with a signed token" }
  })
});
const signedData = await signedRes.json();
console.log("CID:", signedData.cid);

console.log("\nDone.");
Replace bws_your_key_here with a real key and run the script. Every step prints its result so you can follow along.
11. Next Steps
You now know how to upload, pin, list, and retrieve files through the IPFS Upload API and how to keep browser uploads secure with signed tokens. For a broader overview including the dashboard UI and Python examples, see How to Upload Files to IPFS. Here is where to go from here:
- API Reference — Full endpoint documentation at ipfs.ninja/docs.
- Custom Gateways — Serve IPFS content from your own domain. See the gateway setup guide.
- Analytics — Track upload volume, bandwidth, and pin counts in the dashboard.
- HTTP Client — No SDK is required. You can use standard
fetch()or any HTTP client to interact with the API.
If you run into issues, open a ticket at support.ipfs.ninja or join the community on Discord.