IPFS CIDs Explained: Content Addressing in 2026
Hands-on guide to IPFS CIDs: CIDv0 vs CIDv1, how content addressing works, generating CIDs from Node.js and Python, and verifying integrity. Updated for 2026.
Nacho founded IPFS.NINJA to make content-addressed storage feel as simple as an S3 PUT — a single API call, a permanent CID, no wallets or peer discovery to reason about.
- Generate a reproducible CID from any file's bytes — same content always produces the same hash.
- Use CIDv1 for new uploads: it's Base32, lowercase, and works with subdomain gateways; CIDv0 doesn't.
- A single changed byte in a file completely changes its CID, making tampering immediately detectable.
- Content addressing means files are identified by what they are, not where they're hosted.
This is a hands-on tutorial for developers. For the official IPFS specification and protocol semantics, see docs.ipfs.tech/concepts/content-addressing. Below you’ll find working Python + Node.js code, a CIDv0 vs CIDv1 cheat sheet, and the troubleshooting cases we see most often in support tickets.
Generate a CID in 5 lines (Python)#
import hashlib, base58

def cidv0(content: bytes) -> str:
    sha256 = hashlib.sha256(content).digest()
    return base58.b58encode(b"\x12\x20" + sha256).decode()

print(cidv0(b"hello world"))
# QmaozNR7DZHQK1ZcU9p7QdrshMvXqWK6gpvBw3cWE69N3T
That CID is reproducible by anyone — re-run with the same bytes anywhere on Earth, get the same string. That’s content addressing.
Node.js equivalent:
import { sha256 } from 'multiformats/hashes/sha2';
import { CID } from 'multiformats/cid';

const bytes = new TextEncoder().encode('hello world');
const hash = await sha256.digest(bytes);
const cid = CID.create(1, 0x55, hash); // version 1, raw codec
console.log(cid.toString());
// bafkreif7l7mvyofhyo6fgs6mjf5gguvm5jcahzgvfb3o7t5lmhz3...
CIDv0 vs CIDv1 — quick reference#
| CIDv0 | CIDv1 | |
|---|---|---|
| Looks like | Qm… (46 chars, Base58) | bafy…, bafk…, bafz… (59+ chars, Base32) |
| Hash | SHA-256 only | Any: BLAKE3, SHA-512, … |
| Codec | dag-pb only | dag-pb, dag-cbor, raw, dag-json, … |
| Subdomain gateways | ❌ Case-sensitive Base58 breaks DNS | ✅ Lowercase Base32 works |
| When you’ll see it | Pre-2021 content, raw ipfs add | New uploads on most pinning services |
| Upgrade command | ipfs cid base32 <cidv0> | (already CIDv1) |
If you remember one thing: use CIDv1 for anything new. Subdomain gateways (<cid>.ipfs.gateway.tld) don’t work with CIDv0 because DNS labels must be lowercase but Base58 isn’t. Every modern IPFS service emits CIDv1 by default.
What is an IPFS CID?#
A Content Identifier (CID) is a unique fingerprint that represents a piece of content in IPFS. Unlike traditional web URLs that point to a location (like https://example.com/file.pdf), CIDs point to the content itself, regardless of where it’s stored.
Think of it this way:
- Location-based addressing: “Go to 123 Main Street and ask for the red book”
- Content-based addressing: “Find the book with ISBN 978-0-123456-78-9” (it doesn’t matter which library has it)
CIDs work similarly – they identify content by its cryptographic hash, making the content immutable and verifiable. If even a single byte changes in the file, the CID changes completely.
Why Content Addressing Matters#
Traditional web architecture relies on location-based addressing. When you visit https://example.com/image.jpg, you’re trusting:
- The domain owner hasn’t changed the content
- The server is online and accessible
- The content hasn’t been tampered with
With content addressing using CIDs:
- Immutability: The CID guarantees the content hasn’t changed
- Decentralization: Content can be retrieved from any IPFS node that has it
- Verification: You can cryptographically verify you received the correct content
- Efficiency: Identical content is deduplicated automatically
Anatomy of a CID#
Let’s dissect a typical CID to understand its components:
bafybeigdyrzt5sfp7udm7hu76uh7y26nf3efuylqabf3oclgtqy55fbzdi
└─┬─┘└─────────────────┬─────────────────────────────────┘
  │                   │
  │                   └─ Content Hash (Base32 encoded)
  └─ Multibase Prefix (indicates encoding)
A CID contains several pieces of information:
1. Multibase Prefix#
The first character indicates how the CID is encoded:
Q= Base58 encoding (CIDv0)b= Base32 encoding (CIDv1)f= Base16/hexadecimal (CIDv1)z= Base58 (CIDv1)
2. CID Version#
- CIDv0: Always starts with
Qm, uses SHA-256, limited to DAG-PB codec - CIDv1: More flexible, supports multiple hash functions and codecs
3. Multicodec#
Specifies how the content is structured (DAG-PB, DAG-CBOR, raw bytes, etc.)
4. Multihash#
The actual cryptographic hash of the content, including:
- Hash function identifier (usually SHA-256)
- Hash length
- The hash digest
CIDv0 vs CIDv1: Understanding the Differences#
IPFS has evolved through two major CID versions, each with distinct characteristics:
CIDv0: The Original Format#
CIDv0 CIDs always start with Qm and look like this:
QmYwAPJzv5CZsnA625s3Xf2nemtYgPpHdWEz79ojWnPbdGCharacteristics:
- Base58 encoding only
- SHA-256 hash function only
- DAG-PB (Protobuf) codec only
- 46 characters long
- Backward compatible with all IPFS implementations
When to use CIDv0:
- Maximum compatibility with older IPFS nodes
- Working with existing systems that expect
Qmprefixes - File storage (most common use case)
CIDv1: The Modern Standard#
CIDv1 CIDs are more flexible and can look like:
bafybeigdyrzt5sfp7udm7hu76uh7y26nf3efuylqabf3oclgtqy55fbzdi  # Base32
zb2rhj7crUKTQYRGCRATFaQ6YFLTde2YzdqbbhAASkL9uRDXn      # Base58
f01551220d1e2c35...                                      # Base16
Characteristics:
- Multiple encoding formats (Base32, Base58, Base16)
- Support for different hash functions (SHA-256, SHA-512, BLAKE2, etc.)
- Multiple codecs (Raw, DAG-CBOR, DAG-JSON, etc.)
- Self-describing format
- Case-insensitive when using Base32
When to use CIDv1:
- Building new applications
- Need case-insensitive identifiers
- Working with structured data (JSON, CBOR)
- Using alternative hash functions
Converting Between Versions#
You can convert CIDs between versions while maintaining the same content reference:
// CIDv0
const cidv0 = "QmYwAPJzv5CZsnA625s3Xf2nemtYgPpHdWEz79ojWnPbdG";

// Convert to CIDv1 Base32
const cidv1 = "bafybeigdyrzt5sfp7udm7hu76uh7y26nf3efuylqabf3oclgtqy55fbzdi";

// Both reference the same content!
How Content Addressing Works#
Content addressing in IPFS follows a deterministic process that ensures the same content always produces the same CID:
1. Content Preparation#
When you add content to IPFS, it’s first broken down:
- Small files: Stored as single blocks
- Large files: Split into chunks and organized in a Merkle DAG (Directed Acyclic Graph)
- Directories: Represented as DAG structures linking to files
2. Hashing Process#
Each piece of content goes through:
- Serialization: Content is formatted according to its codec
- Hashing: Cryptographic hash function processes the serialized data
- Multihash creation: Hash is wrapped with algorithm and length information
- CID assembly: Version, codec, and multihash are combined
3. Merkle DAG Structure#
IPFS organizes content in a Merkle DAG where:
- Each node has a CID
- Parent nodes reference child nodes by CID
- Changes to any node propagate up the tree
- Entire structures can be verified cryptographically
Root CID: bafybeigdyrzt5sfp7udm7hu76uh7y26nf3efuylqabf3oclgtqy55fbzdi
├── file1.txt (QmHash1...)
├── file2.jpg (QmHash2...)
└── subdirectory/
    ├── file3.pdf (QmHash3...)
    └── file4.mp4 (QmHash4...)
Practical Examples: Working with CIDs#
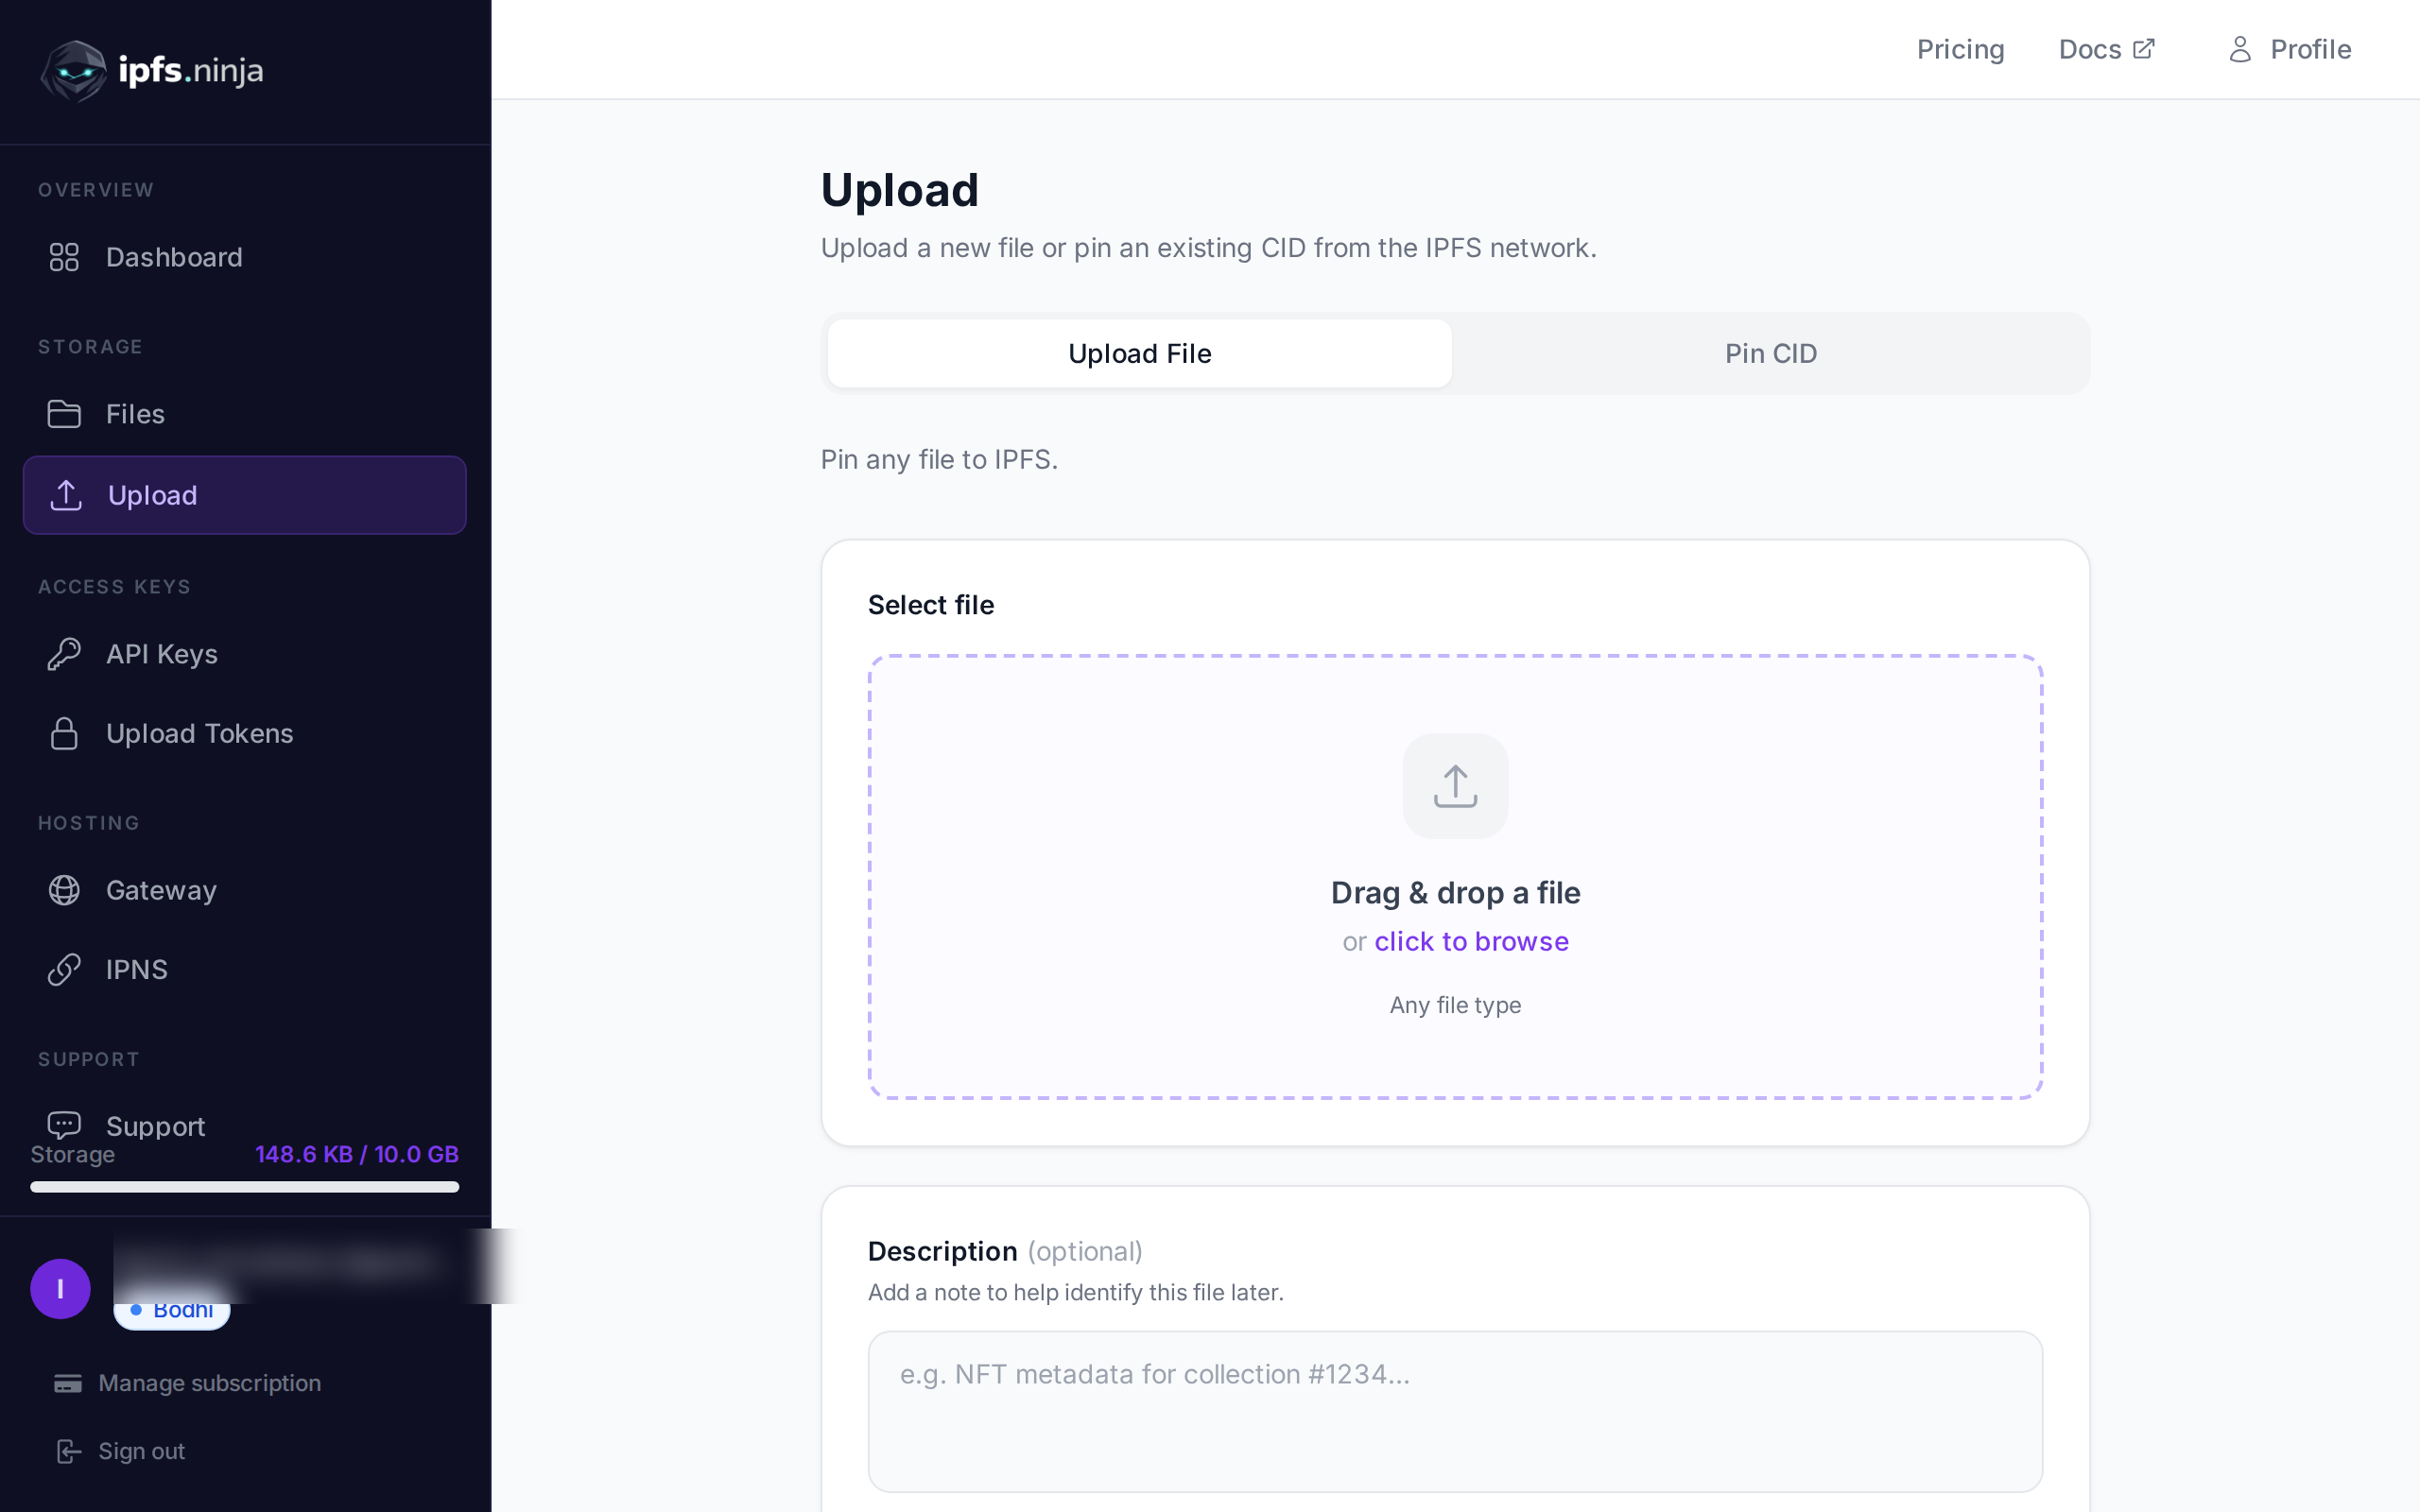
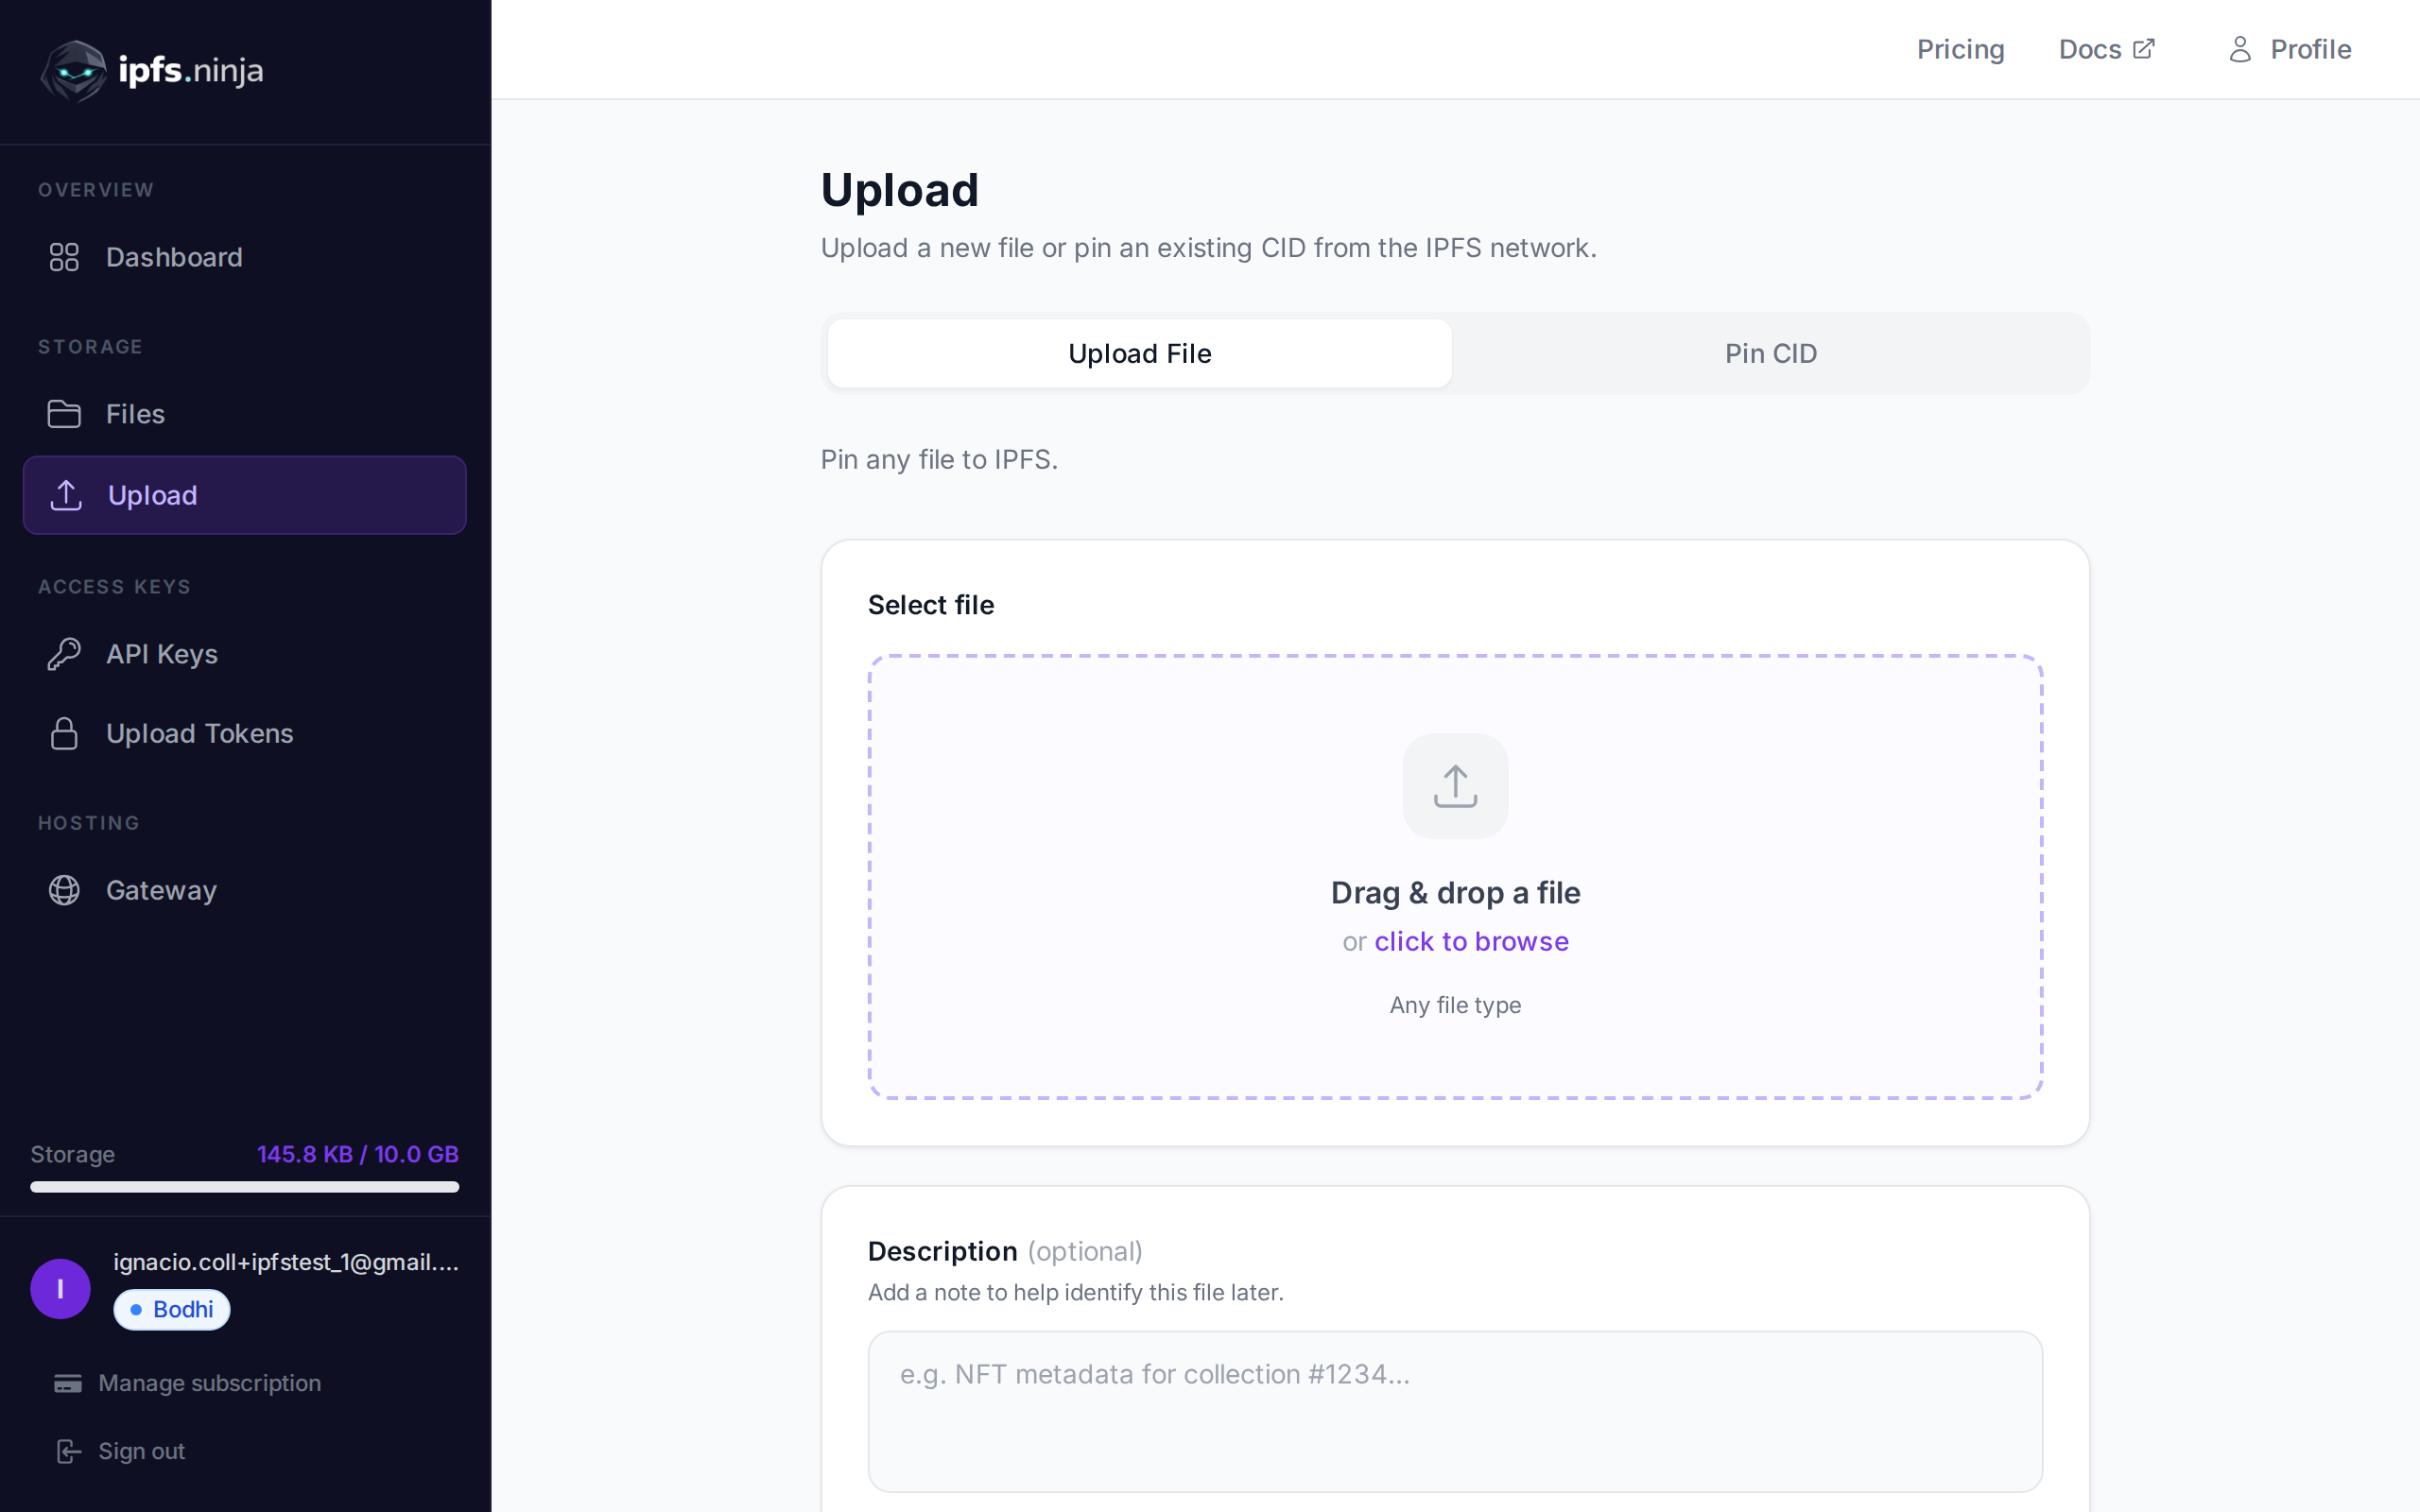
Let’s explore how to work with CIDs in practice using IPFS Ninja’s API:
Uploading Content and Getting a CID#
// Upload a file and get its CID
const uploadFile = async (content, filename) => {
  const response = await fetch('https://api.ipfs.ninja/upload/new', {
    method: 'POST',
    headers: {
      'X-Api-Key': 'bws_1234567890abcdef1234567890abcdef12345678',
      'Content-Type': 'application/json'
    },
    body: JSON.stringify({
      content: btoa(content), // Base64 encode binary content
      description: `Upload of ${filename}`
    })
  });

  const result = await response.json();
  console.log('CID:', result.cid);
  console.log('IPFS URL:', result.uris.ipfs);
  console.log('HTTP URL:', result.uris.url);

  return result.cid;
};

// Example usage
uploadFile('Hello, IPFS!', 'greeting.txt');
// Returns: bafkreifjxz6zwqh27k5xnr5qfbx4w6n5vuwwwdcngguwjewzj2e3xxfgvi
Pinning Existing Content by CID#
If you already have a CID, you can pin it to ensure it stays available:
const pinByCID = async (cid) => {
  const response = await fetch('https://api.ipfs.ninja/pin', {
    method: 'POST',
    headers: {
      'X-Api-Key': 'bws_1234567890abcdef1234567890abcdef12345678',
      'Content-Type': 'application/json'
    },
    body: JSON.stringify({
      cid: cid,
      description: 'Pinned via API'
    })
  });

  const result = await response.json();
  console.log('Pinned CID:', result.cid);

  return result;
};

// Pin the "Hello World" of IPFS
pinByCID('QmWATWQ7fVPP2EFGu71UkfnqhYXDYH566qy47CnJDgvs8u');
Accessing Content via CID#
Once you have a CID, you can access the content through various methods:
// Direct IPFS gateway access
const ipfsUrl = `https://ipfs.ninja/ipfs/${cid}`;

// Custom gateway (if configured)
const customGatewayUrl = `https://my-app.gw.ipfs.ninja/ipfs/${cid}`;

// Fetch content programmatically
const fetchContent = async (cid) => {
  const response = await fetch(`https://ipfs.ninja/ipfs/${cid}`);
  const content = await response.text();
  return content;
};
CID Best Practices for Developers#
1. Always Validate CIDs#
Before using a CID in your application, validate its format:
const isValidCID = (cid) => {
  // Basic validation patterns
  const cidv0Pattern = /^Qm[1-9A-HJ-NP-Za-km-z]{44}$/;
  const cidv1Pattern = /^[bf][a-z2-7]{58}$/;

  return cidv0Pattern.test(cid) || cidv1Pattern.test(cid);
};
2. Handle Both CID Versions#
Your application should work with both CIDv0 and CIDv1:
const normalizeCID = (cid) => {
  if (cid.startsWith('Qm')) {
    // CIDv0 - can convert to CIDv1 if needed
    return cid;
  } else if (cid.startsWith('b') || cid.startsWith('f') || cid.startsWith('z')) {
    // CIDv1
    return cid;
  } else {
    throw new Error('Invalid CID format');
  }
};
3. Cache CID Mappings#
If you’re generating CIDs frequently, consider caching:
const cidCache = new Map();

const getCachedCID = (content) => {
  const contentHash = btoa(content);

  if (cidCache.has(contentHash)) {
    return cidCache.get(contentHash);
  }

  // Upload and cache result
  return uploadFile(content).then(cid => {
    cidCache.set(contentHash, cid);
    return cid;
  });
};
4. Use Meaningful Descriptions#
When uploading content, include descriptive metadata:
const uploadWithMetadata = async (content, metadata) => {
  return fetch('https://api.ipfs.ninja/upload/new', {
    method: 'POST',
    headers: {
      'X-Api-Key': 'bws_1234567890abcdef1234567890abcdef12345678',
      'Content-Type': 'application/json'
    },
    body: JSON.stringify({
      content: btoa(content),
      description: metadata.name || 'Uploaded file',
      metadata: {
        filename: metadata.filename,
        contentType: metadata.contentType,
        uploadedAt: new Date().toISOString(),
        version: metadata.version || '1.0'
      }
    })
  });
};
Common CID Use Cases#
1. Static Website Deployment#
Deploy entire websites to IPFS and reference them by CID:
// Upload website directory structure
const deployWebsite = async (files) => {
  const uploads = await Promise.all(
    files.map(file => uploadFile(file.content, file.path))
  );

  // Root CID references entire site
  const rootCID = uploads.find(u => u.path === 'index.html').cid;
  console.log(`Website deployed: https://ipfs.ninja/ipfs/${rootCID}`);

  return rootCID;
};
To learn more about deploying websites, check out our guide on how to upload files to IPFS.
2. NFT Metadata Storage#
Store NFT metadata immutably using CIDs:
const nftMetadata = {
  name: "My Awesome NFT",
  description: "A unique digital collectible",
  image: "ipfs://bafkreibc5sgo2plmjkq2tzmhrn54bk3crhnqekiy7u66fqvqm37pu2e5gw",
  attributes: [
    { trait_type: "Color", value: "Blue" },
    { trait_type: "Rarity", value: "Epic" }
  ]
};

const metadataCID = await uploadFile(
  JSON.stringify(nftMetadata, null, 2),
  'metadata.json'
);

// Use in smart contract
console.log(`Token URI: ipfs://${metadataCID}`);
3. Content Distribution#
Use CIDs for distributed content delivery:
// Upload once, access everywhere
const distributeContent = async (content) => {
  const cid = await uploadFile(content, 'content.txt');

  // Content available via multiple gateways
  const gateways = [
    `https://ipfs.ninja/ipfs/${cid}`,
    `https://ipfs.io/ipfs/${cid}`,
    `https://dweb.link/ipfs/${cid}`
  ];

  return { cid, gateways };
};
Understanding IPFS Pinning with CIDs#
CIDs are temporary by default – they need to be “pinned” to remain available. Learn more about this crucial concept in our comprehensive guide on what is IPFS pinning.
When choosing an IPFS pinning service, consider reading our comparison of IPFS Ninja vs Pinata or explore our roundup of the best IPFS pinning services available today.
Create Your First CID in 30 Seconds#
Ready to generate your first CID? Here’s a quick example using IPFS Ninja’s API:
# Using curl (replace with your actual API key)
curl -X POST https://api.ipfs.ninja/upload/new \
  -H "X-Api-Key: bws_YOUR_API_KEY_HERE" \
  -H "Content-Type: application/json" \
  -d '{
    "content": "SGVsbG8sIElQRlMgV29ybGQh",
    "description": "My first IPFS upload"
  }'
// Using JavaScript
const createFirstCID = async () => {
const response = await fetch('https://api.ipfs.ninja/upload/new', {
method: 'POST',
headers: {
'X-Api-Key': 'bws_YOUR_API_KEY_HERE',
'Content-Type': 'application/json'
},
body: JSON.stringify({
content: btoa('Hello, IPFS World!'), // Base64: "SGVsbG8sIElQRlMgV29ybGQh"
description: 'My first IPFS upload'
})
});
const result = await response.json();
console.log('🎉 Your first CID:', result.cid);
console.log('🌐 Access it at:', result.uris.url);
return result;
};
createFirstCID();This will return something like:
{
  "cid": "bafkreif2pall7dybz7vecqka3zo24irdwabf7rbiiweuhau7a2hjlqvfjw",
  "sizeMB": 0.000017,
  "uris": {
    "ipfs": "ipfs://bafkreif2pall7dybz7vecqka3zo24irdwabf7rbiiweuhau7a2hjlqvfjw",
    "url": "https://ipfs.ninja/ipfs/bafkreif2pall7dybz7vecqka3zo24irdwabf7rbiiweuhau7a2hjlqvfjw"
  }
}
For more detailed API examples, check out our IPFS upload API tutorial.
Conclusion#
CIDs are the foundation of IPFS’s content addressing system, providing immutable, verifiable, and decentralized content identification. Understanding how they work – from the technical details of CIDv0 vs CIDv1 to practical implementation patterns – is essential for building robust decentralized applications.
Key takeaways:
- CIDs uniquely identify content, not locations
- CIDv0 offers maximum compatibility, CIDv1 provides flexibility
- Content addressing enables verification and deduplication
- Proper CID handling is crucial for production applications
Whether you’re storing NFT metadata, deploying decentralized websites, or building content distribution systems, CIDs provide the reliable foundation you need for truly decentralized applications.
Ready to start pinning? Create a free account — 500 files, 1 GB storage, 2 GB bandwidth/mo. No credit card required.

About the author
Nacho Coll
Founder & Engineer at IPFS.NINJA
Nacho founded IPFS.NINJA to make content-addressed storage feel as simple as an S3 PUT — a single API call, a permanent CID, no wallets or peer discovery to reason about. Writes about IPFS internals, decentralized storage patterns, and the pinning-service landscape from the operator side of the wire.