How to Deploy a Frontend to IPFS — Decentralized App Hosting
Step-by-step tutorial: deploy a React or static frontend to IPFS with IPFS.NINJA. Pin assets, configure custom gateways, and serve your app globally.
Nacho founded IPFS.NINJA to make content-addressed storage feel as simple as an S3 PUT — a single API call, a permanent CID, no wallets or peer discovery to reason about.
- Deploy a React frontend to IPFS in five steps, from build to custom gateway configuration.
- IPFS hosting resists censorship and single points of failure by distributing files across many nodes.
- Pin your built app's files immediately after deploy — unpinned content is subject to garbage collection.
- Free plan covers 1 GB storage; the $5/mo Bodhi plan adds 10 GB storage and 20 GB bandwidth.
Traditional web hosting relies on centralized servers that can go down, get censored, or become expensive to maintain. What if your frontend could be hosted on a decentralized network that’s more resilient, cost-effective, and globally distributed? Enter IPFS hosting — a revolutionary approach to deploying web applications that leverages the InterPlanetary File System for truly decentralized app hosting.
In this comprehensive guide, we’ll walk through the complete process of deploying a React application to IPFS using IPFS.NINJA, from building your app to configuring custom gateways and exploring ENS domain integration. Whether you’re building a simple portfolio site or a complex decentralized application, this tutorial will give you the foundation to host your frontend on IPFS effectively.
5 Reasons to Switch to IPFS Hosting (With Cost Comparison)#
When choosing an IPFS pinning service for frontend hosting, consider these factors:
| Feature | IPFS.NINJA | Alternatives |
|---|---|---|
| Pricing | Free tier: 1GB, $5/month: 10GB | Varies significantly |
| Custom Gateways | ✅ Included | Often premium feature |
| API Quality | RESTful, well-documented | Mixed quality |
| Analytics | Built-in dashboard | Limited options |
| Developer Tools | Comprehensive SDK | Basic tooling |
For a detailed comparison, check out our comprehensive analysis of IPFS pinning services and specific comparison with Pinata.
Beyond pricing, here’s why IPFS hosting is gaining traction among developers and organizations worldwide.
Decentralization Benefits: Unlike traditional hosting where your site depends on a single server or CDN, IPFS distributes your content across a global network of nodes. This means your site remains accessible even if individual nodes go offline.
Content Addressing: IPFS uses cryptographic hashes (CIDs) to identify content, ensuring immutability. Once you deploy your frontend, users can trust that the content hasn’t been tampered with.
Cost Efficiency: With services like IPFS.NINJA, you can host static frontends for a fraction of traditional hosting costs. Our Dharma plan offers 1 GB storage and 2 GB monthly bandwidth for free, the Bodhi plan provides 10 GB storage and 20 GB bandwidth for $5/month, and the Karma plan steps up to 100 GB / 100 GB at $19/month.
Performance: IPFS’s peer-to-peer nature means content is served from the nearest available nodes, potentially offering better performance than centralized CDNs.
Censorship Resistance: Decentralized hosting makes it extremely difficult for any single entity to take down your application.
Understanding IPFS Pinning for Web Hosting#
When you deploy a frontend to IPFS, you’re essentially uploading your built application files to the network. However, IPFS nodes only keep content they’re actively using. This is where IPFS pinning becomes crucial — it ensures your files remain available by keeping them stored on dedicated pinning services like IPFS.NINJA.
Think of pinning as a hosting guarantee. While your files exist on the IPFS network with their unique content identifiers (CIDs), pinning services ensure they’re always accessible to users trying to visit your site.
Setting Up Your Development Environment#
Let’s start by creating a React application that we’ll deploy to IPFS. If you already have an existing frontend project, you can skip to the build optimization section.
# Create a new React app
npx create-react-app my-ipfs-app
cd my-ipfs-app

# Install additional dependencies for IPFS integration
npm install axios
For this tutorial, we’ll create a simple but functional React application that demonstrates various features commonly needed in decentralized applications.
// src/App.js
import React, { useState, useEffect } from 'react';
import './App.css';

function App() {
  const [ipfsStatus, setIpfsStatus] = useState('Checking...');
  const [deploymentInfo, setDeploymentInfo] = useState(null);

  useEffect(() => {
    // Simulate checking IPFS connectivity
    setTimeout(() => {
      setIpfsStatus('Connected to IPFS Network');
      setDeploymentInfo({
        cid: 'QmYourAppHashWillAppearHere',
        deployed: new Date().toISOString(),
        size: '2.3 MB'
      });
    }, 2000);
  }, []);

  return (
    <div className="App">
      <header className="App-header">
        <h1>🚀 My Decentralized App</h1>
        <p>Hosted on IPFS via IPFS.NINJA</p>

        <div className="status-card">
          <h3>IPFS Status</h3>
          <p className={ipfsStatus.includes('Connected') ? 'connected' : 'checking'}>
            {ipfsStatus}
          </p>
        </div>

        {deploymentInfo && (
          <div className="deployment-info">
            <h3>Deployment Information</h3>
            <p><strong>CID:</strong> {deploymentInfo.cid}</p>
            <p><strong>Size:</strong> {deploymentInfo.size}</p>
            <p><strong>Deployed:</strong> {deploymentInfo.deployed}</p>
          </div>
        )}

        <div className="features">
          <h3>Decentralized Features</h3>
          <ul>
            <li>✅ Censorship Resistant</li>
            <li>✅ Globally Distributed</li>
            <li>✅ Content Addressable</li>
            <li>✅ Cost Effective</li>
          </ul>
        </div>
      </header>
    </div>
  );
}

export default App;
Add some styling to make it visually appealing:
/* src/App.css */
.App {
  text-align: center;
}

.App-header {
  background: linear-gradient(135deg, #667eea 0%, #764ba2 100%);
  padding: 40px;
  color: white;
  min-height: 100vh;
}

.status-card, .deployment-info, .features {
  background: rgba(255, 255, 255, 0.1);
  border-radius: 10px;
  padding: 20px;
  margin: 20px auto;
  max-width: 500px;
  backdrop-filter: blur(10px);
}

.connected {
  color: #4ade80;
  font-weight: bold;
}

.checking {
  color: #fbbf24;
}

.features ul {
  list-style: none;
  padding: 0;
}

.features li {
  padding: 8px 0;
  font-size: 1.1em;
}
Optimizing Your Build for IPFS#
IPFS works best with static files, so we need to ensure our React application builds correctly for decentralized hosting. There are several important considerations:
1. Configure React for IPFS Paths#
By default, React apps assume they’re served from the root domain. When hosting on IPFS, your app will be accessed via paths like https://gateway.ipfs.io/ipfs/QmYourHash. We need to configure React to handle this correctly.
Create or modify package.json:
{
  "name": "my-ipfs-app",
  "version": "0.1.0",
  "homepage": "./",
  "dependencies": {
    "react": "^18.2.0",
    "react-dom": "^18.2.0",
    "axios": "^1.6.0"
  },
  "scripts": {
    "start": "react-scripts start",
    "build": "react-scripts build",
    "ipfs-build": "npm run build && npm run prepare-ipfs",
    "prepare-ipfs": "echo 'Build optimized for IPFS deployment'"
  }
}
The "homepage": "./" configuration tells React to use relative paths, which is essential for IPFS hosting.
2. Handle Routing for Single Page Applications#
If your app uses React Router, you’ll need to use HashRouter instead of BrowserRouter for IPFS compatibility:
// src/index.js
import React from 'react';
import ReactDOM from 'react-dom/client';
import { HashRouter } from 'react-router-dom';
import App from './App';

const root = ReactDOM.createRoot(document.getElementById('root'));
root.render(
  <React.StrictMode>
    <HashRouter>
      <App />
    </HashRouter>
  </React.StrictMode>
);
3. Build the Application#
Now let’s create the production build:
npm run buildThis generates a build folder containing all the static files needed for your application.
Uploading to IPFS with IPFS.NINJA#
Now comes the exciting part — deploying your frontend to IPFS using IPFS.NINJA’s powerful pinning service. Compared to other pinning services, IPFS.NINJA offers competitive pricing, dedicated gateways, and developer-friendly APIs.
Setting Up Your IPFS.NINJA Account#
First, create your free IPFS.NINJA account to get your API key. You’ll receive an API key in the format bws_ followed by 32 hexadecimal characters.
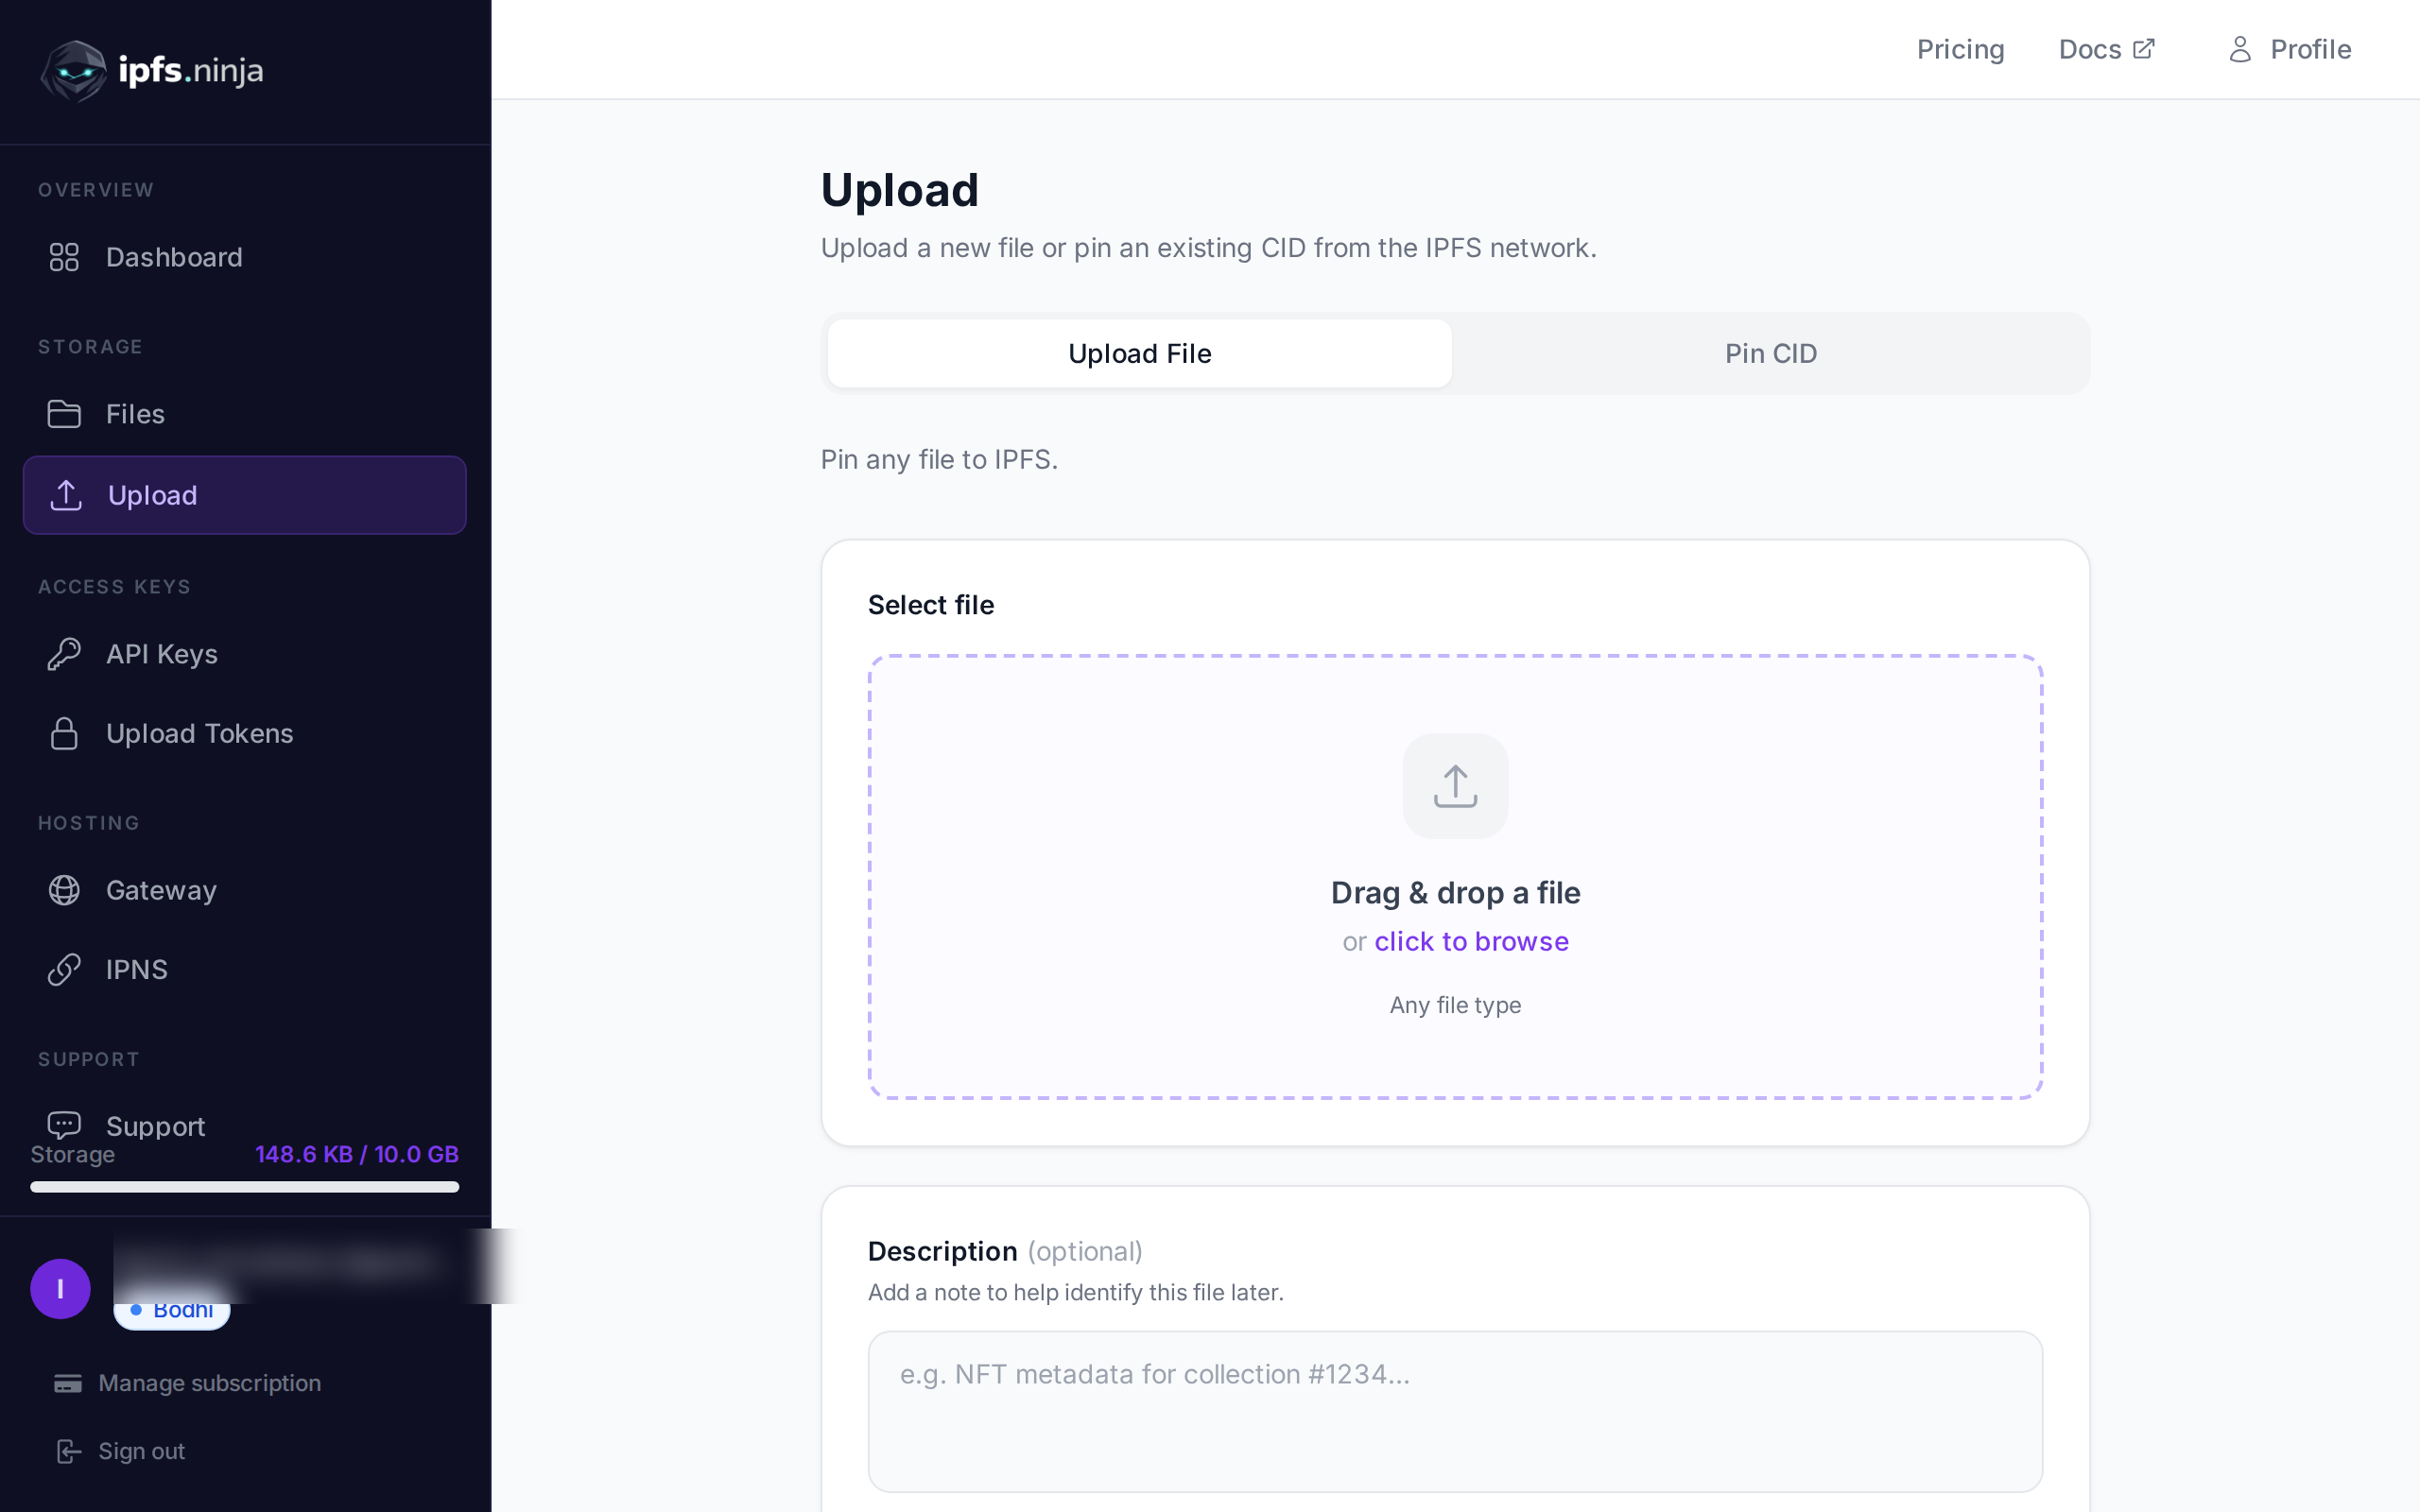
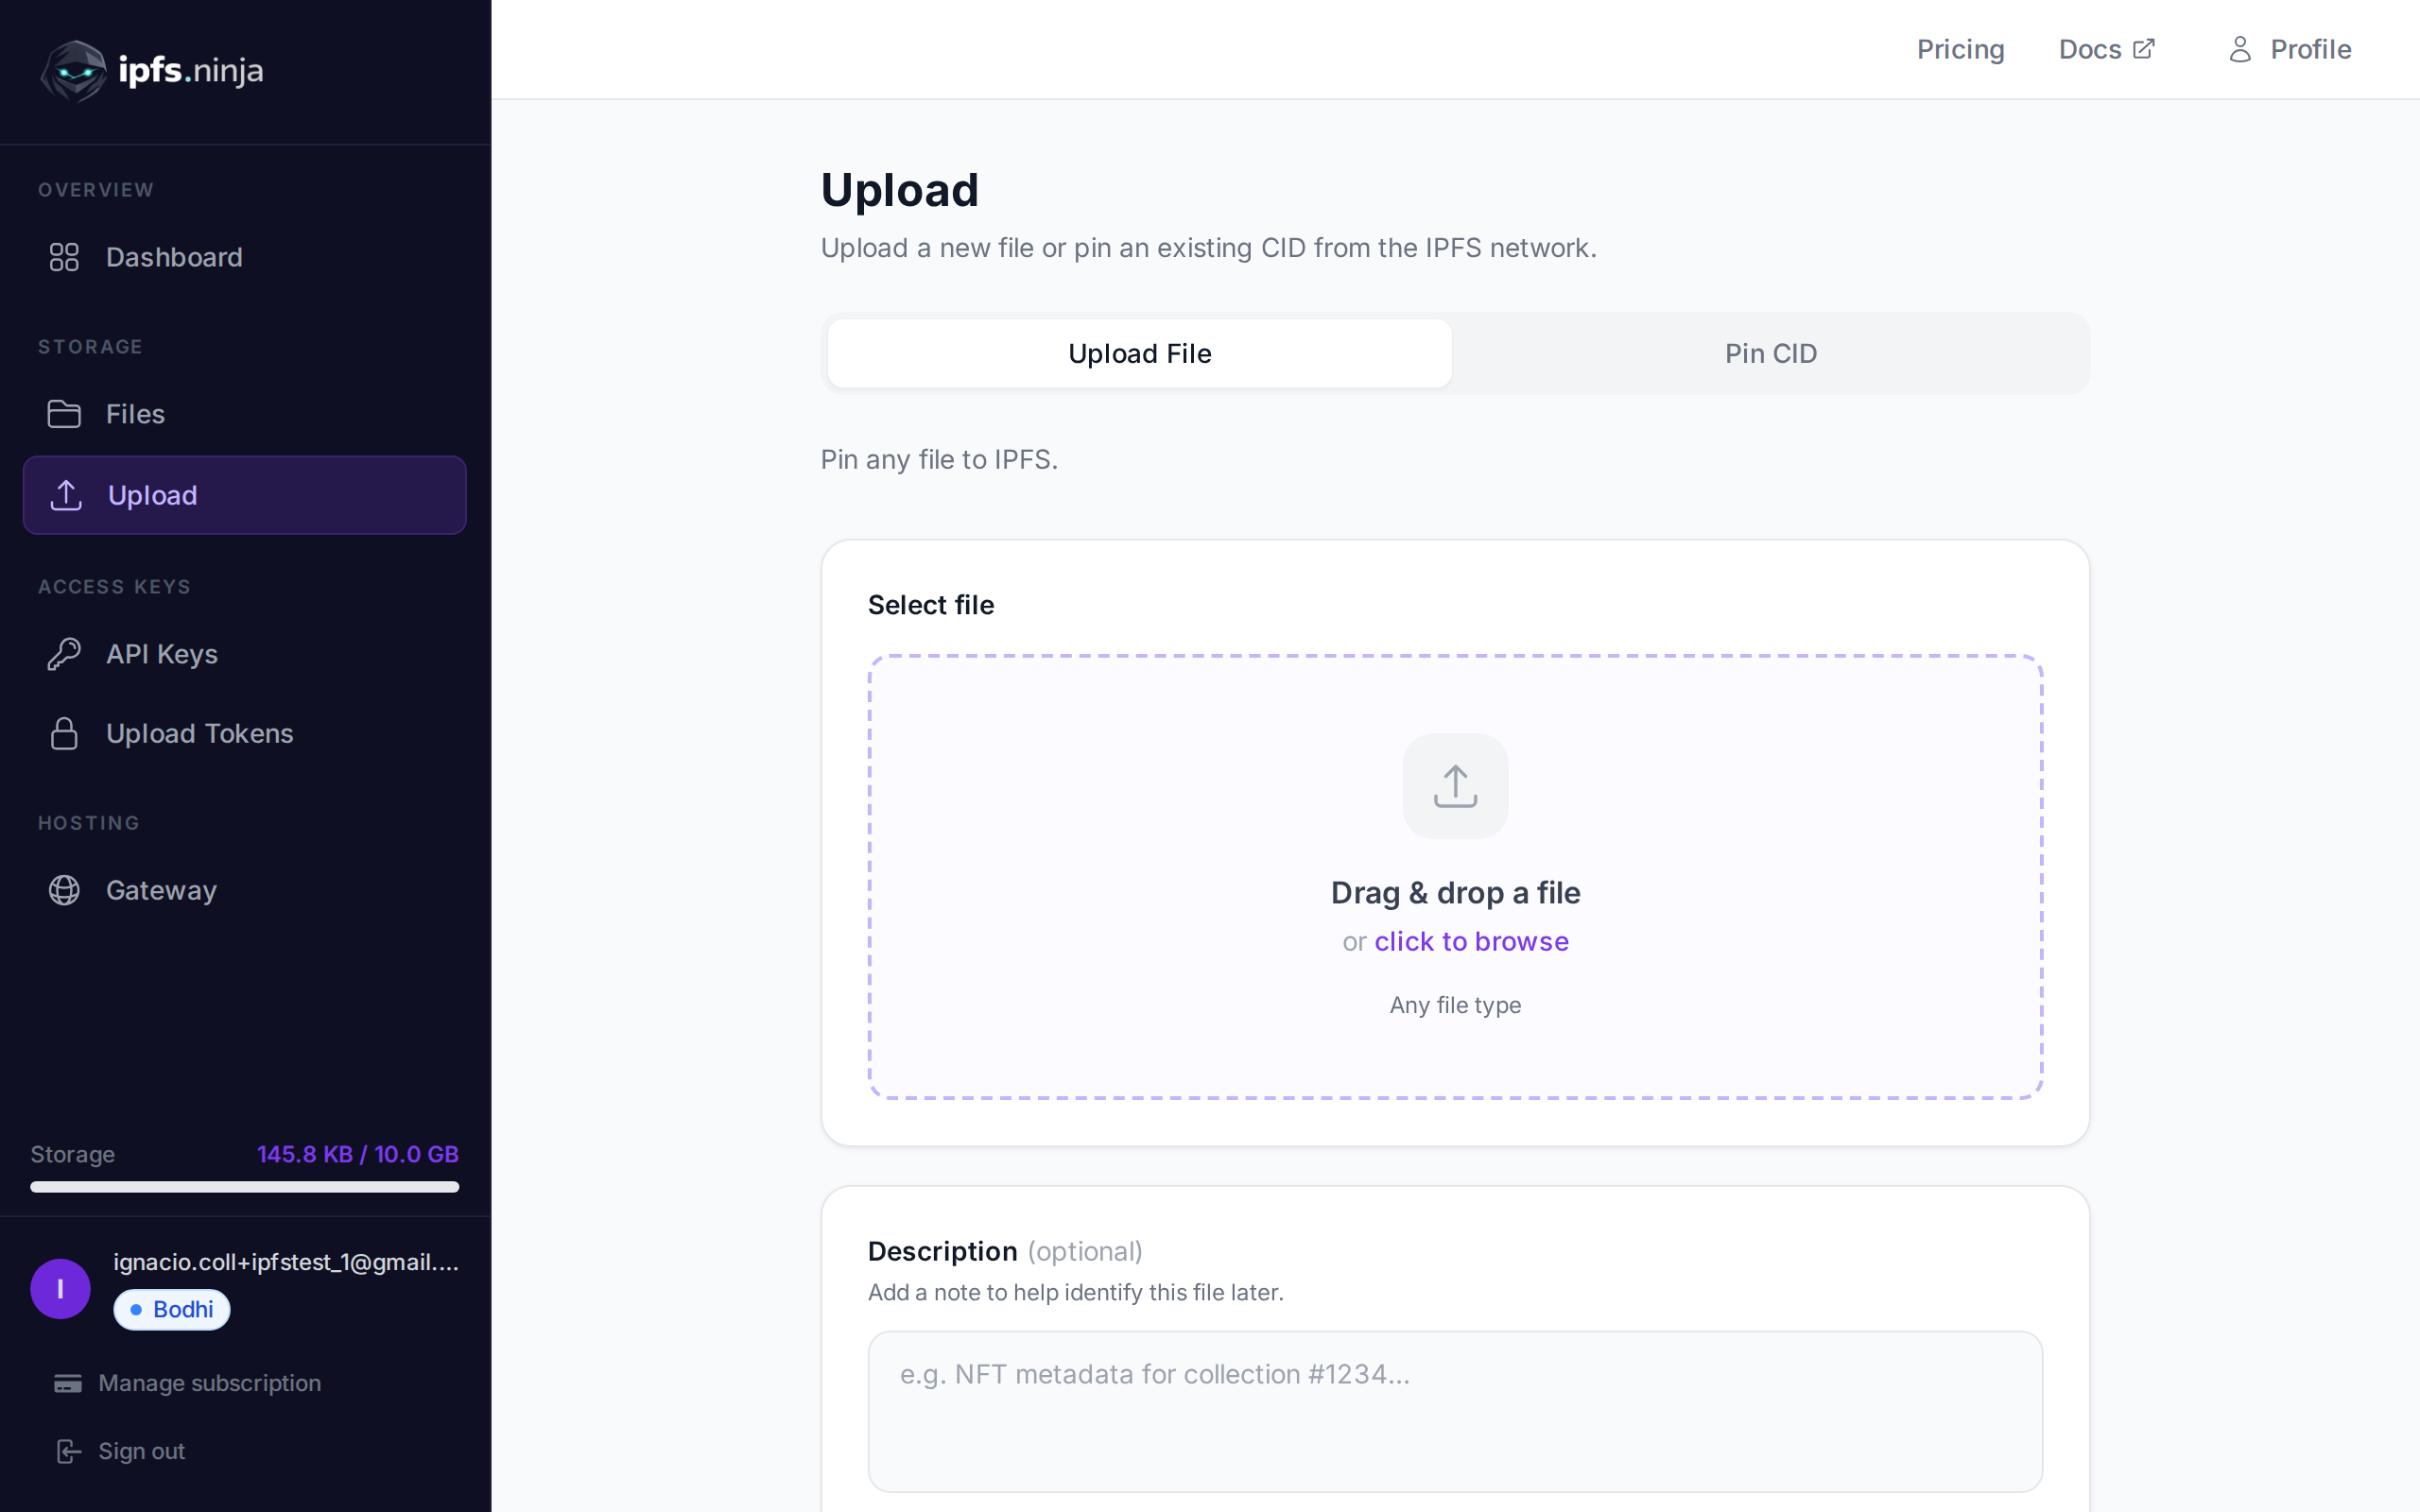
Method 1: Upload via Dashboard#
The simplest way to deploy your frontend is through the IPFS.NINJA dashboard:
- Navigate to https://ipfs.ninja and log in
- Go to the Upload section
- Create a new folder for your project
- Drag and drop your entire
buildfolder - Add a description like “My React App v1.0”
- Click Upload
The dashboard will process your files and return a CID that represents your entire application.
Method 2: Programmatic Upload via API#
For a more automated deployment process, you can use the IPFS.NINJA API. This is particularly useful for CI/CD pipelines.
Create a deployment script:
// deploy.js
const fs = require('fs');
const path = require('path');
const axios = require('axios');

const API_KEY = 'bws_your_32_character_hex_api_key_here';
const API_BASE = 'https://api.ipfs.ninja';

async function uploadFile(filePath, fileName) {
  try {
    const fileContent = fs.readFileSync(filePath);
    const base64Content = fileContent.toString('base64');

    const response = await axios.post(`${API_BASE}/upload/new`, {
      content: base64Content,
      description: `Frontend file: ${fileName}`,
      metadata: {
        filename: fileName,
        type: 'frontend-asset',
        deployment: new Date().toISOString()
      }
    }, {
      headers: {
        'X-Api-Key': API_KEY,
        'Content-Type': 'application/json'
      }
    });

    return response.data;
  } catch (error) {
    console.error(`Failed to upload ${fileName}:`, error.response?.data || error.message);
    throw error;
  }
}

async function uploadDirectory(dirPath) {
  const files = fs.readdirSync(dirPath);
  const uploads = [];

  for (const file of files) {
    const fullPath = path.join(dirPath, file);
    const stat = fs.statSync(fullPath);

    if (stat.isDirectory()) {
      // Recursively upload subdirectories
      const subUploads = await uploadDirectory(fullPath);
      uploads.push(...subUploads);
    } else {
      console.log(`Uploading ${file}...`);
      const result = await uploadFile(fullPath, file);
      uploads.push({
        file: file,
        cid: result.cid,
        url: result.uris.url,
        size: result.sizeMB
      });
    }
  }

  return uploads;
}

async function deployFrontend() {
  try {
    console.log('🚀 Starting IPFS deployment...');

    const buildPath = './build';
    if (!fs.existsSync(buildPath)) {
      throw new Error('Build directory not found. Run "npm run build" first.');
    }

    const uploads = await uploadDirectory(buildPath);

    console.log('\n✅ Deployment complete!');
    console.log('\nUploaded files:');
    uploads.forEach(upload => {
      console.log(`📄 ${upload.file}: ${upload.cid} (${upload.size}MB)`);
    });

    // Find the main HTML file
    const indexUpload = uploads.find(u => u.file === 'index.html');
    if (indexUpload) {
      console.log(`\n🌐 Your app is live at: ${indexUpload.url}`);
      console.log(`📋 Root CID: ${indexUpload.cid}`);
    }

  } catch (error) {
    console.error('❌ Deployment failed:', error.message);
    process.exit(1);
  }
}

// Run deployment
deployFrontend();
Add this script to your package.json:
{
  "scripts": {
    "deploy": "node deploy.js",
    "build-and-deploy": "npm run build && npm run deploy"
  }
}
Run the deployment:
npm run build-and-deploySetting Up Custom Gateways#
One of IPFS.NINJA’s standout features is the ability to create custom gateways for your applications. This provides better branding and performance compared to public gateways.
Creating a Dedicated Gateway#
Through the IPFS.NINJA dashboard:
- Navigate to the Gateways section
- Click “Create New Gateway”
- Choose a subdomain (e.g.,
myapp.gw.ipfs.ninja) - Configure access settings:
- Open: Publicly accessible
- Restricted: Requires API key
- Folder: Serves directory listings
- Set up origin restrictions if needed
- Configure IP whitelisting for additional security
Gateway Configuration Example#
// gateway-config.js
const gatewayConfig = {
  slug: 'myapp',
  access: 'open',
  description: 'My React App Gateway',
  settings: {
    cors: true,
    caching: true,
    compression: true
  }
};

async function setupGateway() {
  try {
    const response = await axios.post(`${API_BASE}/gateways`, gatewayConfig, {
      headers: {
        'X-Api-Key': API_KEY,
        'Content-Type': 'application/json'
      }
    });

    console.log('Gateway created:', response.data);
    console.log(`Access your app at: https://${gatewayConfig.slug}.gw.ipfs.ninja/ipfs/${YOUR_APP_CID}`);
  } catch (error) {
    console.error('Gateway setup failed:', error.response?.data);
  }
}
Benefits of Custom Gateways#
- Branded URLs: Instead of generic IPFS gateways, use your own subdomain
- Better Performance: Dedicated resources for your application
- Analytics: Track usage and performance metrics
- Security: Control access with API keys or IP restrictions
- Reliability: Reduced dependency on public gateway availability
Advanced IPFS Hosting Strategies#
1. Implementing Content Updates#
Unlike traditional hosting where you can simply overwrite files, IPFS content is immutable. Each change creates a new CID. Here’s how to handle updates effectively:
// update-manager.js
class IPFSUpdateManager {
  constructor(apiKey) {
    this.apiKey = apiKey;
    this.apiBase = 'https://api.ipfs.ninja';
  }

  async deployUpdate(buildPath, version) {
    // Upload new version
    const newCID = await this.uploadBuild(buildPath, version);

    // Update version mapping
    await this.updateVersionMapping(version, newCID);

    // Optionally update ENS record (more on this later)
    // await this.updateENSRecord(newCID);

    return newCID;
  }

  async updateVersionMapping(version, cid) {
    const versionInfo = {
      version,
      cid,
      timestamp: new Date().toISOString(),
      description: `Release ${version}`
    };

    await axios.post(`${this.apiBase}/upload/new`, {
      content: Buffer.from(JSON.stringify(versionInfo)).toString('base64'),
      description: `Version manifest ${version}`,
      metadata: { type: 'version-manifest', version }
    }, {
      headers: { 'X-Api-Key': this.apiKey }
    });
  }
}
2. Optimizing for Performance#
// optimization.js
const compressionOptions = {
  // Minimize bundle size
  build: {
    optimization: {
      splitChunks: {
        chunks: 'all',
        cacheGroups: {
          vendor: {
            test: /[\\/]node_modules[\\/]/,
            name: 'vendors',
            chunks: 'all',
          }
        }
      }
    }
  },

  // IPFS-specific optimizations
  ipfs: {
    chunkSize: '1MB', // Optimal chunk size for IPFS
    preloadCriticalAssets: true,
    enableServiceWorker: true
  }
};
3. Adding a Service Worker for Offline Support#
Create a service worker to cache your app for offline use:
// public/sw.js
const CACHE_NAME = 'ipfs-app-v1';
const urlsToCache = [
  '/',
  '/static/js/bundle.js',
  '/static/css/main.css',
  '/manifest.json'
];

self.addEventListener('install', event => {
  event.waitUntil(
    caches.open(CACHE_NAME)
      .then(cache => cache.addAll(urlsToCache))
  );
});

self.addEventListener('fetch', event => {
  event.respondWith(
    caches.match(event.request)
      .then(response => {
        // Return cached version or fetch from network
        return response || fetch(event.request);
      })
  );
});
Register the service worker in your React app:
// src/serviceWorkerRegistration.js
if ('serviceWorker' in navigator) {
  window.addEventListener('load', () => {
    navigator.serviceWorker.register('/sw.js')
      .then(registration => {
        console.log('SW registered: ', registration);
      })
      .catch(registrationError => {
        console.log('SW registration failed: ', registrationError);
      });
  });
}
ENS Integration and Custom Domains#
Ethereum Name Service (ENS) allows you to map human-readable domain names to IPFS content. This creates a powerful combination where you can have a traditional domain that points to decentralized content.
Setting Up ENS for Your IPFS Site#
- Register an ENS Domain: Use the ENS Manager to register a .eth domain
- Set Content Hash: Point your ENS domain to your IPFS CID
- Configure DNS Bridge: For traditional domains, set up DNS records
// ens-integration.js
async function updateENSRecord(domain, ipfsCid) {
  // This would typically use a web3 provider
  // Simplified example for illustration
  const ensContract = new ethers.Contract(ENS_REGISTRY_ADDRESS, ENS_ABI, signer);

  try {
    const tx = await ensContract.setContentHash(
      ethers.utils.namehash(domain),
      `ipfs://${ipfsCid}`
    );

    await tx.wait();
    console.log(`ENS record updated: ${domain} -> ${ipfsCid}`);
  } catch (error) {
    console.error('ENS update failed:', error);
  }
}
Traditional Domain Integration#
You can also use traditional DNS with IPFS:
; DNS TXT record for example.com
_dnslink.example.com. IN TXT "dnslink=/ipfs/QmYourContentHash"
Many DNS providers support this, allowing users to access your IPFS-hosted site via regular domain names.
Monitoring and Analytics#
Understanding how your IPFS-hosted frontend performs is crucial. IPFS.NINJA provides comprehensive analytics for your pinned content.
Using IPFS.NINJA Analytics API#
// analytics.js
async function getDeploymentAnalytics(cid) {
  try {
    const response = await axios.get(`${API_BASE}/analytics/files/${cid}`, {
      headers: { 'X-Api-Key': API_KEY }
    });

    const analytics = response.data;

    console.log('📊 Analytics Report:');
    console.log(`Total Requests: ${analytics.totalRequests}`);
    console.log(`Bandwidth Used: ${analytics.bandwidthGB}GB`);
    console.log(`Geographic Distribution:`, analytics.geoStats);

    return analytics;
  } catch (error) {
    console.error('Failed to fetch analytics:', error);
  }
}

// Set up monitoring dashboard
async function createMonitoringDashboard() {
  const analytics = await getDeploymentAnalytics(YOUR_APP_CID);

  // Create visual dashboard (integrate with your preferred charting library)
  const dashboardData = {
    requestsOverTime: analytics.dailyRequests,
    popularAssets: analytics.assetStats,
    performanceMetrics: {
      averageResponseTime: analytics.avgResponseTime,
      cacheHitRatio: analytics.cacheHitRatio
    }
  };

  return dashboardData;
}
Best Practices for IPFS Frontend Hosting#
1. Content Organization#
Structure your builds for optimal IPFS performance:
build/
├── index.html (entry point)
├── static/
│   ├── js/
│   │   ├── main.[hash].js
│   │   └── vendor.[hash].js
│   ├── css/
│   │   └── main.[hash].css
│   └── media/
│       └── images/
└── manifest.json
2. Security Considerations#
- Content Integrity: IPFS’s cryptographic hashing ensures content integrity
- Access Control: Use IPFS.NINJA’s gateway restrictions for private deployments
- HTTPS: Always access your content via HTTPS gateways
- Regular Updates: Keep dependencies updated and redeploy when necessary
3. Performance Optimization#
// performance-tips.js
const performanceOptimizations = {
  // Bundle splitting for better caching
  splitChunks: true,

  // Preload critical resources
  preloadStrategy: 'critical-path',

  // Optimize images
  imageOptimization: {
    format: 'webp',
    compression: 0.8,
    lazy: true
  },

  // Enable compression
  compression: 'gzip',

  // Use CDN for common libraries
  externals: {
    react: 'React',
    'react-dom': 'ReactDOM'
  }
};
Troubleshooting Common Issues#
Content Not Loading#
If your IPFS content isn’t loading:
- Check CID validity: Ensure your CID is correct
- Gateway availability: Try different gateways
- Pinning status: Verify files are properly pinned
- Network connectivity: Check IPFS network status
// troubleshooting.js
async function diagnosticCheck(cid) {
  const gateways = [
    'https://ipfs.io/ipfs/',
    'https://gateway.pinata.cloud/ipfs/',
    'https://cloudflare-ipfs.com/ipfs/'
  ];

  const results = await Promise.allSettled(
    gateways.map(gateway =>
      axios.get(`${gateway}${cid}`, { timeout: 5000 })
    )
  );

  results.forEach((result, index) => {
    const gateway = gateways[index];
    if (result.status === 'fulfilled') {
      console.log(`✅ ${gateway} - Working`);
    } else {
      console.log(`❌ ${gateway} - Failed: ${result.reason.message}`);
    }
  });
}
Build Issues#
Common build problems and solutions:
# Clear React build cache
rm -rf build/ node_modules/.cache/

# Rebuild with verbose output
CI=true npm run build

# Check for routing issues
# Ensure you're using HashRouter for SPA routing
Future of Decentralized Frontend Hosting#
The landscape of web hosting is evolving rapidly. IPFS represents just the beginning of a shift toward more decentralized, resilient web infrastructure. Future developments to watch:
- Protocol Improvements: IPFS 2.0 and other next-generation protocols
- Browser Integration: Native IPFS support in mainstream browsers
- Development Tools: Better frameworks and tools for decentralized development
- Performance Enhancements: Improved caching and content delivery mechanisms
Getting Started with Your IPFS Deployment#
Now that you understand the complete process of deploying a frontend to IPFS, you’re ready to build truly decentralized applications. The combination of IPFS’s distributed architecture and IPFS.NINJA’s developer-friendly pinning service provides a robust foundation for modern web applications.
Whether you’re building a personal portfolio, a business website, or a complex decentralized application, IPFS hosting offers unmatched resilience, performance, and cost-effectiveness. The immutable nature of IPFS content, combined with the global distribution of nodes, ensures your application remains accessible regardless of traditional hosting limitations.
For more detailed information about uploading and managing your files, check out our comprehensive IPFS upload tutorial and learn more about how IPFS pinning works to fully leverage this powerful technology.
Ready to start pinning? Create a free account — 500 files, 1 GB storage, 2 GB bandwidth/mo. No credit card required.

About the author
Nacho Coll
Founder & Engineer at IPFS.NINJA
Nacho founded IPFS.NINJA to make content-addressed storage feel as simple as an S3 PUT — a single API call, a permanent CID, no wallets or peer discovery to reason about. Writes about IPFS internals, decentralized storage patterns, and the pinning-service landscape from the operator side of the wire.