IPFS Upload API — 완전한 개발자 튜토리얼
REST API를 통해 IPFS에 파일을 업로드하는 방법을 배웁니다. JavaScript, Node.js 및 curl의 완전한 코드 예제. JSON, 이미지 업로드, 클라이언트 측 업로드용 서명된 토큰 사용.

- 단일 POST 요청과 API 키만으로 JSON, 이미지, PDF를 IPFS에 업로드하세요.
- 클라이언트 사이드 앱이 API 키를 노출하지 않고 업로드할 수 있도록 서명되고 유효기간이 있는 토큰을 생성하세요.
- 날짜 범위로 업로드 기록을 조회하고 이전에 업로드한 모든 파일의 메타데이터를 가져올 수 있습니다.
- 모든 업로드는 하나의 기본 URL로 처리됩니다 — 어떤 언어든 SDK 설치가 필요 없습니다.
IPFS에 파일을 업로드하는 것은 POST 요청을 하는 것만큼 간단해야 합니다. 이 튜토리얼에서는 정확히 그렇게 할 것입니다 — fetch()와 API 키만으로 JSON 문서, 이미지 및 PDF를 IPFS에 업로드합니다. 끝에는 콘텐츠를 업로드하고, 파일을 나열하고, 메타데이터를 검색하고, 안전한 클라이언트 측 업로드를 위한 서명된 토큰을 생성하는 완전한 Node.js 스크립트를 갖게 됩니다. IPFS가 처음이신가요? 코드에 뛰어들기 전에 기본을 이해하려면 IPFS Pinning이란?부터 시작하세요.
구축할 것#
- JSON 객체를 IPFS에 업로드하고 콘텐츠 식별자(CID)를 반환받습니다.
- 디스크에서 바이너리 이미지를 업로드합니다.
- 업로드에 설명과 사용자 정의 메타데이터를 첨부합니다.
- 날짜 범위로 업로드 기록을 쿼리합니다.
- 특정 파일에 대한 세부 정보를 검색합니다.
- API 키를 노출하지 않고 브라우저가 직접 업로드할 수 있도록 시간 제한이 있는 서명된 토큰을 생성합니다.
- 오류를 처리하고 재시도 로직을 구현합니다.
모든 것은 단일 기본 URL에서 실행됩니다: https://api.ipfs.ninja
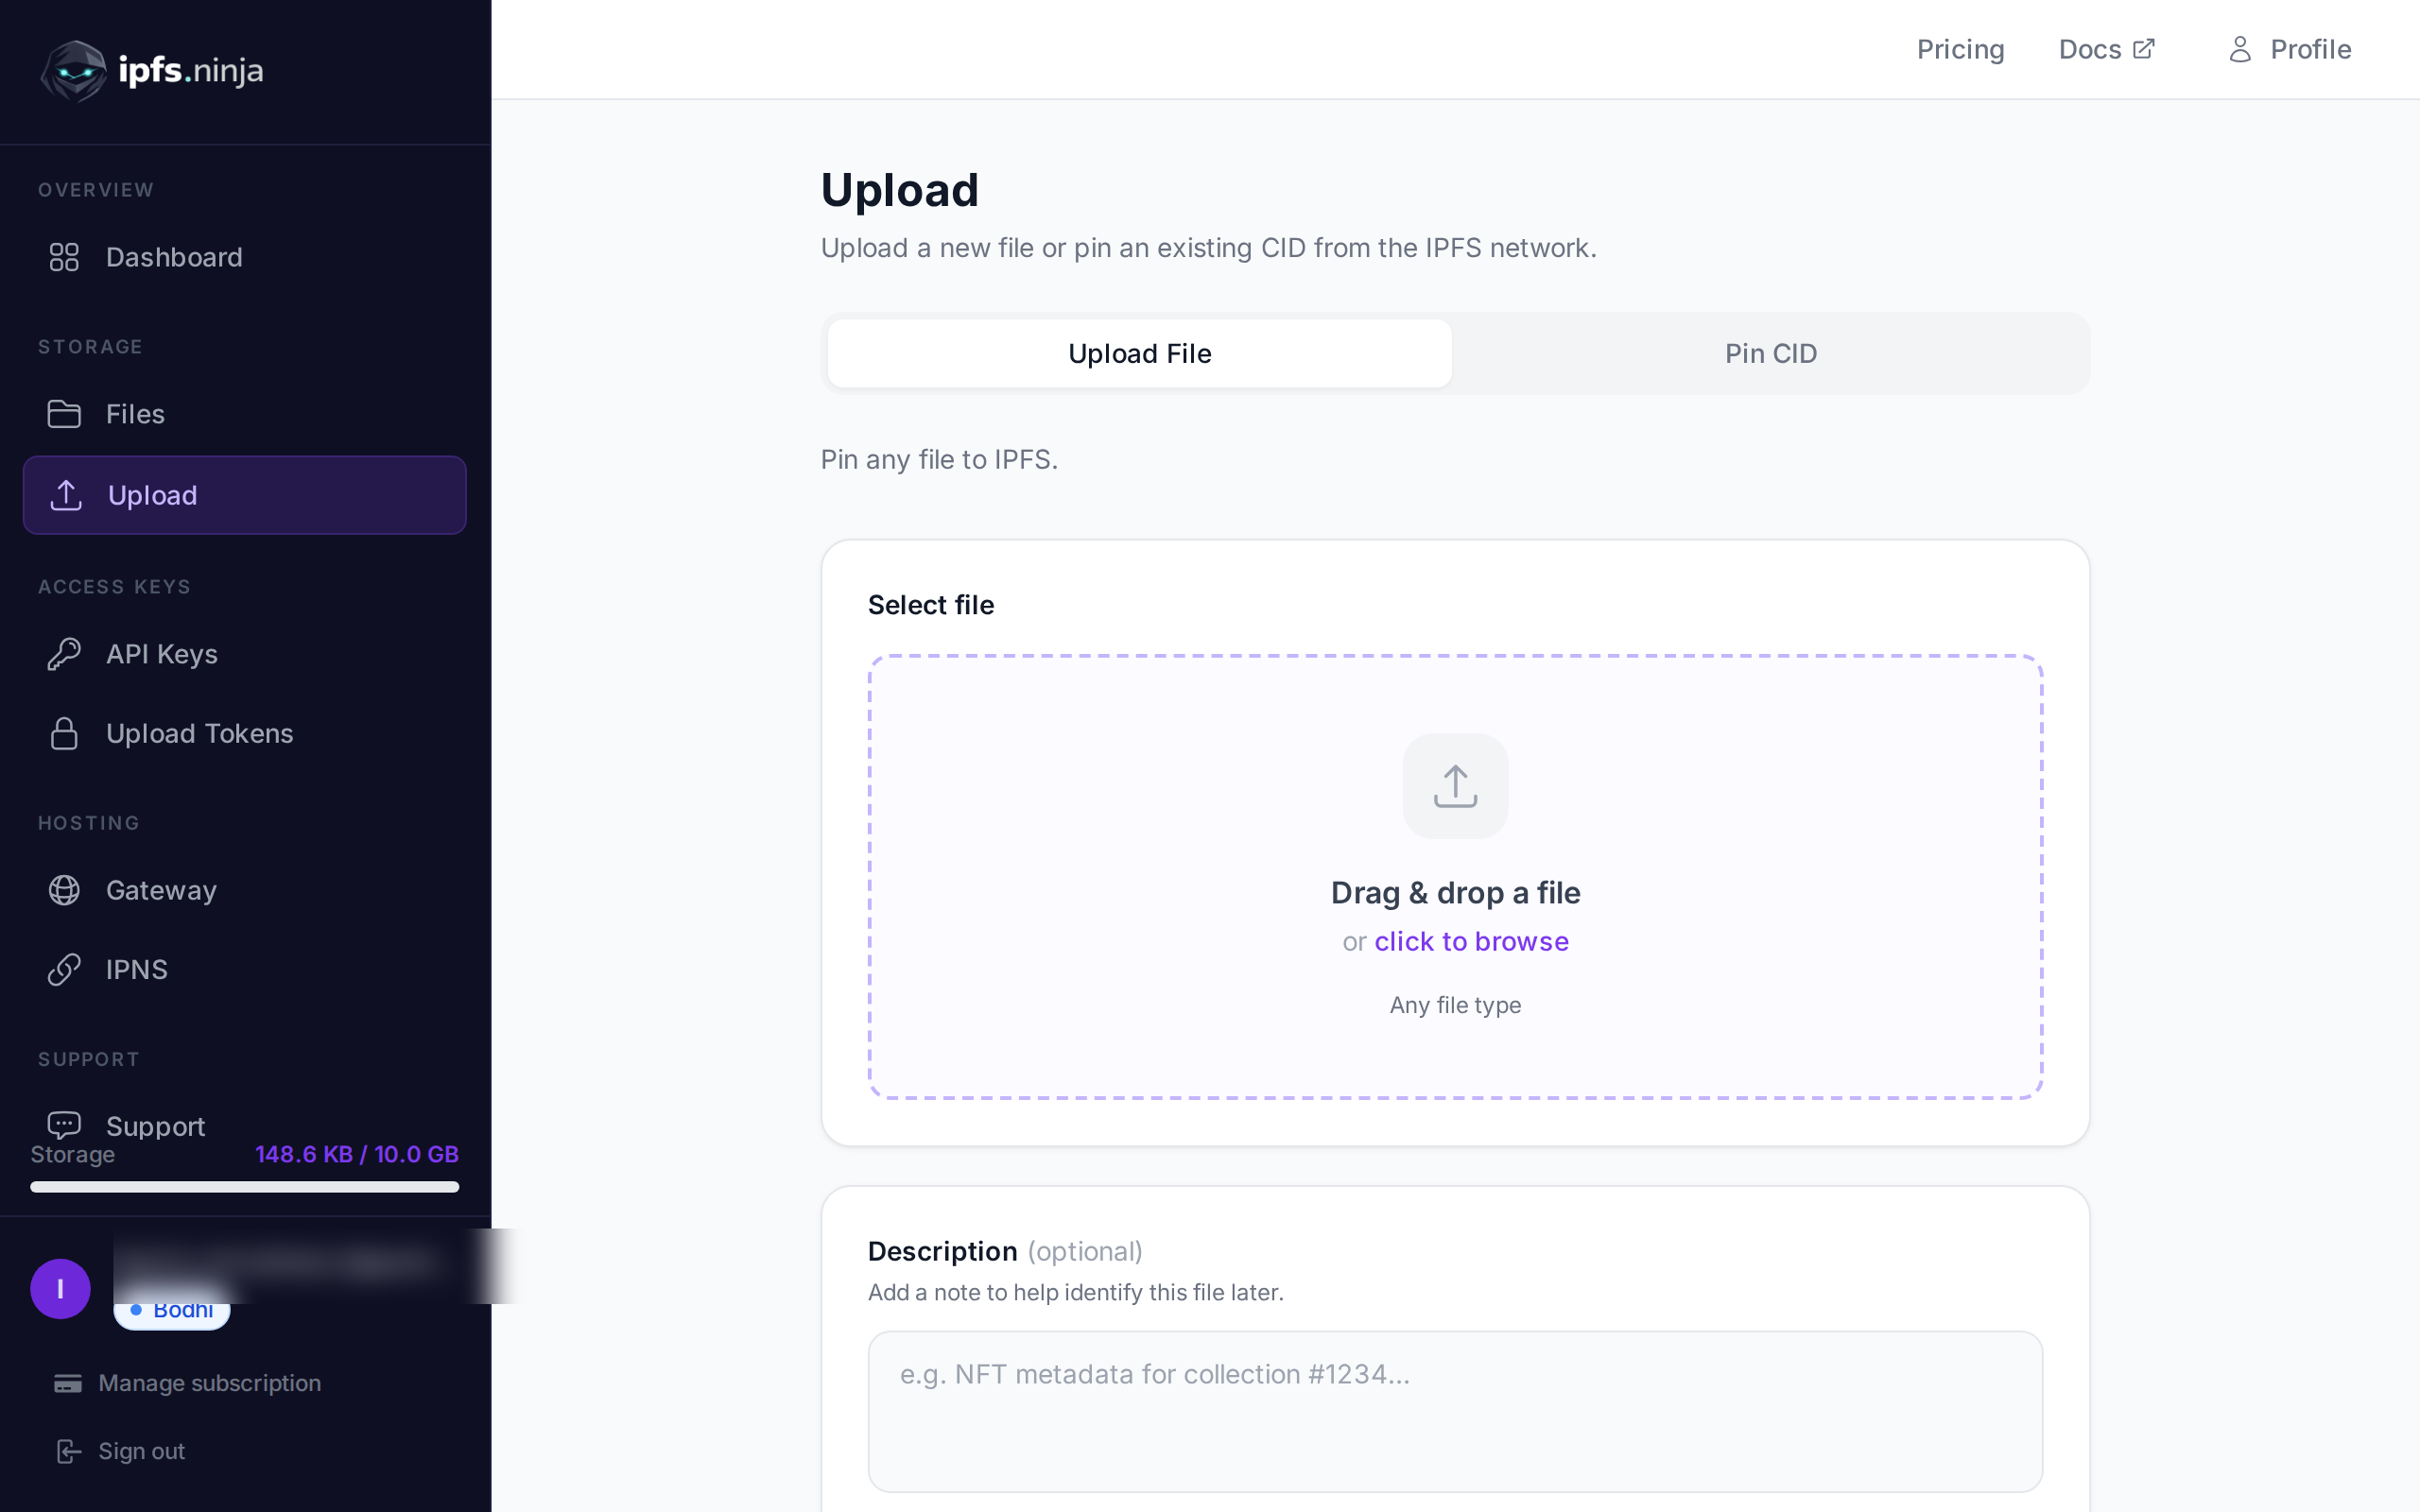
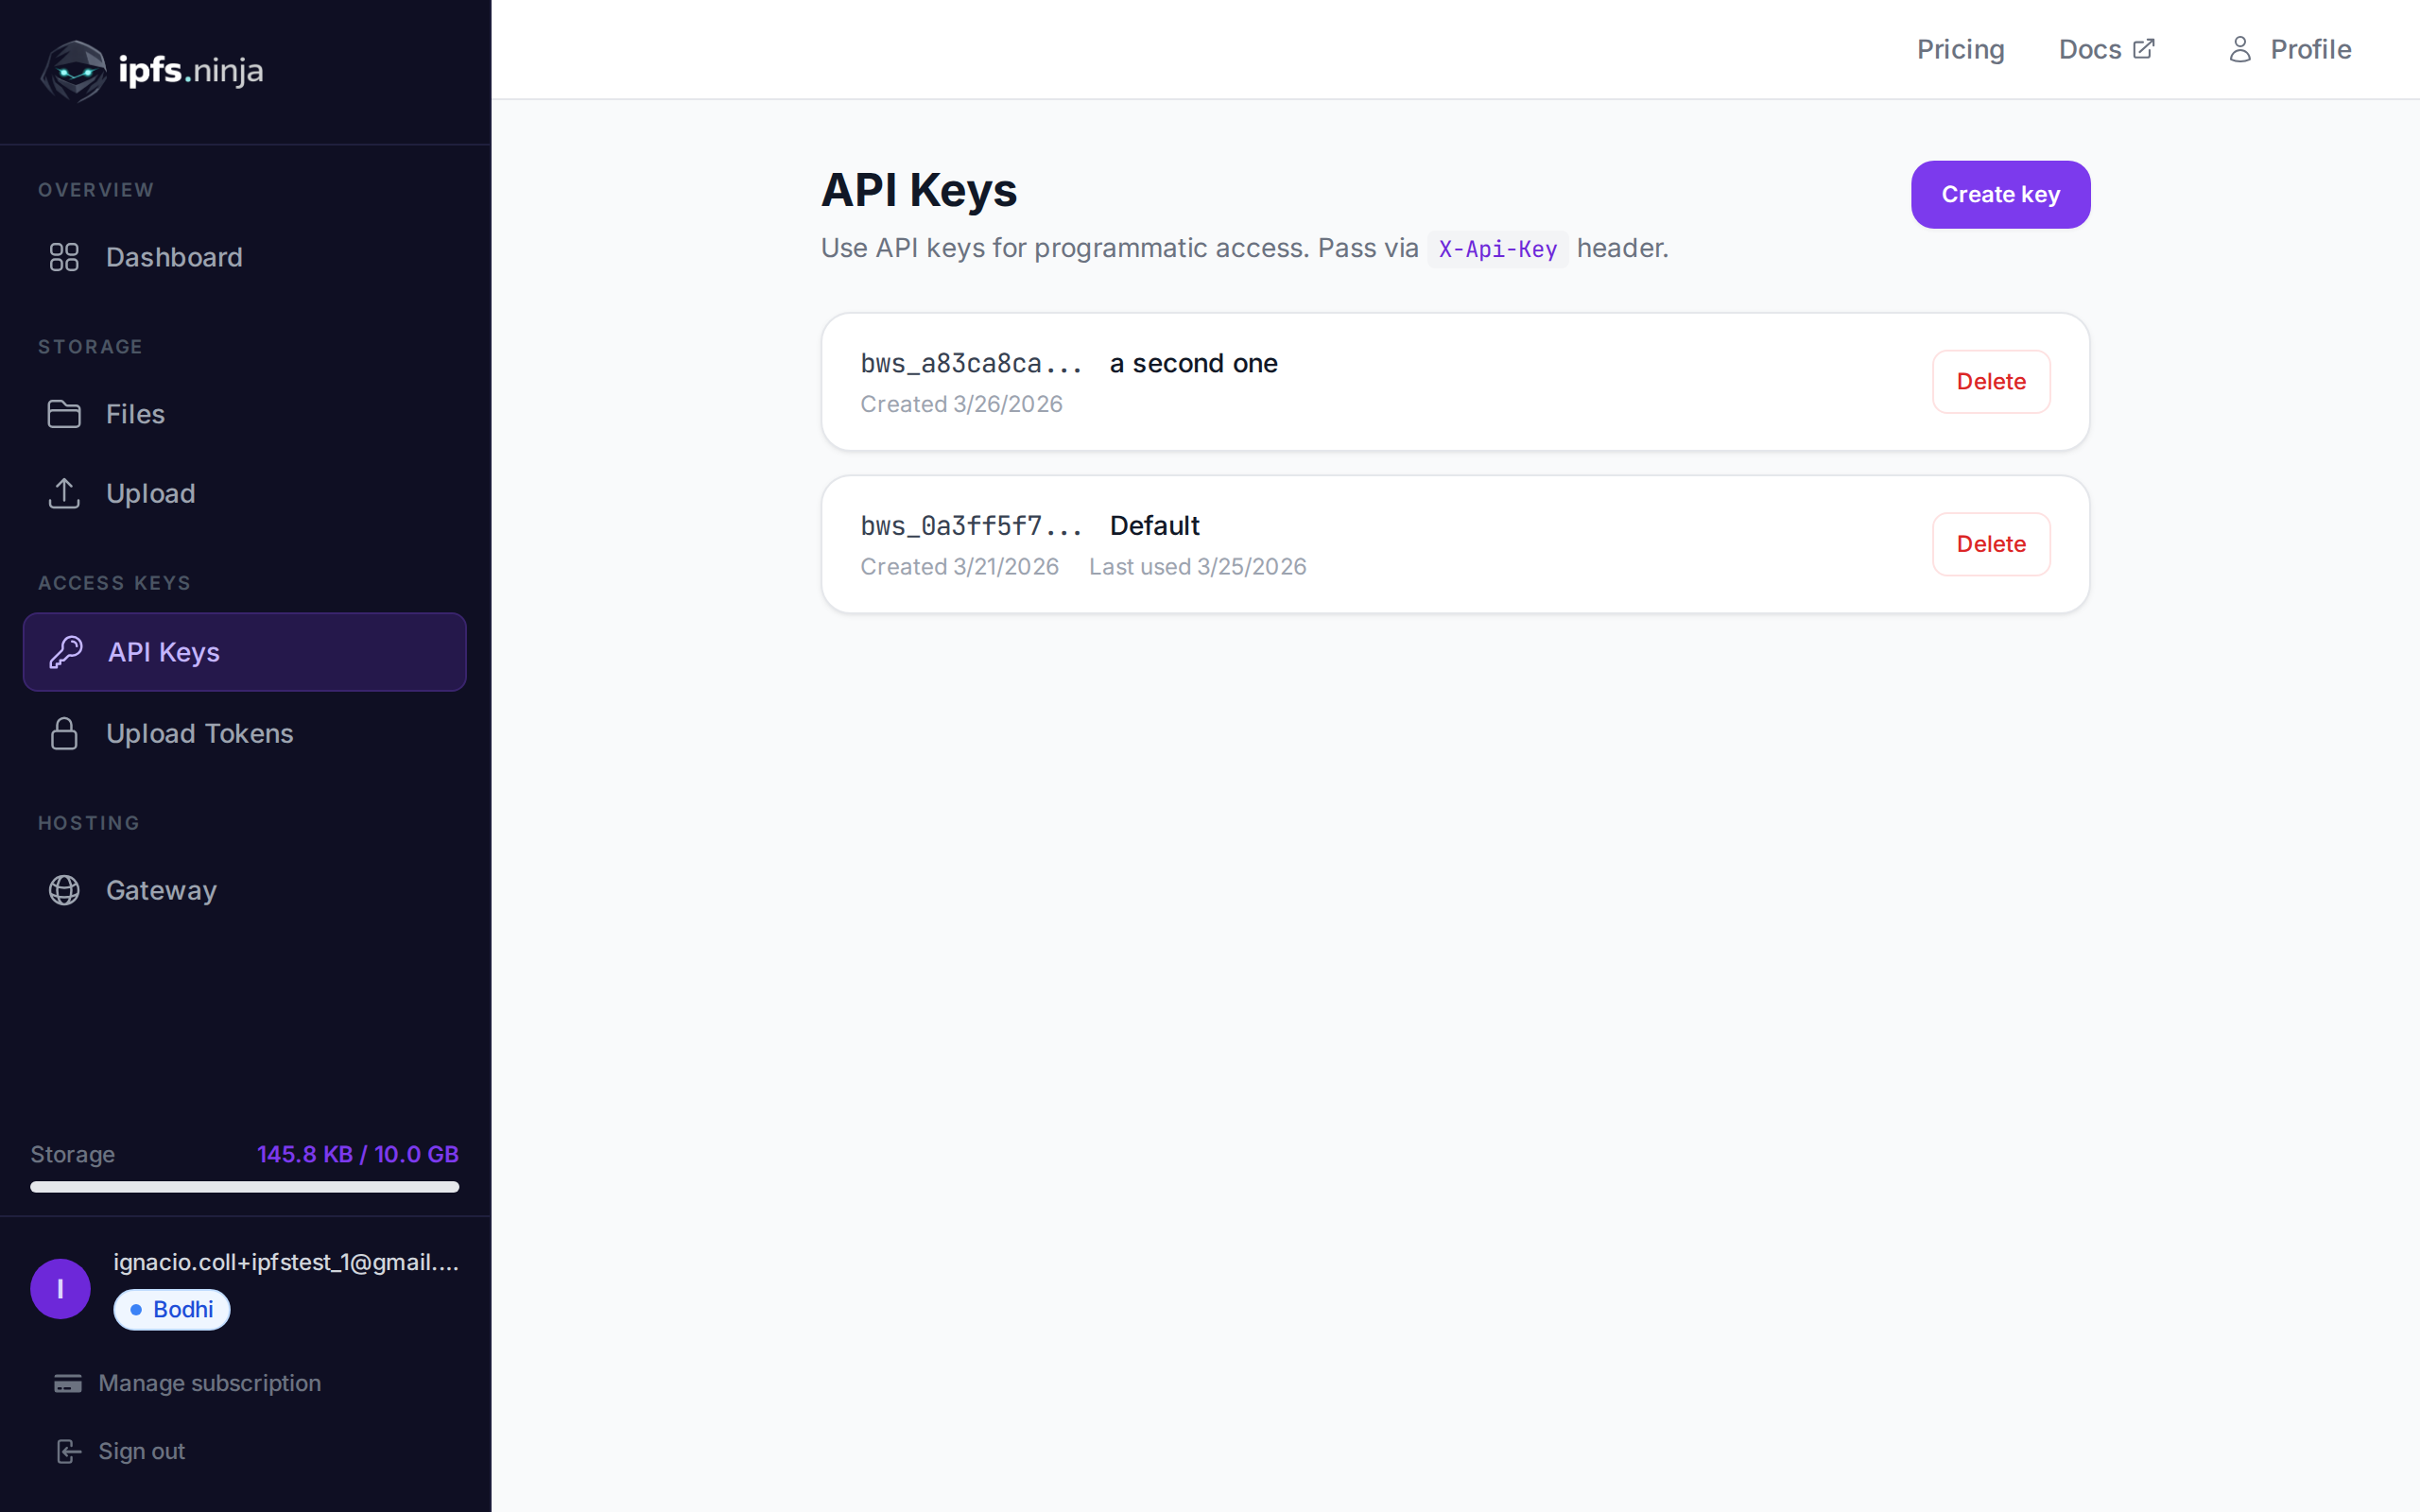
1. 설정 — 가입하고 API 키 받기#
- 가입하여 무료 계정을 만듭니다(신용카드 필요 없음).
- 대시보드 사이드바에서 API Keys로 이동합니다.
- Create key를 클릭하고 이름을 지정하고 키를 즉시 복사합니다 — 다시 표시되지 않습니다.
키는 bws_a1b2c3d4e5f6a7b8c9d0e1f2a3b4c5d6와 같이 보입니다. 아래 모든 예제는 X-Api-Key 헤더로 보냅니다.
2. JSON을 IPFS에 업로드#
가장 간단한 업로드: 일반 JavaScript 객체를 content로 전달하면 API가 이를 직렬화하고 IPFS에 핀하며 CID를 반환합니다.
// upload-json.mjs
const API = "https://api.ipfs.ninja";
const API_KEY = "bws_your_key_here";

const payload = {
  content: {
    name: "Galactic Badge #42",
    description: "Proof of attendance — Galactic Meetup 2026",
    attributes: [
      { trait_type: "Event", value: "Galactic Meetup" },
      { trait_type: "Year", value: 2026 }
    ]
  }
};

const res = await fetch(`${API}/upload/new`, {
  method: "POST",
  headers: {
    "Content-Type": "application/json",
    "X-Api-Key": API_KEY
  },
  body: JSON.stringify(payload)
});

const data = await res.json();
console.log("CID :", data.cid);
console.log("Size:", data.sizeMB, "MB");
console.log("IPFS:", data.uris.ipfs);
console.log("URL :", data.uris.url);
node upload-json.mjs로 실행하세요. 성공적인 응답은 다음과 같습니다:
{
  "cid": "bafkreigx7gq...",
  "sizeMB": 0.0004,
  "uris": {
    "ipfs": "ipfs://bafkreigx7gq...",
    "url": "https://ipfs.ninja/ipfs/bafkreigx7gq..."
  }
}
url 필드는 공용 HTTP 게이트웨이를 가리키므로 콘텐츠는 어떤 브라우저에서도 즉시 액세스할 수 있습니다.
3. 이미지 업로드#
바이너리 파일(이미지, PDF, 오디오)은 content 필드에 base64로 인코딩된 문자열로 전송됩니다.
// upload-image.mjs
import { readFileSync } from "node:fs";

const API = "https://api.ipfs.ninja";
const API_KEY = "bws_your_key_here";

const imageBuffer = readFileSync("./photo.png");
const base64 = imageBuffer.toString("base64");

const res = await fetch(`${API}/upload/new`, {
  method: "POST",
  headers: {
    "Content-Type": "application/json",
    "X-Api-Key": API_KEY
  },
  body: JSON.stringify({ content: base64 })
});

const data = await res.json();
console.log("Image CID:", data.cid);
console.log("Gateway  :", data.uris.url);
API는 MIME 유형을 자동으로 감지합니다 — PNG, JPEG, WebP, GIF 및 PDF가 모두 지원됩니다. 추가 헤더나 content-type 재정의가 필요하지 않습니다.
curl을 사용하면 동일한 작업이 다음과 같이 보입니다:
BASE64=$(base64 -w 0 photo.png)

curl -X POST https://api.ipfs.ninja/upload/new \
  -H "Content-Type: application/json" \
  -H "X-Api-Key: bws_your_key_here" \
  -d "{\"content\": \"$BASE64\"}"
4. 메타데이터로 업로드#
모든 업로드는 두 가지 선택적 필드를 허용합니다: description(자유 텍스트 레이블) 및 metadata(임의의 키-값 쌍). 둘 다 CID와 함께 저장되며 나중에 파일을 나열하거나 가져올 때 반환됩니다.
// upload-with-metadata.mjs
const API = "https://api.ipfs.ninja";
const API_KEY = "bws_your_key_here";

const res = await fetch(`${API}/upload/new`, {
  method: "POST",
  headers: {
    "Content-Type": "application/json",
    "X-Api-Key": API_KEY
  },
  body: JSON.stringify({
    content: { title: "Meeting Notes", body: "Q1 roadmap recap..." },
    description: "Q1 2026 planning meeting notes",
    metadata: {
      project: "acme-app",
      author: "dana",
      version: "1"
    }
  })
});

const data = await res.json();
console.log("CID:", data.cid);
메타데이터를 사용하면 IPFS 콘텐츠 자체를 파싱하지 않고도 사용자 측에서 파일을 쉽게 필터링하고 구성할 수 있습니다.
5. 기존 CID 핀하기#
이미 IPFS에 콘텐츠가 있고 계속 사용 가능한지 확인하려면 CID로 핀하세요:
// pin-cid.mjs
const API = "https://api.ipfs.ninja";
const API_KEY = "bws_your_key_here";

const res = await fetch(`${API}/pin`, {
  method: "POST",
  headers: {
    "Content-Type": "application/json",
    "X-Api-Key": API_KEY
  },
  body: JSON.stringify({
    cid: "bafkreigx7gq...",
    description: "Pinned from external source"
  })
});

const data = await res.json();
console.log("Pinned:", data.cid);
6. 파일 목록 조회#
시간 창 내에 업로드한 모든 파일을 검색합니다. from 및 to 쿼리 매개변수는 밀리초 단위의 Unix 타임스탬프입니다.
// list-files.mjs
const API = "https://api.ipfs.ninja";
const API_KEY = "bws_your_key_here";

const now = Date.now();
const oneWeekAgo = now - 7 * 24 * 60 * 60 * 1000;

const url = `${API}/upload/list?from=${oneWeekAgo}&to=${now}`;

const res = await fetch(url, {
  headers: { "X-Api-Key": API_KEY }
});

const files = await res.json();

for (const file of files) {
  console.log(`${file.cid}  ${file.description ?? "(no description)"}`);
}
curl을 사용하면:
FROM=$(($(date +%s) * 1000 - 604800000))
TO=$(($(date +%s) * 1000))

curl -s "https://api.ipfs.ninja/upload/list?from=$FROM&to=$TO" \
  -H "X-Api-Key: bws_your_key_here" | jq .
7. 파일 세부 정보 가져오기#
메타데이터, 크기 및 타임스탬프를 포함한 단일 CID에 대한 전체 레코드를 가져옵니다:
// get-file.mjs
const API = "https://api.ipfs.ninja";
const API_KEY = "bws_your_key_here";
const CID = "bafkreigx7gq...";

const res = await fetch(`${API}/file/${CID}`, {
  headers: { "X-Api-Key": API_KEY }
});

const details = await res.json();
console.log(JSON.stringify(details, null, 2));
8. 서명된 토큰을 사용한 클라이언트 측 업로드#
브라우저 번들에 API 키를 포함시키는 것은 보안 위험입니다. 대신 서버에서 단기 서명된 토큰을 생성하여 클라이언트에 전달하세요. 드래그 앤 드롭과 TanStack Query를 사용한 완전한 React 컴포넌트는 React IPFS 업로드 튜토리얼을 참조하세요.
서버(Express)#
// server.mjs
import express from "express";

const app = express();
const API = "https://api.ipfs.ninja";
const API_KEY = process.env.IPFS_API_KEY;

app.post("/api/upload-token", async (req, res) => {
  const response = await fetch(`${API}/upload/signed-url`, {
    method: "POST",
    headers: {
      "Content-Type": "application/json",
      "X-Api-Key": API_KEY
    },
    body: JSON.stringify({
      name: "browser-upload",
      expiresIn: 600          // token valid for 10 minutes
    })
  });

  const { token, tokenId, expiresAt } = await response.json();
  res.json({ token, tokenId, expiresAt });
});

app.listen(3000, () => console.log("Server running on :3000"));
브라우저 클라이언트#
<!-- upload.html -->
<input type="file" id="filePicker" />
<button id="uploadBtn">Upload to IPFS</button>
<pre id="result"></pre>

<script>
  const API = "https://api.ipfs.ninja";

  document.getElementById("uploadBtn").addEventListener("click", async () => {
    // 1. Get a signed token from your own backend
    const tokenRes = await fetch("/api/upload-token", { method: "POST" });
    const { token } = await tokenRes.json();

    // 2. Read the selected file as base64
    const file = document.getElementById("filePicker").files[0];
    if (!file) return alert("Pick a file first");

    const base64 = await new Promise((resolve) => {
      const reader = new FileReader();
      reader.onload = () => resolve(reader.result.split(",")[1]);
      reader.readAsDataURL(file);
    });

    // 3. Upload directly to IPFS using the signed token
    const uploadRes = await fetch(`${API}/upload/new`, {
      method: "POST",
      headers: {
        "Content-Type": "application/json",
        "Authorization": `Signed ${token}`
      },
      body: JSON.stringify({
        content: base64,
        description: file.name
      })
    });

    const data = await uploadRes.json();
    document.getElementById("result").textContent = JSON.stringify(data, null, 2);
  });
</script>
브라우저는 API 키를 절대 보지 않습니다. 서명된 토큰은 자동으로 만료됩니다. 토큰은 다중 사용입니다 — 만료되거나 취소될 때까지 여러 번 사용할 수 있습니다. useCount는 추적되지만 한도로 적용되지 않습니다.
9. 오류 처리#
API는 일반적인 HTTP 상태 코드를 사용합니다. 명시적으로 처리해야 할 코드는 다음과 같습니다:
| Status | 의미 | 무엇을 해야 하는가 |
|---|---|---|
| 400 | Bad request — 누락되거나 잘못된 필드 | content가 있고 유효한지 확인 |
| 401 | Unauthorized — 잘못된 또는 누락된 API 키 | X-Api-Key 헤더 확인 |
| 413 | 페이로드가 너무 큼 | 파일 크기 줄이기 또는 콘텐츠 분할 |
| 429 | 속도 제한 | 후퇴하고 지수 지연으로 재시도 |
| 500 | 서버 오류 | 짧은 지연 후 재시도 |
지수 백오프를 사용한 복원력 있는 업로드 함수:
// resilient-upload.mjs
const API = "https://api.ipfs.ninja";
const API_KEY = "bws_your_key_here";

async function uploadWithRetry(content, retries = 3) {
  for (let attempt = 1; attempt <= retries; attempt++) {
    const res = await fetch(`${API}/upload/new`, {
      method: "POST",
      headers: {
        "Content-Type": "application/json",
        "X-Api-Key": API_KEY
      },
      body: JSON.stringify({ content })
    });

    if (res.ok) return await res.json();

    const body = await res.text();

    if (res.status === 401) {
      throw new Error(`Authentication failed: ${body}`);
    }

    if (res.status === 413) {
      throw new Error(`Payload too large — reduce file size. ${body}`);
    }

    if (res.status === 429 || res.status >= 500) {
      const delay = Math.pow(2, attempt) * 1000;    // 2s, 4s, 8s
      console.warn(`Attempt ${attempt} failed (${res.status}). Retrying in ${delay}ms...`);
      await new Promise((r) => setTimeout(r, delay));
      continue;
    }

    throw new Error(`Upload failed (${res.status}): ${body}`);
  }

  throw new Error("Upload failed after all retries");
}

// Usage
const data = await uploadWithRetry({ hello: "world" });
console.log("CID:", data.cid);
10. 완전한 작동 예제#
이 튜토리얼에서 다룬 모든 엔드포인트를 실행하는 단일 스크립트. ipfs-demo.mjs로 저장하고 node ipfs-demo.mjs로 실행하세요.
// ipfs-demo.mjs
import { readFileSync } from "node:fs";

const API = "https://api.ipfs.ninja";
const API_KEY = "bws_your_key_here";

const headers = {
  "Content-Type": "application/json",
  "X-Api-Key": API_KEY
};

async function request(method, path, body) {
  const opts = { method, headers };
  if (body) opts.body = JSON.stringify(body);
  const res = await fetch(`${API}${path}`, opts);
  if (!res.ok) throw new Error(`${method} ${path} → ${res.status}: ${await res.text()}`);
  return res.json();
}

// --- 1. Upload JSON ---
console.log("--- Upload JSON ---");
const jsonResult = await request("POST", "/upload/new", {
  content: { name: "Demo Token", edition: 1 },
  description: "Tutorial demo — JSON upload",
  metadata: { tutorial: "true" }
});
console.log("CID:", jsonResult.cid);
console.log("URL:", jsonResult.uris.url);

// --- 2. Upload an image (if photo.png exists) ---
try {
  const img = readFileSync("./photo.png");
  console.log("\n--- Upload Image ---");
  const imgResult = await request("POST", "/upload/new", {
    content: img.toString("base64"),
    description: "Tutorial demo — image upload"
  });
  console.log("CID:", imgResult.cid);
  console.log("URL:", imgResult.uris.url);
} catch {
  console.log("\n--- Skipping image upload (no photo.png found) ---");
}

// --- 3. Pin the JSON CID ---
console.log("\n--- Pin CID ---");
const pinResult = await request("POST", "/pin", {
  cid: jsonResult.cid,
  description: "Pinned from tutorial"
});
console.log("Pinned:", pinResult.cid);

// --- 4. Get file details ---
console.log("\n--- File Details ---");
const details = await request("GET", `/file/${jsonResult.cid}`);
console.log(JSON.stringify(details, null, 2));

// --- 5. List recent files ---
console.log("\n--- Recent Files ---");
const now = Date.now();
const oneHourAgo = now - 60 * 60 * 1000;
const files = await request("GET", `/upload/list?from=${oneHourAgo}&to=${now}`);
console.log(`Found ${files.length} file(s) in the last hour`);
for (const f of files) {
  console.log(` - ${f.cid}  ${f.description ?? ""}`);
}

// --- 6. Create a signed upload token ---
console.log("\n--- Signed Token ---");
const tokenResult = await request("POST", "/upload/signed-url", {
  name: "demo-token",
  expiresIn: 300
});
console.log("Token ID :", tokenResult.tokenId);
console.log("Expires  :", new Date(tokenResult.expiresAt).toISOString());

// --- 7. Upload using the signed token ---
console.log("\n--- Upload with Signed Token ---");
const signedRes = await fetch(`${API}/upload/new`, {
  method: "POST",
  headers: {
    "Content-Type": "application/json",
    "Authorization": `Signed ${tokenResult.token}`
  },
  body: JSON.stringify({
    content: { note: "Uploaded with a signed token" }
  })
});
const signedData = await signedRes.json();
console.log("CID:", signedData.cid);

console.log("\nDone.");bws_your_key_here를 실제 키로 바꾸고 스크립트를 실행하세요. 각 단계에서 결과를 출력하므로 따라갈 수 있습니다. 동일한 API 호출을 사용하여 전체 프론트엔드를 IPFS에 호스팅할 수 있습니다.
11. 다음 단계#
이제 IPFS Upload API를 통해 파일을 업로드, 핀, 나열 및 검색하는 방법과 서명된 토큰으로 브라우저 업로드를 안전하게 유지하는 방법을 알았습니다. 대시보드 UI와 Python 예제를 포함한 더 광범위한 개요는 IPFS에 파일을 업로드하는 방법을 참조하세요. 여기에서 어디로 갈지:
- API 참조 — ipfs.ninja/docs의 전체 엔드포인트 문서.
- 사용자 정의 게이트웨이 — 자체 도메인에서 IPFS 콘텐츠를 제공합니다. 게이트웨이 설정 가이드를 참조하세요.
- 분석 — 대시보드에서 업로드 볼륨, 대역폭 및 핀 수를 추적합니다.
- HTTP 클라이언트 — SDK가 필요하지 않습니다. 표준
fetch()또는 모든 HTTP 클라이언트를 사용하여 API와 상호 작용할 수 있습니다.
문제가 발생하면 support.ipfs.ninja에서 티켓을 열거나 Discord에서 커뮤니티에 참여하세요.
NFT 메타데이터 구조와 ERC-721 tokenURI 패턴에 대한 완전한 안내는 NFT 메타데이터 저장 가이드를 참조하세요.
Python requests 라이브러리를 사용한 완전한 연습은 Python으로 IPFS에 파일 업로드하기를 참조하세요.

작성자 소개
Nacho Coll
Founder & Engineer at IPFS.NINJA
Nacho founded IPFS.NINJA to make content-addressed storage feel as simple as an S3 PUT — a single API call, a permanent CID, no wallets or peer discovery to reason about. Writes about IPFS internals, decentralized storage patterns, and the pinning-service landscape from the operator side of the wire.