Python IPFS 업로드: 코드 예제가 포함된 완벽 가이드
IPFS.NINJA REST API를 사용하여 Python에서 파일, 이미지, JSON을 IPFS에 업로드하세요. 특별한 SDK 없이 requests 라이브러리만으로 가능합니다. 검증된 코드 예제가 포함된 완벽 가이드.
- 내장 requests 라이브러리만으로 Python에서 파일, 이미지, JSON을 IPFS에 업로드하세요.
- 전용 Python SDK가 필요 없습니다 — REST API는 HTTP를 지원하는 어떤 언어에서도 동일하게 작동합니다.
- Python에서 서명된 업로드 토큰을 생성하여 브라우저나 모바일 클라이언트가 API 키 없이 업로드할 수 있도록 하세요.
- 모든 호출은 단일 X-Api-Key 헤더로 인증됩니다 — OAuth 흐름이나 SDK 설치가 필요 없습니다.
IPFS에 파일을 업로드하려는 Python 개발자는 로컬 IPFS 노드를 실행하거나 복잡한 라이브러리 종속성을 처리할 필요가 없습니다. IPFS.NINJA는 전용 Python SDK를 제공하지 않지만, REST API는 내장 requests 라이브러리를 사용하는 Python 애플리케이션에 완벽하게 적합합니다.
이 가이드는 Python에서 파일, 이미지 및 JSON 데이터를 IPFS로 업로드하고, 핀된 파일을 관리하며, 안전한 클라이언트 측 업로드를 위한 서명된 업로드 토큰과 같은 고급 기능을 활용하는 방법을 보여줍니다.
Python IPFS 업로드를 5분 안에 설정하기#
전용 Python SDK 없이도 아래 세 단계만으로 Python에서 IPFS 업로드를 시작할 수 있습니다:
- 설치 — Python 3.6+ 환경에서 내장
requests라이브러리만 있으면 됩니다(추가 SDK 불필요). - 인증 — IPFS.NINJA 대시보드에서 API 키를 발급받아
X-Api-Key헤더에 설정합니다. - 첫 번째 업로드 호출 —
requests.post로/upload/new엔드포인트에 JSON 또는 base64 인코딩된 파일을 전송하면 CID가 반환됩니다.
이 워크플로우는 다음과 같은 이유로 Python 개발자에게 특히 적합합니다:
- SDK 종속성 없음: Python의 내장
requests라이브러리 사용 - RESTful API: HTTP 표준을 따르는 깨끗하고 예측 가능한 엔드포인트
- JSON 네이티브: 파일 변환 없이 JSON 데이터 직접 업로드
- 여러 인증 방법: API 키, 서명된 토큰 또는 JWT
- 내장 분석: 업로드 성능 및 사용량 추적
- 사용자 지정 게이트웨이: 애플리케이션을 위한 브랜드화된 IPFS 액세스
IPFS 핀 개념에 익숙하지 않다면, IPFS 핀이란 무엇인가에 대한 종합 가이드와 IPFS에 파일을 업로드하는 방법을 확인하세요.
Python 환경 설정#
먼저 Python 3.6+이 있는지 확인하고 필요한 라이브러리를 설치합니다:
pip install requests이 가이드의 뒷부분에 있는 이미지 처리 예제용:
pip install Pillow # 이미지 처리용인증 설정#
모든 IPFS.NINJA API 호출에는 인증이 필요합니다. Python 애플리케이션의 가장 간단한 방법은 X-Api-Key 헤더와 함께 API 키를 사용하는 것입니다.
import requests
import json
import base64
# 귀하의 IPFS.NINJA API 키(형식: bws_ + 32자리 16진수)
API_KEY = "bws_1234567890abcdef1234567890abcdef"
BASE_URL = "https://api.ipfs.ninja"
# 모든 요청의 기본 헤더
headers = {
"X-Api-Key": API_KEY,
"Content-Type": "application/json"
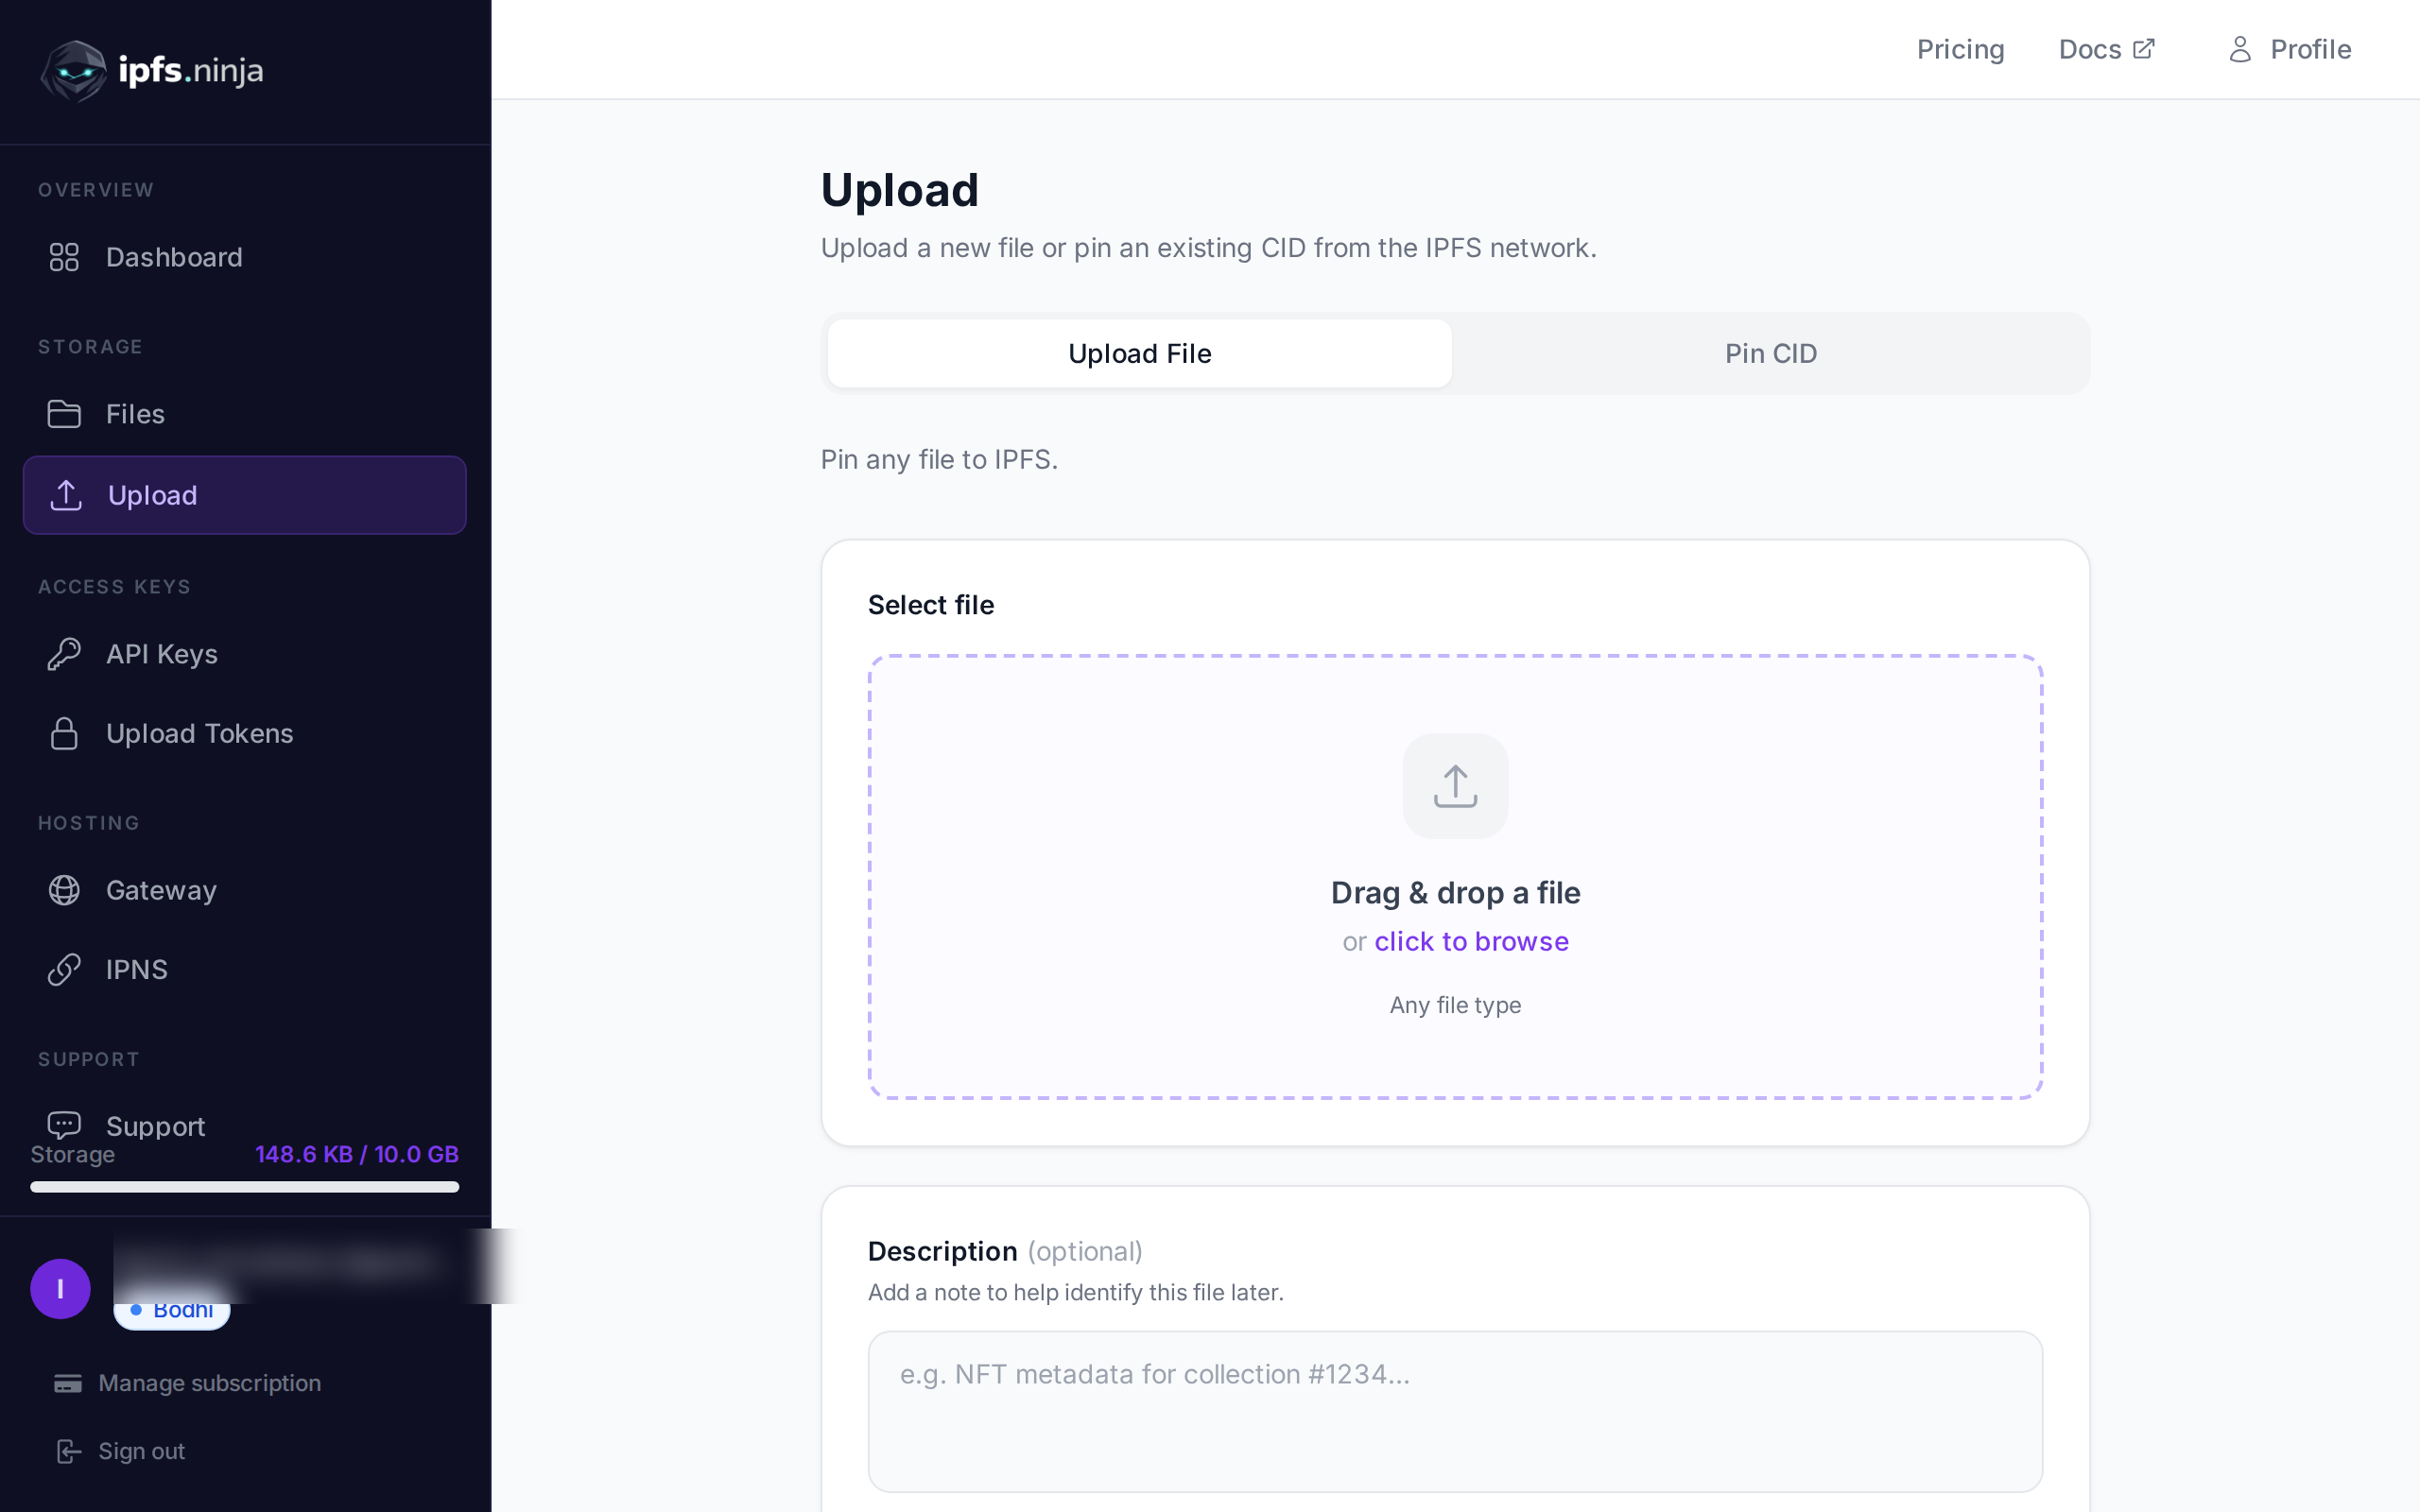
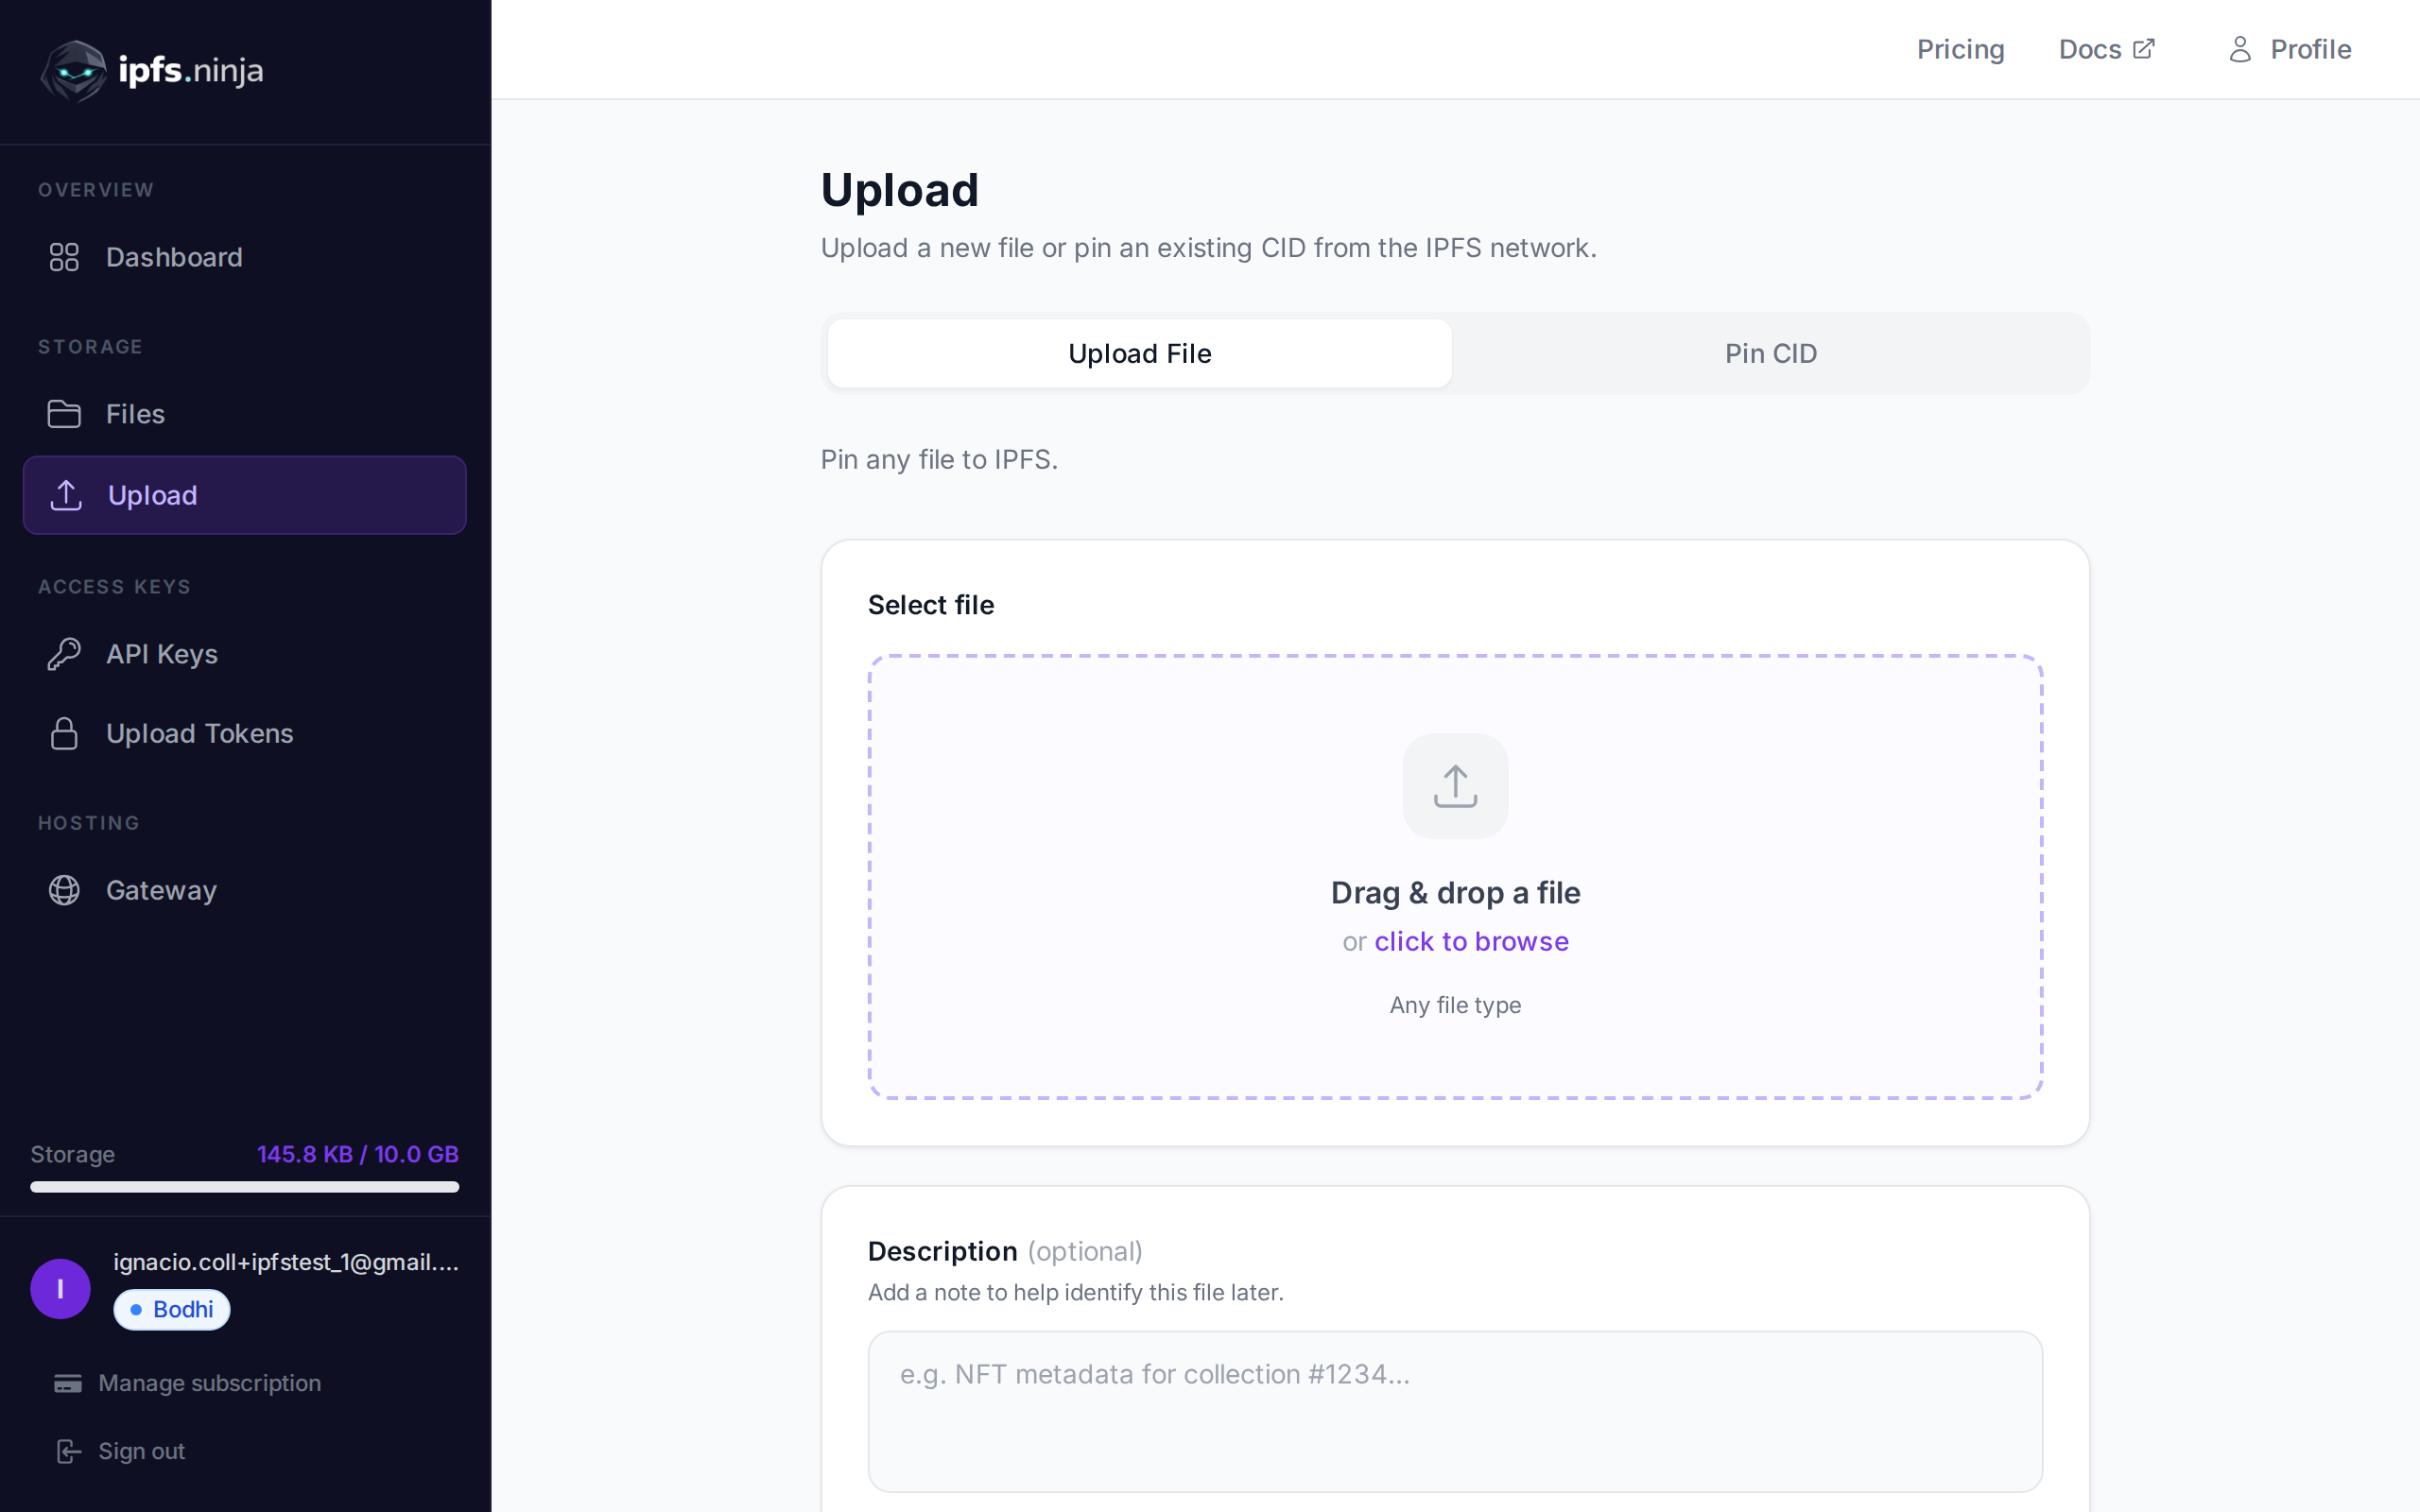
}계정을 생성한 후 IPFS.NINJA 대시보드에서 API 키를 얻으세요.
JSON 데이터를 IPFS에 업로드#
IPFS.NINJA의 독특한 기능 중 하나는 네이티브 JSON 지원입니다. JSON을 파일로 변환할 필요 없이 객체를 직접 업로드합니다:
def upload_json_to_ipfs(data, description=None, metadata=None):
    """
    JSON 데이터를 IPFS에 직접 업로드

    인수:
        data (dict): 업로드할 JSON 데이터
        description (str, 선택): 파일에 대한 설명
        metadata (dict, 선택): 추가 메타데이터

    반환:
        dict: CID와 액세스 URL이 포함된 응답
    """
    payload = {
        "content": data,
        "description": description,
        "metadata": metadata
    }

    response = requests.post(
        f"{BASE_URL}/upload/new",
        headers=headers,
        json=payload
    )

    if response.status_code == 200:
        return response.json()
    else:
        raise Exception(f"Upload failed: {response.status_code} - {response.text}")

# 예시: 사용자 프로필 업로드
user_profile = {
    "name": "Alice Smith",
    "bio": "Python developer and IPFS enthusiast",
    "website": "https://alice.dev",
    "social": {
        "github": "alicesmith",
        "twitter": "@alice_dev"
    }
}

try:
    result = upload_json_to_ipfs(
        data=user_profile,
        description="User profile for Alice Smith",
        metadata={"type": "profile", "version": "1.0"}
    )

    print(f"✅ Upload successful!")
    print(f"CID: {result['cid']}")
    print(f"Size: {result['sizeMB']} MB")
    print(f"IPFS URL: {result['uris']['ipfs']}")
    print(f"Gateway URL: {result['uris']['url']}")

except Exception as e:
    print(f"❌ Upload failed: {e}")
Base64 인코딩으로 파일 업로드#
이미지, 문서 또는 기타 파일 유형과 같은 바이너리 파일의 경우 base64 인코딩을 사용합니다:
def upload_file_to_ipfs(file_path, description=None, metadata=None):
    """
    base64 인코딩을 사용하여 IPFS에 파일을 업로드

    인수:
        file_path (str): 업로드할 파일 경로
        description (str, 선택): 파일에 대한 설명
        metadata (dict, 선택): 추가 메타데이터

    반환:
        dict: CID와 액세스 URL이 포함된 응답
    """
    try:
        with open(file_path, "rb") as file:
            file_content = base64.b64encode(file.read()).decode('utf-8')

        payload = {
            "content": file_content,
            "description": description or f"File upload: {file_path}",
            "metadata": metadata
        }

        response = requests.post(
            f"{BASE_URL}/upload/new",
            headers=headers,
            json=payload
        )

        if response.status_code == 200:
            return response.json()
        else:
            raise Exception(f"Upload failed: {response.status_code} - {response.text}")

    except FileNotFoundError:
        raise Exception(f"File not found: {file_path}")

# 예시: 이미지 업로드
try:
    result = upload_file_to_ipfs(
        file_path="./logo.png",
        description="Company logo",
        metadata={
            "type": "image",
            "format": "png",
            "purpose": "branding"
        }
    )

    print(f"✅ Image uploaded successfully!")
    print(f"CID: {result['cid']}")
    print(f"View at: {result['uris']['url']}")

except Exception as e:
    print(f"❌ Upload failed: {e}")
일괄 업로드 함수#
여러 파일을 효율적으로 업로드하려면:
import os
from pathlib import Path

def batch_upload_files(directory_path, file_extensions=None):
    """
    디렉토리에서 여러 파일 업로드

    인수:
        directory_path (str): 업로드할 파일이 포함된 디렉토리
        file_extensions (list, 선택): 파일 확장자로 필터링 (예: ['.png', '.jpg'])

    반환:
        list: 각 업로드의 결과
    """
    results = []
    directory = Path(directory_path)

    if not directory.exists():
        raise Exception(f"Directory not found: {directory_path}")

    # 모든 파일을 가져오거나 확장자로 필터링
    if file_extensions:
        files = []
        for ext in file_extensions:
            files.extend(directory.glob(f"*{ext}"))
    else:
        files = [f for f in directory.iterdir() if f.is_file()]

    print(f"Found {len(files)} files to upload...")

    for file_path in files:
        try:
            print(f"Uploading {file_path.name}...")

            result = upload_file_to_ipfs(
                file_path=str(file_path),
                description=f"Batch upload: {file_path.name}",
                metadata={
                    "batch_upload": True,
                    "original_name": file_path.name,
                    "file_size": file_path.stat().st_size
                }
            )

            results.append({
                "filename": file_path.name,
                "success": True,
                "cid": result['cid'],
                "url": result['uris']['url']
            })

        except Exception as e:
            results.append({
                "filename": file_path.name,
                "success": False,
                "error": str(e)
            })
            print(f"Failed to upload {file_path.name}: {e}")

    return results

# 사용 예시
try:
    results = batch_upload_files("./images", file_extensions=['.png', '.jpg', '.jpeg'])

    successful = [r for r in results if r['success']]
    failed = [r for r in results if not r['success']]

    print(f"\n✅ Successfully uploaded: {len(successful)} files")
    print(f"❌ Failed uploads: {len(failed)} files")

    for result in successful:
        print(f"  - {result['filename']}: {result['url']}")

except Exception as e:
    print(f"Batch upload error: {e}")
핀된 파일 관리#
업로드한 파일을 검색하고 관리합니다:
def list_pinned_files(limit=50, offset=0):
    """
    핀된 파일 나열

    인수:
        limit (int): 검색할 파일 수 (최대 100)
        offset (int): 건너뛸 파일 수

    반환:
        dict: 파일 목록과 페이지네이션이 포함된 응답
    """
    params = {
        "limit": limit,
        "offset": offset
    }

    response = requests.get(
        f"{BASE_URL}/files",
        headers=headers,
        params=params
    )

    if response.status_code == 200:
        return response.json()
    else:
        raise Exception(f"Failed to list files: {response.status_code} - {response.text}")

def get_file_details(cid):
    """
    특정 파일에 대한 세부 정보 가져오기

    인수:
        cid (str): 파일의 콘텐츠 식별자

    반환:
        dict: 파일 세부 정보
    """
    response = requests.get(
        f"{BASE_URL}/files/{cid}",
        headers=headers
    )

    if response.status_code == 200:
        return response.json()
    else:
        raise Exception(f"Failed to get file details: {response.status_code} - {response.text}")

# 예시: 최근 업로드 나열
try:
    files = list_pinned_files(limit=10)

    print(f"Total files: {files.get('total', 0)}")
    print("\nRecent uploads:")

    for file_info in files.get('files', []):
        print(f"  - {file_info['cid'][:12]}... | {file_info['sizeMB']} MB | {file_info['description']}")

except Exception as e:
    print(f"Failed to list files: {e}")
기존 IPFS 콘텐츠 핀#
이미 IPFS에 존재하는 콘텐츠를 핀합니다:
def pin_existing_cid(cid, description=None):
    """
    CID로 기존 IPFS 콘텐츠 핀

    인수:
        cid (str): 핀할 콘텐츠 식별자
        description (str, 선택): 핀된 콘텐츠에 대한 설명

    반환:
        dict: 핀 상태가 포함된 응답
    """
    payload = {
        "cid": cid,
        "description": description or f"Pinned existing content: {cid}"
    }

    response = requests.post(
        f"{BASE_URL}/pin",
        headers=headers,
        json=payload
    )

    if response.status_code == 200:
        return response.json()
    else:
        raise Exception(f"Pin failed: {response.status_code} - {response.text}")

# 예시: 인기 NFT 메타데이터 핀
try:
    result = pin_existing_cid(
        cid="QmYwAPJzv5CZsnA625s3Xf2nemtYgPpHdWEz79ojWnPbdG",
        description="Popular NFT metadata backup"
    )

    print(f"✅ Successfully pinned existing content!")
    print(f"CID: {result['cid']}")

except Exception as e:
    print(f"❌ Pin failed: {e}")
서명된 업로드 토큰 사용#
안전한 클라이언트 측 업로드 또는 임시 액세스를 위해 서명된 토큰을 사용합니다:
def create_upload_token(expires_in_hours=24, max_uses=None):
    """
    임시 업로드를 위한 서명된 업로드 토큰 생성

    인수:
        expires_in_hours (int): 토큰 만료 시간(시간 단위)
        max_uses (int, 선택): 최대 사용 횟수 (None인 경우 무제한)

    반환:
        dict: 서명된 토큰 문자열을 포함한 토큰 세부 정보
    """
    from datetime import datetime, timedelta

    expiry_time = datetime.utcnow() + timedelta(hours=expires_in_hours)

    payload = {
        "expiry": expiry_time.isoformat() + "Z",
        "maxUses": max_uses
    }

    response = requests.post(
        f"{BASE_URL}/upload-tokens",
        headers=headers,
        json=payload
    )

    if response.status_code == 200:
        return response.json()
    else:
        raise Exception(f"Token creation failed: {response.status_code} - {response.text}")

def upload_with_token(data, token, description=None):
    """
    API 키 대신 서명된 토큰을 사용하여 업로드

    인수:
        data: 업로드할 콘텐츠 (JSON용 dict, 파일용 base64 문자열)
        token (str): 서명된 업로드 토큰
        description (str, 선택): 업로드에 대한 설명

    반환:
        dict: 업로드 응답
    """
    token_headers = {
        "Authorization": f"Signed {token}",
        "Content-Type": "application/json"
    }

    payload = {
        "content": data,
        "description": description
    }

    response = requests.post(
        f"{BASE_URL}/upload/new",
        headers=token_headers,
        json=payload
    )

    if response.status_code == 200:
        return response.json()
    else:
        raise Exception(f"Token upload failed: {response.status_code} - {response.text}")

# 예시: 클라이언트 측 업로드용 토큰 생성
try:
    token_info = create_upload_token(expires_in_hours=1, max_uses=10)
    upload_token = token_info['token']

    print(f"Created upload token: {upload_token[:20]}...")
    print(f"Expires: {token_info['expiry']}")
    print(f"Max uses: {token_info.get('maxUses', 'unlimited')}")

    # 업로드에 토큰 사용
    test_data = {"message": "Hello from signed token!"}
    result = upload_with_token(test_data, upload_token, "Token test upload")

    print(f"✅ Token upload successful: {result['cid']}")

except Exception as e:
    print(f"❌ Token operation failed: {e}")
완벽한 예시: NFT 메타데이터 업로더#
NFT 메타데이터 관리를 위해 여러 개념을 결합한 실용적인 예시입니다:
class NFTMetadataUploader:
    def __init__(self, api_key):
        self.api_key = api_key
        self.base_url = "https://api.ipfs.ninja"
        self.headers = {
            "X-Api-Key": api_key,
            "Content-Type": "application/json"
        }

    def upload_nft_image(self, image_path, name, description=""):
        """NFT 이미지를 업로드하고 IPFS URL 반환"""
        try:
            with open(image_path, "rb") as file:
                image_content = base64.b64encode(file.read()).decode('utf-8')

            payload = {
                "content": image_content,
                "description": f"NFT Image: {name}",
                "metadata": {
                    "type": "nft_image",
                    "name": name,
                    "description": description
                }
            }

            response = requests.post(
                f"{self.base_url}/upload/new",
                headers=self.headers,
                json=payload
            )

            if response.status_code == 200:
                result = response.json()
                return result['uris']['ipfs']  # IPFS URI 반환
            else:
                raise Exception(f"Image upload failed: {response.text}")

        except Exception as e:
            raise Exception(f"Failed to upload image {image_path}: {e}")

    def upload_nft_metadata(self, name, description, image_ipfs_url, attributes=None, external_url=None):
        """완전한 NFT 메타데이터 업로드"""
        metadata = {
            "name": name,
            "description": description,
            "image": image_ipfs_url,
        }

        if attributes:
            metadata["attributes"] = attributes
        if external_url:
            metadata["external_url"] = external_url

        payload = {
            "content": metadata,
            "description": f"NFT Metadata: {name}",
            "metadata": {
                "type": "nft_metadata",
                "standard": "ERC-721"
            }
        }

        response = requests.post(
            f"{self.base_url}/upload/new",
            headers=self.headers,
            json=payload
        )

        if response.status_code == 200:
            return response.json()
        else:
            raise Exception(f"Metadata upload failed: {response.text}")

    def create_complete_nft(self, image_path, name, description, attributes=None, external_url=None):
        """완전한 NFT를 위한 이미지와 메타데이터 업로드"""
        print(f"Creating NFT: {name}")

        # 1단계: 이미지 업로드
        print("  1. Uploading image...")
        image_ipfs_url = self.upload_nft_image(image_path, name, description)
        print(f"     Image IPFS URL: {image_ipfs_url}")

        # 2단계: 메타데이터 업로드
        print("  2. Uploading metadata...")
        metadata_result = self.upload_nft_metadata(
            name=name,
            description=description,
            image_ipfs_url=image_ipfs_url,
            attributes=attributes,
            external_url=external_url
        )

        print(f"     Metadata CID: {metadata_result['cid']}")
        print(f"     Metadata URL: {metadata_result['uris']['url']}")

        return {
            "image_ipfs": image_ipfs_url,
            "metadata_cid": metadata_result['cid'],
            "metadata_url": metadata_result['uris']['url'],
            "metadata_ipfs": metadata_result['uris']['ipfs']
        }

# 사용 예시
if __name__ == "__main__":
    uploader = NFTMetadataUploader("bws_1234567890abcdef1234567890abcdef")

    try:
        nft_result = uploader.create_complete_nft(
            image_path="./nft_artwork.png",
            name="Cosmic Cat #001",
            description="A rare cosmic cat exploring the digital universe",
            attributes=[
                {"trait_type": "Background", "value": "Space"},
                {"trait_type": "Species", "value": "Cosmic Cat"},
                {"trait_type": "Rarity", "value": "Legendary"},
                {"trait_type": "Power Level", "value": 95}
            ],
            external_url="https://myproject.com/nft/1"
        )

        print("\n🎉 NFT created successfully!")
        print(f"Use this metadata URI in your smart contract: {nft_result['metadata_ipfs']}")

    except Exception as e:
        print(f"❌ NFT creation failed: {e}")
오류 처리 및 모범 사례#
프로덕션 애플리케이션을 위한 강력한 오류 처리를 구현하세요:
import time
from functools import wraps

def retry_on_failure(max_retries=3, delay=1):
    """실패한 업로드를 재시도하는 데코레이터"""
    def decorator(func):
        @wraps(func)
        def wrapper(*args, **kwargs):
            for attempt in range(max_retries):
                try:
                    return func(*args, **kwargs)
                except Exception as e:
                    if attempt == max_retries - 1:
                        raise e
                    print(f"Attempt {attempt + 1} failed: {e}")
                    print(f"Retrying in {delay} seconds...")
                    time.sleep(delay)
            return None
        return wrapper
    return decorator

@retry_on_failure(max_retries=3, delay=2)
def robust_upload(file_path, description=None):
    """실패 시 자동 재시도로 업로드"""
    return upload_file_to_ipfs(file_path, description)

def validate_api_response(response, operation="operation"):
    """API 응답을 검증하고 자세한 오류 정보 제공"""
    if response.status_code == 200:
        return response.json()
    elif response.status_code == 401:
        raise Exception(f"Authentication failed for {operation}. Check your API key.")
    elif response.status_code == 413:
        raise Exception(f"File too large for {operation}. Check your plan limits.")
    elif response.status_code == 429:
        raise Exception(f"Rate limit exceeded for {operation}. Please wait and retry.")
    else:
        raise Exception(f"{operation} failed: {response.status_code} - {response.text}")
다음 단계#
이제 Python에서 IPFS로 파일을 업로드하기 위한 완벽한 도구 키트를 가지고 있습니다! 다음을 다룹니다:
- IPFS.NINJA API를 사용한 JSON 및 파일 업로드
- 여러 파일에 대한 일괄 처리
- 파일 관리 및 기존 콘텐츠 핀
- 서명된 토큰을 사용한 안전한 업로드
- 프로덕션 준비 오류 처리
더 고급 기능을 위해 다른 가이드를 살펴보세요:
- API 세부 정보에 대한 완벽한 IPFS 업로드 API 튜토리얼
- 이점을 이해하기 위한 IPFS.NINJA vs Pinata 비교
- 서비스 비교를 위한 최고의 IPFS 핀 서비스
IPFS.NINJA API는 자체 인프라를 운영하는 복잡성 없이 Python 기반 IPFS 애플리케이션에 필요한 모든 것을 제공합니다.
핀을 시작할 준비가 되셨나요? 무료 계정 만들기 — 파일 50개, 1GB 스토리지, 2GB 대역폭/월. 신용카드 필요 없음.
See also: IPFS CIDs explained.

작성자 소개
Nacho Coll
Founder & Engineer at IPFS.NINJA
Nacho founded IPFS.NINJA to make content-addressed storage feel as simple as an S3 PUT — a single API call, a permanent CID, no wallets or peer discovery to reason about. Writes about IPFS internals, decentralized storage patterns, and the pinning-service landscape from the operator side of the wire.
