IPFS Upload API — 完整的开发者教程
学习通过 REST API 上传文件到 IPFS。JavaScript、Node.js 和 curl 的完整代码示例。上传 JSON、图像,使用签名令牌进行客户端上传。

向 IPFS 上传文件应该像发出 POST 请求一样简单。在本教程中,你将做的就是这样 — 只需 fetch() 和一个 API 密钥,即可上传 JSON 文档、图像和 PDF 到 IPFS。在最后,你将拥有一个完整的 Node.js 脚本,可以上传内容、列出文件、检索元数据,并为安全的客户端上传生成签名令牌。对 IPFS 不熟悉?在深入代码之前,从 什么是 IPFS Pinning? 开始了解基础知识。
你将构建什么#
- 上传 JSON 对象到 IPFS 并获取内容标识符 (CID)。
- 从磁盘上传二进制图像。
- 为上传附加描述和自定义元数据。
- 按日期范围查询上传历史。
- 检索特定文件的详细信息。
- 创建有时限的签名令牌,以便浏览器可以直接上传,而不会暴露你的 API 密钥。
- 处理错误并实现重试逻辑。
所有内容都针对单个基础 URL 运行: https://api.ipfs.ninja
1. 设置 — 注册并获取 API 密钥#
- 注册 免费帐户(不需要信用卡)。
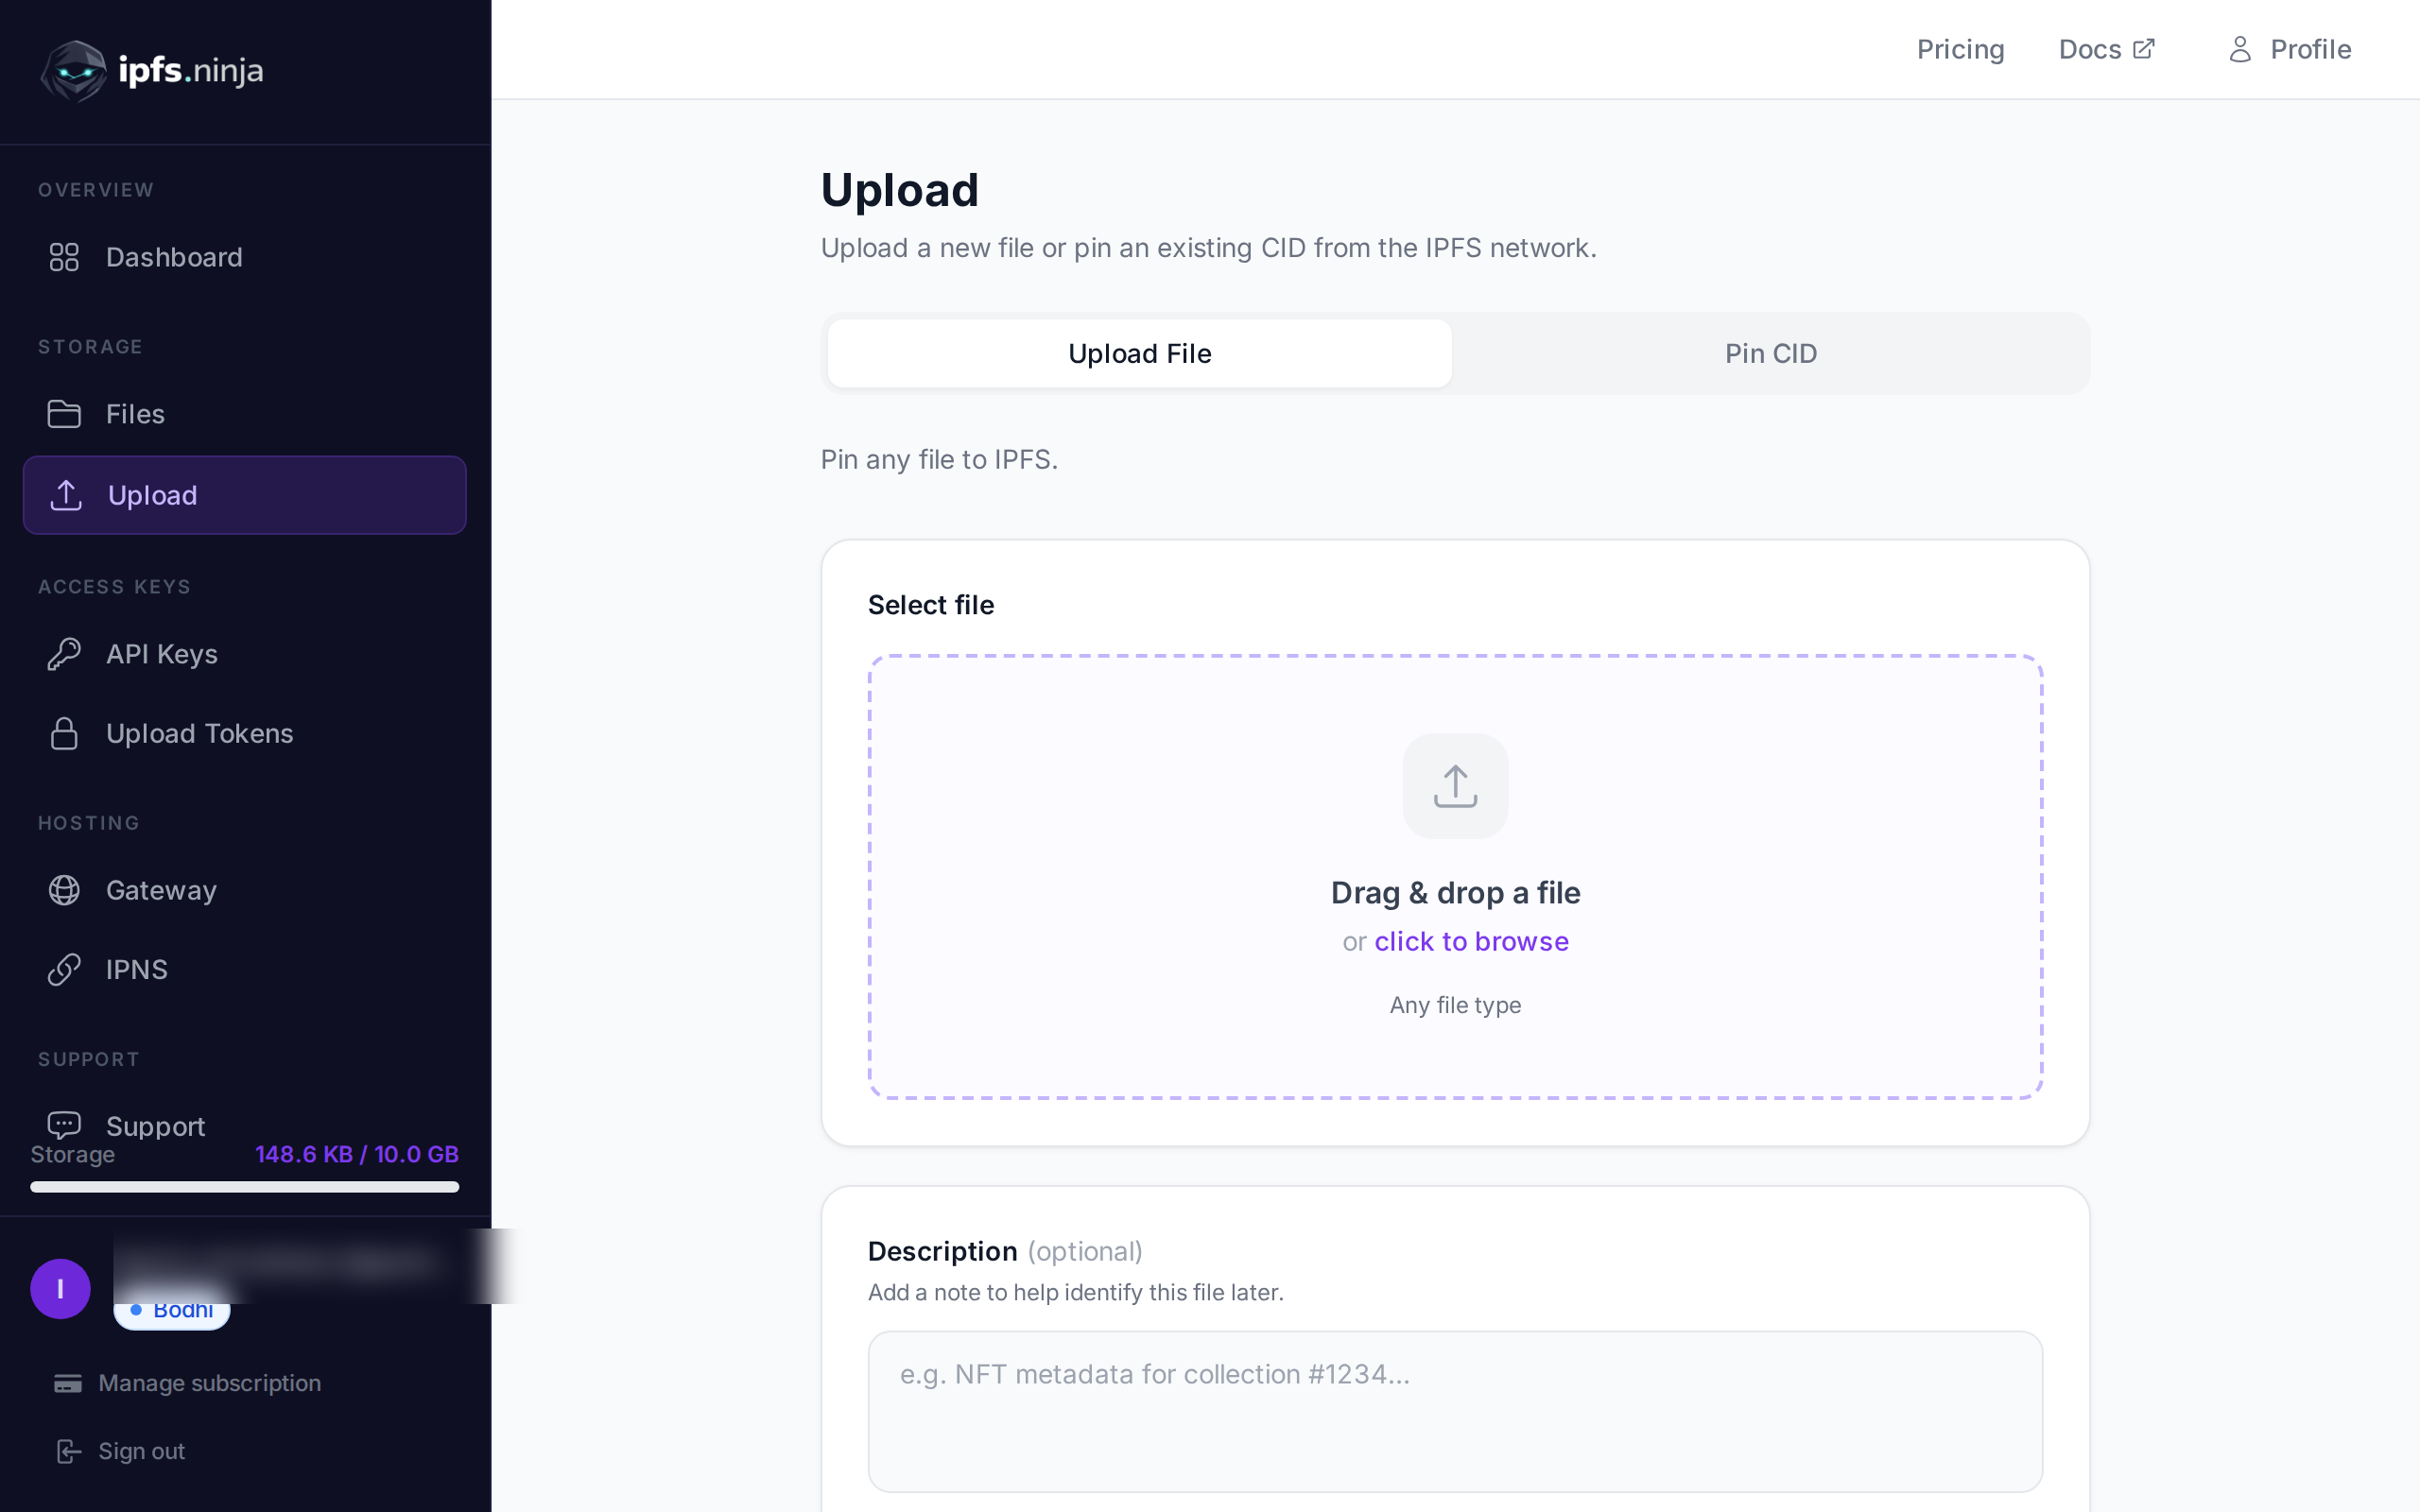
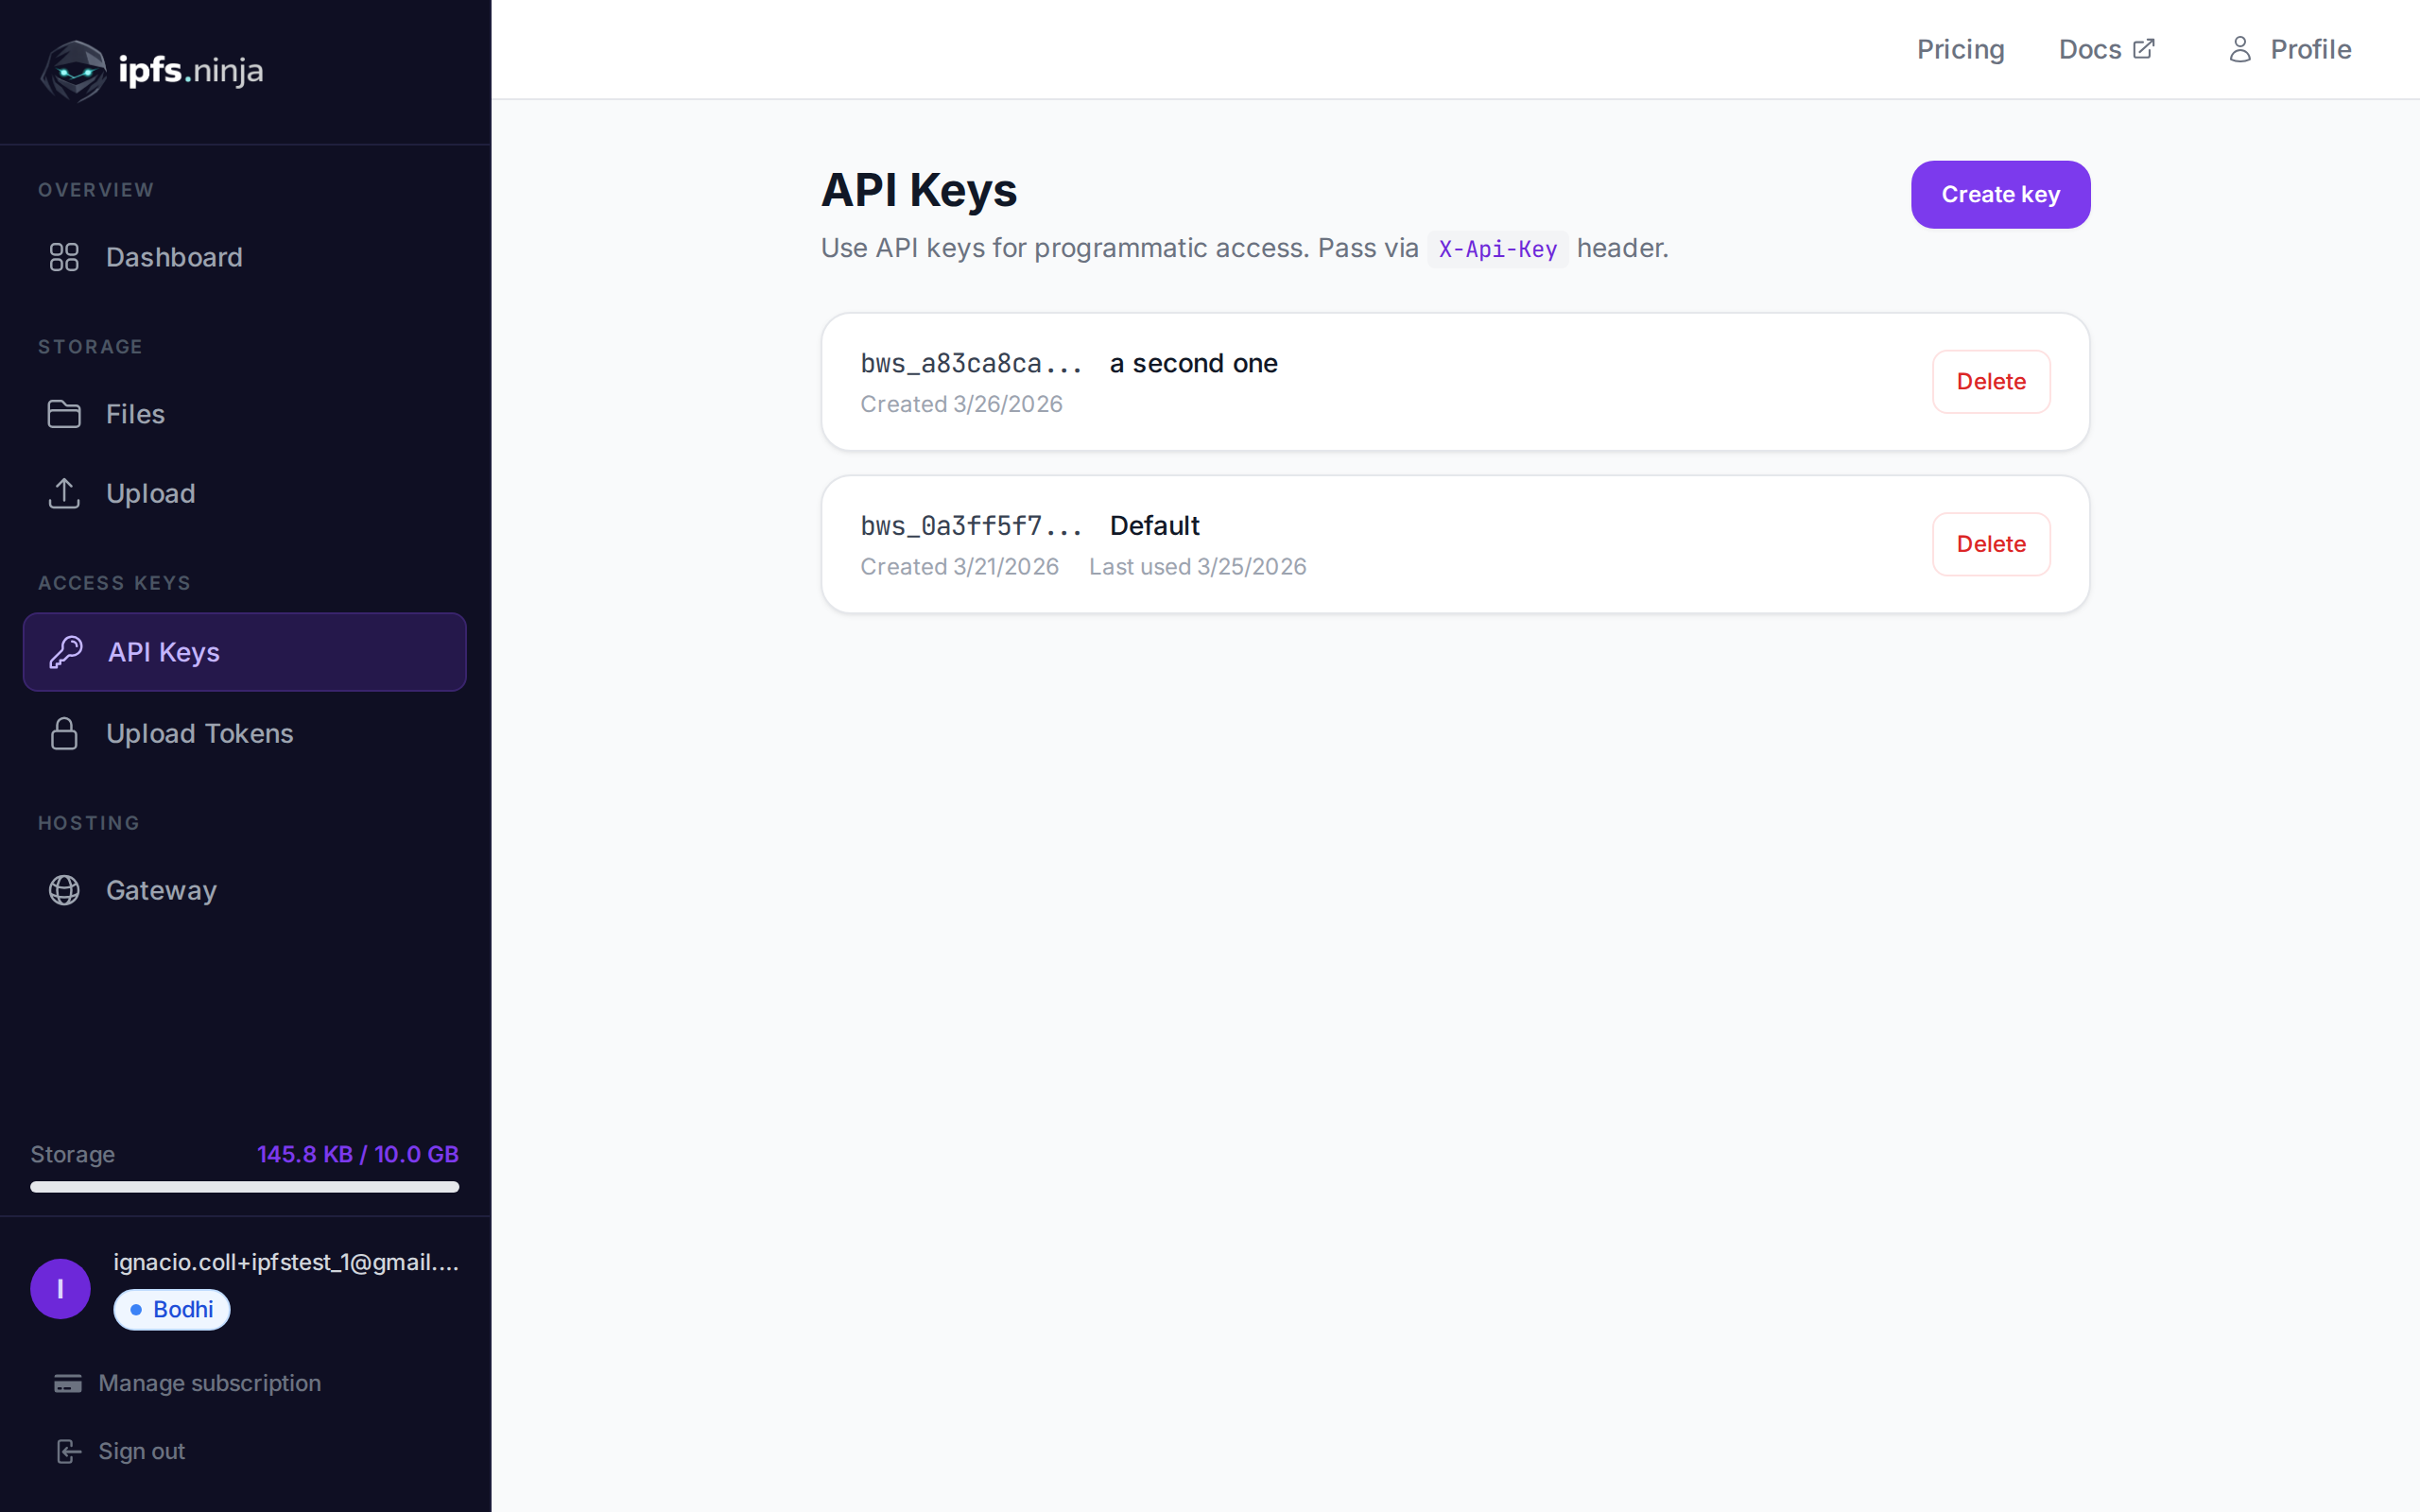
- 在仪表板侧边栏中转到 API Keys。
- 点击 Create key,给它一个名称,并立即复制密钥 — 它不会再次显示。
你的密钥看起来像 bws_a1b2c3d4e5f6a7b8c9d0e1f2a3b4c5d6。下面的每个示例都在 X-Api-Key 标头中发送它。
2. 上传 JSON 到 IPFS#
最简单的上传: 将普通 JavaScript 对象作为 content 传递,API 将其序列化,固定到 IPFS,并返回 CID。
// upload-json.mjs
const API = "https://api.ipfs.ninja";
const API_KEY = "bws_your_key_here";

const payload = {
  content: {
    name: "Galactic Badge #42",
    description: "Proof of attendance — Galactic Meetup 2026",
    attributes: [
      { trait_type: "Event", value: "Galactic Meetup" },
      { trait_type: "Year", value: 2026 }
    ]
  }
};

const res = await fetch(`${API}/upload/new`, {
  method: "POST",
  headers: {
    "Content-Type": "application/json",
    "X-Api-Key": API_KEY
  },
  body: JSON.stringify(payload)
});

const data = await res.json();
console.log("CID :", data.cid);
console.log("Size:", data.sizeMB, "MB");
console.log("IPFS:", data.uris.ipfs);
console.log("URL :", data.uris.url);
使用 node upload-json.mjs 运行。成功的响应如下所示:
{
  "cid": "bafkreigx7gq...",
  "sizeMB": 0.0004,
  "uris": {
    "ipfs": "ipfs://bafkreigx7gq...",
    "url": "https://ipfs.ninja/ipfs/bafkreigx7gq..."
  }
}
url 字段指向公共 HTTP 网关,因此内容立即可以在任何浏览器中访问。
3. 上传图像#
二进制文件(图像、PDF、音频)作为 content 字段中的 base64 编码字符串 发送。
// upload-image.mjs
import { readFileSync } from "node:fs";

const API = "https://api.ipfs.ninja";
const API_KEY = "bws_your_key_here";

const imageBuffer = readFileSync("./photo.png");
const base64 = imageBuffer.toString("base64");

const res = await fetch(`${API}/upload/new`, {
  method: "POST",
  headers: {
    "Content-Type": "application/json",
    "X-Api-Key": API_KEY
  },
  body: JSON.stringify({ content: base64 })
});

const data = await res.json();
console.log("Image CID:", data.cid);
console.log("Gateway  :", data.uris.url);
API 自动检测 MIME 类型 — PNG、JPEG、WebP、GIF 和 PDF 都受支持。不需要额外的标头或 content-type 覆盖。
使用 curl,相同的操作如下所示:
BASE64=$(base64 -w 0 photo.png)

curl -X POST https://api.ipfs.ninja/upload/new \
  -H "Content-Type: application/json" \
  -H "X-Api-Key: bws_your_key_here" \
  -d "{\"content\": \"$BASE64\"}"
4. 带元数据的上传#
每次上传都接受两个可选字段: description(自由文本标签)和 metadata(任意键值对)。两者都与 CID 一起存储,稍后列出或获取文件时返回。
// upload-with-metadata.mjs
const API = "https://api.ipfs.ninja";
const API_KEY = "bws_your_key_here";

const res = await fetch(`${API}/upload/new`, {
  method: "POST",
  headers: {
    "Content-Type": "application/json",
    "X-Api-Key": API_KEY
  },
  body: JSON.stringify({
    content: { title: "Meeting Notes", body: "Q1 roadmap recap..." },
    description: "Q1 2026 planning meeting notes",
    metadata: {
      project: "acme-app",
      author: "dana",
      version: "1"
    }
  })
});

const data = await res.json();
console.log("CID:", data.cid);
元数据使得在你的端轻松筛选和组织文件,而无需解析 IPFS 内容本身。
5. 固定现有 CID#
如果你已经在 IPFS 上拥有内容,并希望确保它保持可用,请通过 CID 固定它:
// pin-cid.mjs
const API = "https://api.ipfs.ninja";
const API_KEY = "bws_your_key_here";

const res = await fetch(`${API}/pin`, {
  method: "POST",
  headers: {
    "Content-Type": "application/json",
    "X-Api-Key": API_KEY
  },
  body: JSON.stringify({
    cid: "bafkreigx7gq...",
    description: "Pinned from external source"
  })
});

const data = await res.json();
console.log("Pinned:", data.cid);
使用相同的 API 调用,您可以将整个前端托管在 IPFS 上。
6. 列出你的文件#
检索你在时间窗口内上传的每个文件。from 和 to 查询参数是 以毫秒为单位的 Unix 时间戳。
// list-files.mjs
const API = "https://api.ipfs.ninja";
const API_KEY = "bws_your_key_here";

const now = Date.now();
const oneWeekAgo = now - 7 * 24 * 60 * 60 * 1000;

const url = `${API}/upload/list?from=${oneWeekAgo}&to=${now}`;

const res = await fetch(url, {
  headers: { "X-Api-Key": API_KEY }
});

const files = await res.json();

for (const file of files) {
  console.log(`${file.cid}  ${file.description ?? "(no description)"}`);
}
使用 curl:
FROM=$(($(date +%s) * 1000 - 604800000))
TO=$(($(date +%s) * 1000))

curl -s "https://api.ipfs.ninja/upload/list?from=$FROM&to=$TO" \
  -H "X-Api-Key: bws_your_key_here" | jq .
7. 获取文件详情#
获取单个 CID 的完整记录,包括元数据、大小和时间戳:
// get-file.mjs
const API = "https://api.ipfs.ninja";
const API_KEY = "bws_your_key_here";
const CID = "bafkreigx7gq...";

const res = await fetch(`${API}/file/${CID}`, {
  headers: { "X-Api-Key": API_KEY }
});

const details = await res.json();
console.log(JSON.stringify(details, null, 2));
8. 使用签名令牌的客户端上传#
在浏览器包中嵌入 API 密钥是一种安全风险。相反,在服务器上生成一个短期 签名令牌 并将其传递给客户端。如需使用拖放功能和 TanStack Query 的完整 React 组件,请参阅我们的 React IPFS 上传教程。
服务器 (Express)#
// server.mjs
import express from "express";

const app = express();
const API = "https://api.ipfs.ninja";
const API_KEY = process.env.IPFS_API_KEY;

app.post("/api/upload-token", async (req, res) => {
  const response = await fetch(`${API}/upload/signed-url`, {
    method: "POST",
    headers: {
      "Content-Type": "application/json",
      "X-Api-Key": API_KEY
    },
    body: JSON.stringify({
      name: "browser-upload",
      expiresIn: 600          // token valid for 10 minutes
    })
  });

  const { token, tokenId, expiresAt } = await response.json();
  res.json({ token, tokenId, expiresAt });
});

app.listen(3000, () => console.log("Server running on :3000"));浏览器客户端#
<!-- upload.html -->
<input type="file" id="filePicker" />
<button id="uploadBtn">Upload to IPFS</button>
<pre id="result"></pre>

<script>
  const API = "https://api.ipfs.ninja";

  document.getElementById("uploadBtn").addEventListener("click", async () => {
    // 1. Get a signed token from your own backend
    const tokenRes = await fetch("/api/upload-token", { method: "POST" });
    const { token } = await tokenRes.json();

    // 2. Read the selected file as base64
    const file = document.getElementById("filePicker").files[0];
    if (!file) return alert("Pick a file first");

    const base64 = await new Promise((resolve) => {
      const reader = new FileReader();
      reader.onload = () => resolve(reader.result.split(",")[1]);
      reader.readAsDataURL(file);
    });

    // 3. Upload directly to IPFS using the signed token
    const uploadRes = await fetch(`${API}/upload/new`, {
      method: "POST",
      headers: {
        "Content-Type": "application/json",
        "Authorization": `Signed ${token}`
      },
      body: JSON.stringify({
        content: base64,
        description: file.name
      })
    });

    const data = await uploadRes.json();
    document.getElementById("result").textContent = JSON.stringify(data, null, 2);
  });
</script>
浏览器永远不会看到你的 API 密钥。签名令牌自动过期。令牌是多次使用 — 它们可以多次使用,直到过期或被撤销。useCount 被跟踪但不作为限制强制执行。
9. 错误处理#
API 使用传统的 HTTP 状态码。以下是你应该显式处理的状态码:
| Status | 含义 | 该做什么 |
|---|---|---|
| 400 | Bad request — 缺少或无效字段 | 检查 content 是否存在且有效 |
| 401 | Unauthorized — API 密钥错误或缺失 | 验证 X-Api-Key 标头 |
| 413 | Payload 太大 | 减小文件大小或拆分内容 |
| 429 | 速率限制 | 退避并使用指数延迟重试 |
| 500 | 服务器错误 | 短暂延迟后重试 |
具有指数退避的弹性上传函数:
// resilient-upload.mjs
const API = "https://api.ipfs.ninja";
const API_KEY = "bws_your_key_here";

async function uploadWithRetry(content, retries = 3) {
  for (let attempt = 1; attempt <= retries; attempt++) {
    const res = await fetch(`${API}/upload/new`, {
      method: "POST",
      headers: {
        "Content-Type": "application/json",
        "X-Api-Key": API_KEY
      },
      body: JSON.stringify({ content })
    });

    if (res.ok) return await res.json();

    const body = await res.text();

    if (res.status === 401) {
      throw new Error(`Authentication failed: ${body}`);
    }

    if (res.status === 413) {
      throw new Error(`Payload too large — reduce file size. ${body}`);
    }

    if (res.status === 429 || res.status >= 500) {
      const delay = Math.pow(2, attempt) * 1000;    // 2s, 4s, 8s
      console.warn(`Attempt ${attempt} failed (${res.status}). Retrying in ${delay}ms...`);
      await new Promise((r) => setTimeout(r, delay));
      continue;
    }

    throw new Error(`Upload failed (${res.status}): ${body}`);
  }

  throw new Error("Upload failed after all retries");
}

// Usage
const data = await uploadWithRetry({ hello: "world" });
console.log("CID:", data.cid);
10. 完整的工作示例#
一个执行本教程中涵盖的每个端点的单一脚本。将其保存为 ipfs-demo.mjs 并使用 node ipfs-demo.mjs 运行。
// ipfs-demo.mjs
import { readFileSync } from "node:fs";

const API = "https://api.ipfs.ninja";
const API_KEY = "bws_your_key_here";

const headers = {
  "Content-Type": "application/json",
  "X-Api-Key": API_KEY
};

async function request(method, path, body) {
  const opts = { method, headers };
  if (body) opts.body = JSON.stringify(body);
  const res = await fetch(`${API}${path}`, opts);
  if (!res.ok) throw new Error(`${method} ${path} → ${res.status}: ${await res.text()}`);
  return res.json();
}

// --- 1. Upload JSON ---
console.log("--- Upload JSON ---");
const jsonResult = await request("POST", "/upload/new", {
  content: { name: "Demo Token", edition: 1 },
  description: "Tutorial demo — JSON upload",
  metadata: { tutorial: "true" }
});
console.log("CID:", jsonResult.cid);
console.log("URL:", jsonResult.uris.url);

// --- 2. Upload an image (if photo.png exists) ---
try {
  const img = readFileSync("./photo.png");
  console.log("\n--- Upload Image ---");
  const imgResult = await request("POST", "/upload/new", {
    content: img.toString("base64"),
    description: "Tutorial demo — image upload"
  });
  console.log("CID:", imgResult.cid);
  console.log("URL:", imgResult.uris.url);
} catch {
  console.log("\n--- Skipping image upload (no photo.png found) ---");
}

// --- 3. Pin the JSON CID ---
console.log("\n--- Pin CID ---");
const pinResult = await request("POST", "/pin", {
  cid: jsonResult.cid,
  description: "Pinned from tutorial"
});
console.log("Pinned:", pinResult.cid);

// --- 4. Get file details ---
console.log("\n--- File Details ---");
const details = await request("GET", `/file/${jsonResult.cid}`);
console.log(JSON.stringify(details, null, 2));

// --- 5. List recent files ---
console.log("\n--- Recent Files ---");
const now = Date.now();
const oneHourAgo = now - 60 * 60 * 1000;
const files = await request("GET", `/upload/list?from=${oneHourAgo}&to=${now}`);
console.log(`Found ${files.length} file(s) in the last hour`);
for (const f of files) {
  console.log(` - ${f.cid}  ${f.description ?? ""}`);
}

// --- 6. Create a signed upload token ---
console.log("\n--- Signed Token ---");
const tokenResult = await request("POST", "/upload/signed-url", {
  name: "demo-token",
  expiresIn: 300
});
console.log("Token ID :", tokenResult.tokenId);
console.log("Expires  :", new Date(tokenResult.expiresAt).toISOString());

// --- 7. Upload using the signed token ---
console.log("\n--- Upload with Signed Token ---");
const signedRes = await fetch(`${API}/upload/new`, {
  method: "POST",
  headers: {
    "Content-Type": "application/json",
    "Authorization": `Signed ${tokenResult.token}`
  },
  body: JSON.stringify({
    content: { note: "Uploaded with a signed token" }
  })
});
const signedData = await signedRes.json();
console.log("CID:", signedData.cid);

console.log("\nDone.");
将 bws_your_key_here 替换为真实密钥并运行脚本。每个步骤都会打印其结果,以便你可以跟随。
11. 下一步#
你现在知道如何通过 IPFS Upload API 上传、固定、列出和检索文件,以及如何使用签名令牌保持浏览器上传安全。有关包括仪表板 UI 和 Python 示例的更广泛的概述,请参阅 如何向 IPFS 上传文件。这里是从这里去哪里:
- API 参考 — 完整的端点文档位于 ipfs.ninja/docs。
- 自定义网关 — 从你自己的域名提供 IPFS 内容。请参阅 网关设置指南。
- 分析 — 在 仪表板 中跟踪上传量、带宽和固定计数。
- HTTP 客户端 — 不需要 SDK。你可以使用标准
fetch()或任何 HTTP 客户端与 API 进行交互。
如果你遇到问题,请在 support.ipfs.ninja 上开票或加入 Discord 上的社区。
为了提升安全性,请参阅 IPFS 上传令牌。
有关 NFT 元数据结构和 ERC-721 tokenURI 模式的完整演练,请参阅我们的 NFT 元数据存储指南。
有关使用 Python requests 库的完整演练,请参阅用 Python 将文件上传到 IPFS。

关于作者
Nacho Coll
Founder & Engineer at IPFS.NINJA
Nacho founded IPFS.NINJA to make content-addressed storage feel as simple as an S3 PUT — a single API call, a permanent CID, no wallets or peer discovery to reason about. Writes about IPFS internals, decentralized storage patterns, and the pinning-service landscape from the operator side of the wire.