如何将 React 前端部署到 IPFS:分步教程与去中心化托管指南
教程:将 React 或静态前端部署到 IPFS。使用 IPFS.NINJA 固定资产并通过专用网关提供服务。
传统的 Web 托管依赖于可能宕机、被审查或维护成本高昂的中央服务器。如果你的前端可以托管在一个更具弹性、更具成本效益且全球分布的去中心化网络上呢?进入 IPFS 托管 — 一种革命性的部署 Web 应用的方法,利用星际文件系统实现真正的去中心化应用托管。
在这份全面的指南中,我们将通过完整的过程,使用 IPFS.NINJA 将 React 应用部署到 IPFS,从构建你的应用到配置自定义网关以及探索 ENS 域名集成。无论你是构建简单的作品集网站还是复杂的去中心化应用,本教程都将为你提供有效地在 IPFS 上托管前端的基础。
切换到 IPFS 托管的 5 个理由(含成本对比表)#
| 理由 | 说明 | 成本对比 |
|---|---|---|
| 去中心化 | 内容分布在全球节点网络,没有单一服务器或 CDN 依赖 | 传统托管:单点故障风险,需额外付费实现多区域冗余 |
| 内容寻址 | 使用加密哈希(CID)标识内容,确保不可篡改 | — |
| 成本效益 | Dharma 计划:免费,1 GB 存储;Bodhi 计划:每月 $5,10 GB;Karma 计划:每月 $19,100 GB | 传统托管:同等容量通常每月 $20-100+ |
| 性能 | 点对点交付,内容从最近的可用节点提供 | 可能优于集中式 CDN 的固定源站延迟 |
| 抗审查 | 去中心化架构使单一实体极难关闭你的应用 | 传统托管:依赖单一提供商的服务条款 |
在深入技术实现之前,让我们了解为什么 IPFS 托管在全球开发者和组织中越来越受欢迎。
去中心化优势:与传统托管不同,传统托管中你的站点依赖于单个服务器或 CDN,IPFS 将你的内容分布在全球节点网络中。这意味着即使个别节点下线,你的网站仍然可访问。
内容寻址:IPFS 使用加密哈希(CID)来识别内容,确保不可篡改性。一旦部署前端,用户可以信任内容未被篡改。
成本效益:使用像 IPFS.NINJA 这样的服务,你可以以传统托管成本的一小部分来托管静态前端。我们的 Dharma 计划免费提供 1 GB 存储和每月 2 GB 带宽,Bodhi 计划提供 10 GB 存储和 20 GB 带宽,每月 5 美元,而 Karma 计划升级到 100 GB / 100 GB,每月 19 美元。
性能:IPFS 的点对点特性意味着内容从最近的可用节点提供,可能比集中式 CDN 提供更好的性能。
抗审查:去中心化托管使任何单一实体极难关闭你的应用程序。
了解用于 Web 托管的 IPFS 固定#
当你将前端部署到 IPFS 时,你实际上是将构建的应用文件上传到网络。然而,IPFS 节点只保留它们正在积极使用的内容。这就是 IPFS 固定 变得至关重要的地方 — 它通过将文件保留在像 IPFS.NINJA 这样的专用固定服务上来确保文件保持可用。
将固定视为托管保证。虽然你的文件在 IPFS 网络上以其唯一的内容标识符(CID)存在,但固定服务确保它们始终可供试图访问你网站的用户访问。
如何选择固定服务#
并非所有固定服务都是平等的,选择合适的服务会直接影响你前端的可用性和加载速度。首先看免费层是否够用:大多数服务的免费层(例如 1 GB 存储)足以托管一个中小型 React 应用的构建产物,但如果你的资源体积较大(图片、字体、视频),很快就需要升级到付费计划。其次比较可靠性——固定服务是否在多个区域复制你的内容?单区域固定意味着该区域故障时你的站点也会短暂不可访问。第三是网关速度:专用网关通常比公共共享网关响应更快,因为它不与其他用户的流量竞争。最后考虑开发者体验——一个有良好文档的 REST API 和清晰的错误信息,能显著减少你在部署脚本中调试的时间。对于生产级前端部署,建议优先选择提供专用网关、多区域复制以及透明定价的服务,而不是仅看免费层的存储配额。
如何验证固定状态#
部署完成后,你应该验证文件是否真正被固定,而不仅仅是临时缓存在某个网关节点上。使用 IPFS.NINJA API,你可以通过 CID 查询文件的详细记录,包括固定状态、大小和上传时间:
// verify-pin-status.js
async function verifyPinStatus(cid) {
  try {
    const response = await axios.get(`${API_BASE}/file/${cid}`, {
      headers: { 'X-Api-Key': API_KEY }
    });

    const file = response.data;
    console.log(`CID: ${file.cid}`);
    console.log(`状态: ${file.pinned ? '✅ 已固定' : '⚠️ 未固定'}`);
    console.log(`大小: ${file.sizeMB} MB`);
    console.log(`上传时间: ${file.createdAt}`);

    return file.pinned;
  } catch (error) {
    console.error('无法验证固定状态:', error.response?.data || error.message);
    return false;
  }
}

// 在部署脚本末尾调用,确认根 CID 已固定
await verifyPinStatus(indexUpload.cid);
将这一验证步骤加入你的 CI/CD 部署脚本,可以在发布流程中尽早发现固定失败的情况,而不是等到用户报告网站无法访问时才发现问题。
设置你的开发环境#
让我们从创建一个我们将部署到 IPFS 的 React 应用开始。如果你已经有现有的前端项目,可以跳到构建优化部分。
# 创建一个新的 React 应用
npx create-react-app my-ipfs-app
cd my-ipfs-app

# 安装 IPFS 集成的其他依赖项
npm install axios
在本教程中,我们将创建一个简单但功能性的 React 应用,演示去中心化应用通常需要的各种功能。
// src/App.js
import React, { useState, useEffect } from 'react';
import './App.css';

function App() {
  const [ipfsStatus, setIpfsStatus] = useState('Checking...');
  const [deploymentInfo, setDeploymentInfo] = useState(null);

  useEffect(() => {
    // 模拟检查 IPFS 连接
    setTimeout(() => {
      setIpfsStatus('Connected to IPFS Network');
      setDeploymentInfo({
        cid: 'QmYourAppHashWillAppearHere',
        deployed: new Date().toISOString(),
        size: '2.3 MB'
      });
    }, 2000);
  }, []);

  return (
    <div className="App">
      <header className="App-header">
        <h1>🚀 My Decentralized App</h1>
        <p>Hosted on IPFS via IPFS.NINJA</p>

        <div className="status-card">
          <h3>IPFS Status</h3>
          <p className={ipfsStatus.includes('Connected') ? 'connected' : 'checking'}>
            {ipfsStatus}
          </p>
        </div>

        {deploymentInfo && (
          <div className="deployment-info">
            <h3>Deployment Information</h3>
            <p><strong>CID:</strong> {deploymentInfo.cid}</p>
            <p><strong>Size:</strong> {deploymentInfo.size}</p>
            <p><strong>Deployed:</strong> {deploymentInfo.deployed}</p>
          </div>
        )}

        <div className="features">
          <h3>Decentralized Features</h3>
          <ul>
            <li>✅ Censorship Resistant</li>
            <li>✅ Globally Distributed</li>
            <li>✅ Content Addressable</li>
            <li>✅ Cost Effective</li>
          </ul>
        </div>
      </header>
    </div>
  );
}

export default App;
添加一些样式使其在视觉上更具吸引力:
/* src/App.css */
.App {
  text-align: center;
}

.App-header {
  background: linear-gradient(135deg, #667eea 0%, #764ba2 100%);
  padding: 40px;
  color: white;
  min-height: 100vh;
}

.status-card, .deployment-info, .features {
  background: rgba(255, 255, 255, 0.1);
  border-radius: 10px;
  padding: 20px;
  margin: 20px auto;
  max-width: 500px;
  backdrop-filter: blur(10px);
}

.connected {
  color: #4ade80;
  font-weight: bold;
}

.checking {
  color: #fbbf24;
}

.features ul {
  list-style: none;
  padding: 0;
}

.features li {
  padding: 8px 0;
  font-size: 1.1em;
}
为 IPFS 优化你的构建#
IPFS 最适合静态文件,因此我们需要确保我们的 React 应用为去中心化托管正确构建。有几个重要的考虑事项:
1. 为 IPFS 路径配置 React#
默认情况下,React 应用假设它们从根域提供服务。在 IPFS 上托管时,你的应用将通过 https://gateway.ipfs.io/ipfs/QmYourHash 等路径访问。我们需要配置 React 以正确处理这一点。
创建或修改 package.json:
{
  "name": "my-ipfs-app",
  "version": "0.1.0",
  "homepage": "./",
  "dependencies": {
    "react": "^18.2.0",
    "react-dom": "^18.2.0",
    "axios": "^1.6.0"
  },
  "scripts": {
    "start": "react-scripts start",
    "build": "react-scripts build",
    "ipfs-build": "npm run build && npm run prepare-ipfs",
    "prepare-ipfs": "echo 'Build optimized for IPFS deployment'"
  }
}
"homepage": "./" 配置告诉 React 使用相对路径,这对于 IPFS 托管至关重要。
2. 处理单页应用程序的路由#
如果你的应用使用 React Router,你需要使用 HashRouter 而不是 BrowserRouter 以兼容 IPFS:
// src/index.js
import React from 'react';
import ReactDOM from 'react-dom/client';
import { HashRouter } from 'react-router-dom';
import App from './App';

const root = ReactDOM.createRoot(document.getElementById('root'));
root.render(
  <React.StrictMode>
    <HashRouter>
      <App />
    </HashRouter>
  </React.StrictMode>
);
3. 构建应用程序#
现在让我们创建生产构建:
npm run build这会生成一个 build 文件夹,包含你的应用程序所需的所有静态文件。
使用 IPFS.NINJA 上传到 IPFS#
现在到了激动人心的部分 — 使用 IPFS.NINJA 强大的固定服务将你的前端部署到 IPFS。与其他固定服务相比,IPFS.NINJA 提供有竞争力的定价、专用网关和对开发者友好的 API。
设置你的 IPFS.NINJA 账户#
首先,创建你的免费 IPFS.NINJA 账户以获取你的 API 密钥。你将收到一个格式为 bws_ 后跟 32 个十六进制字符的 API 密钥。
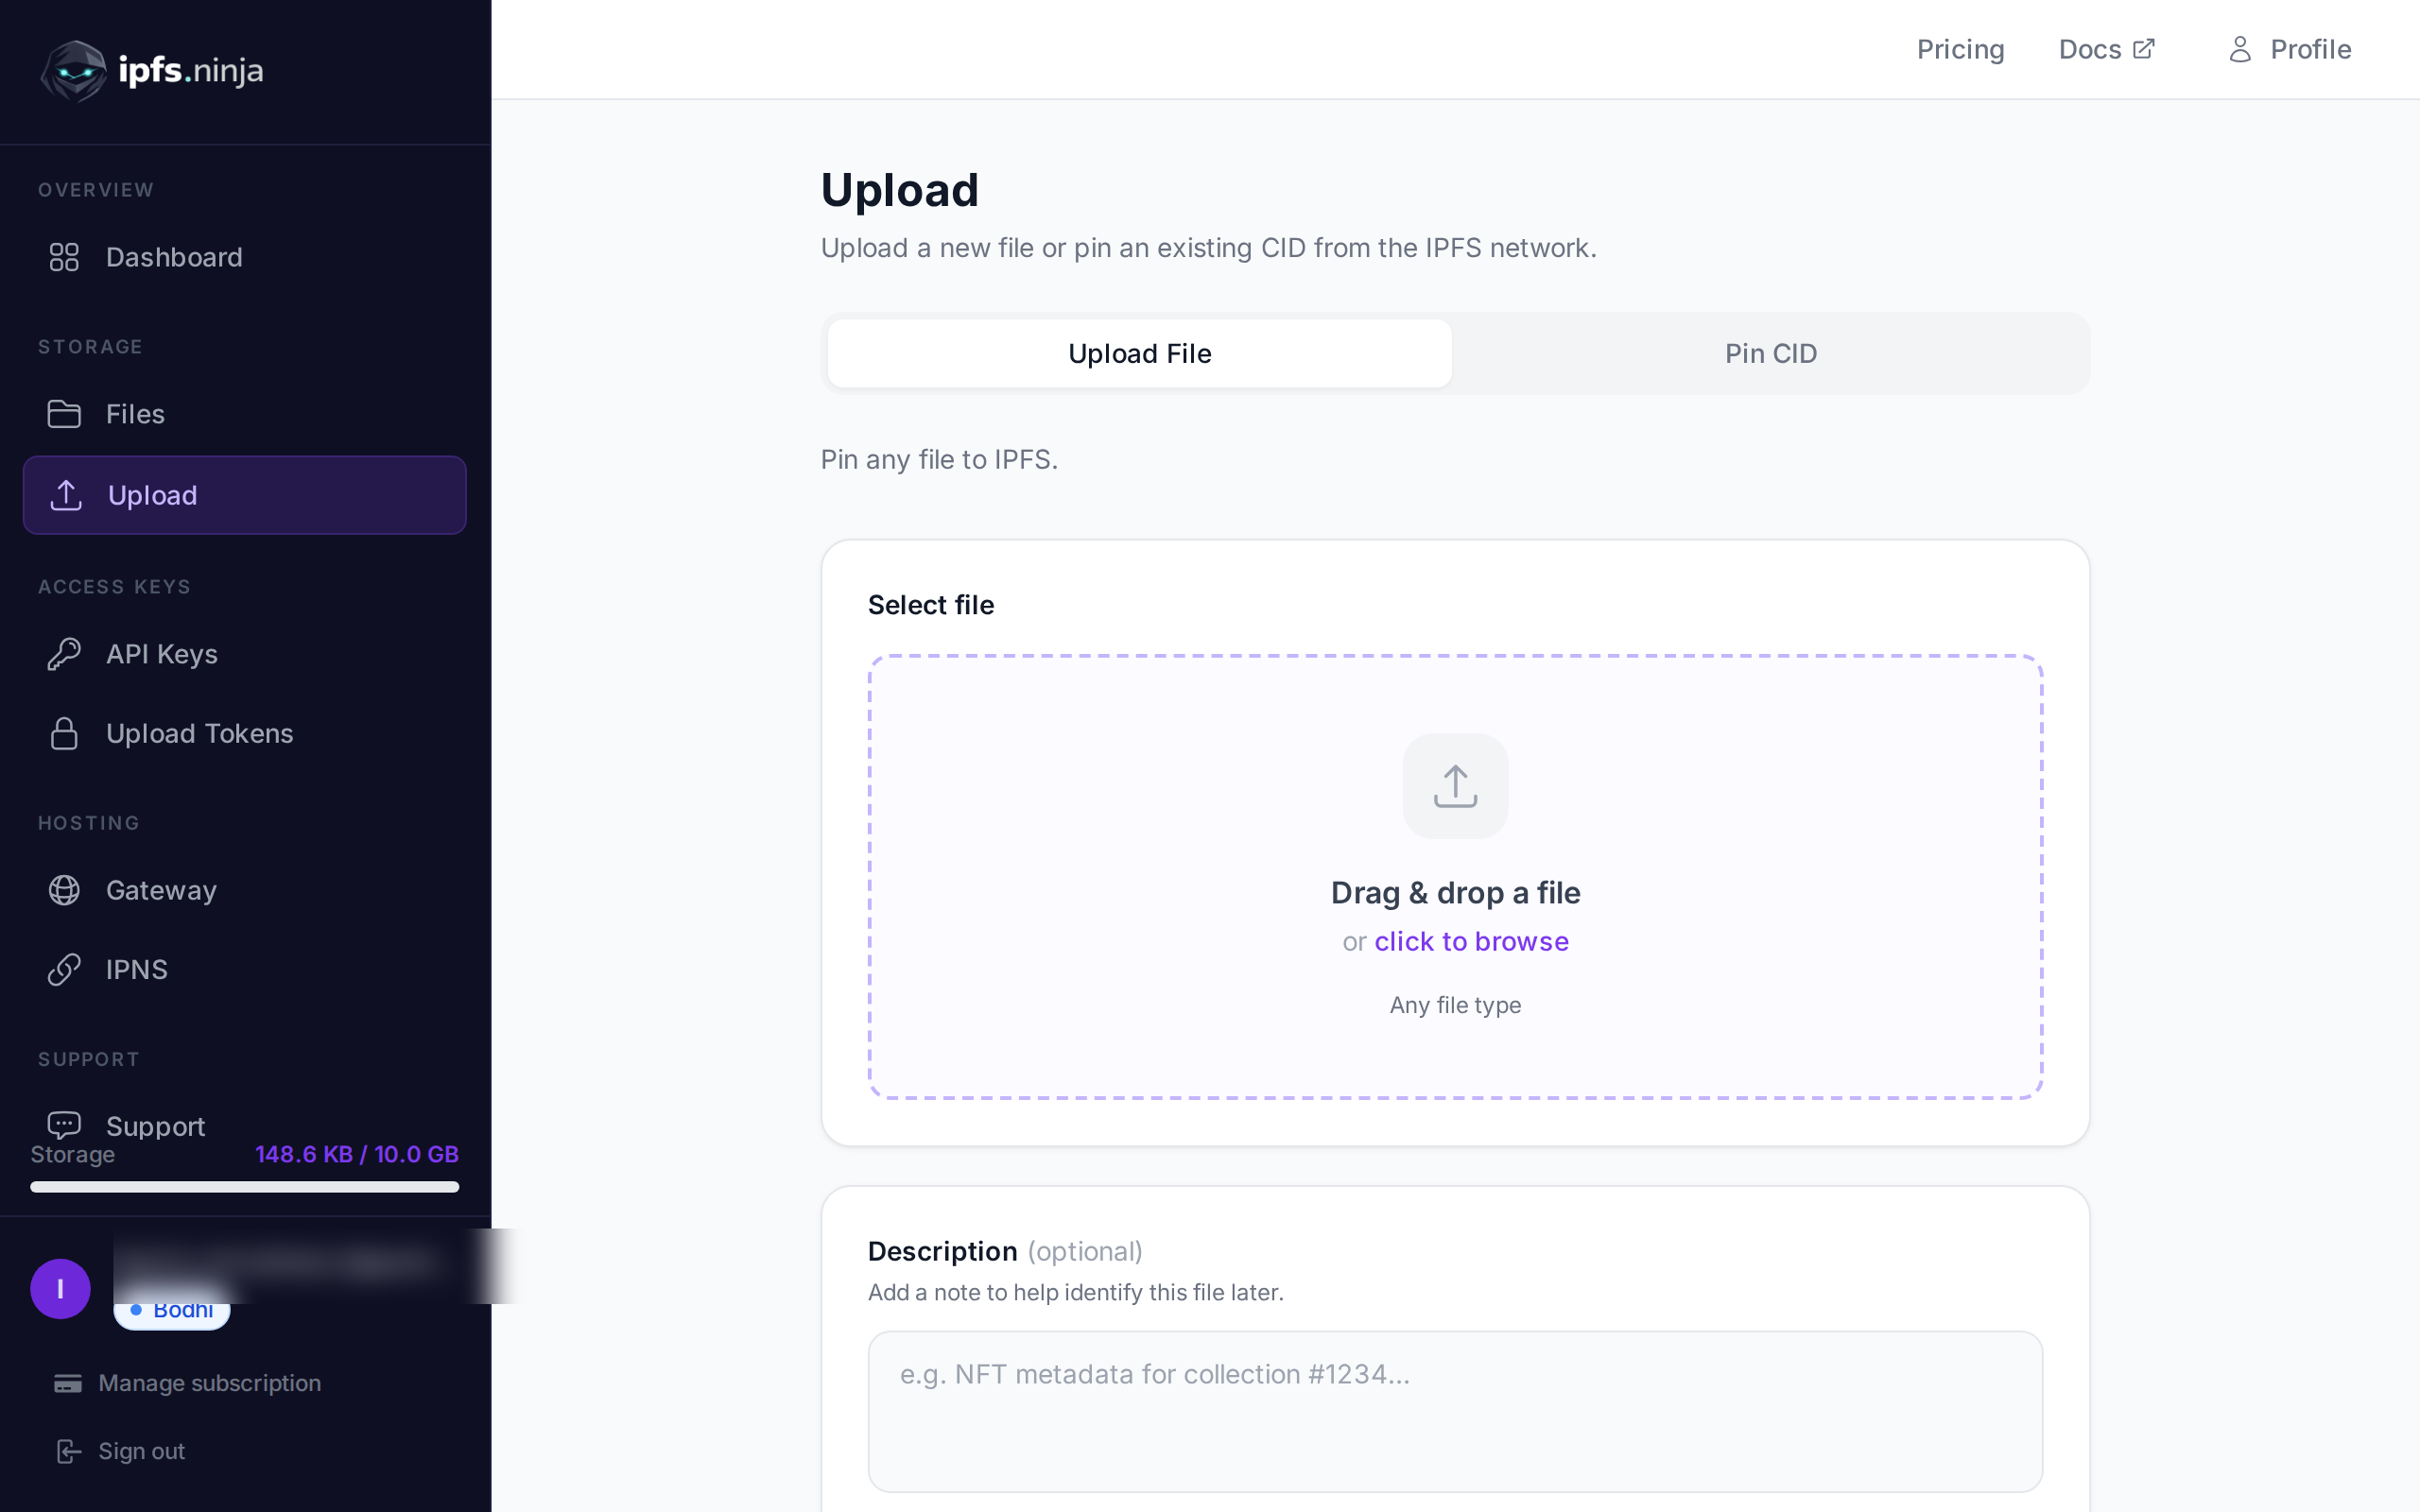
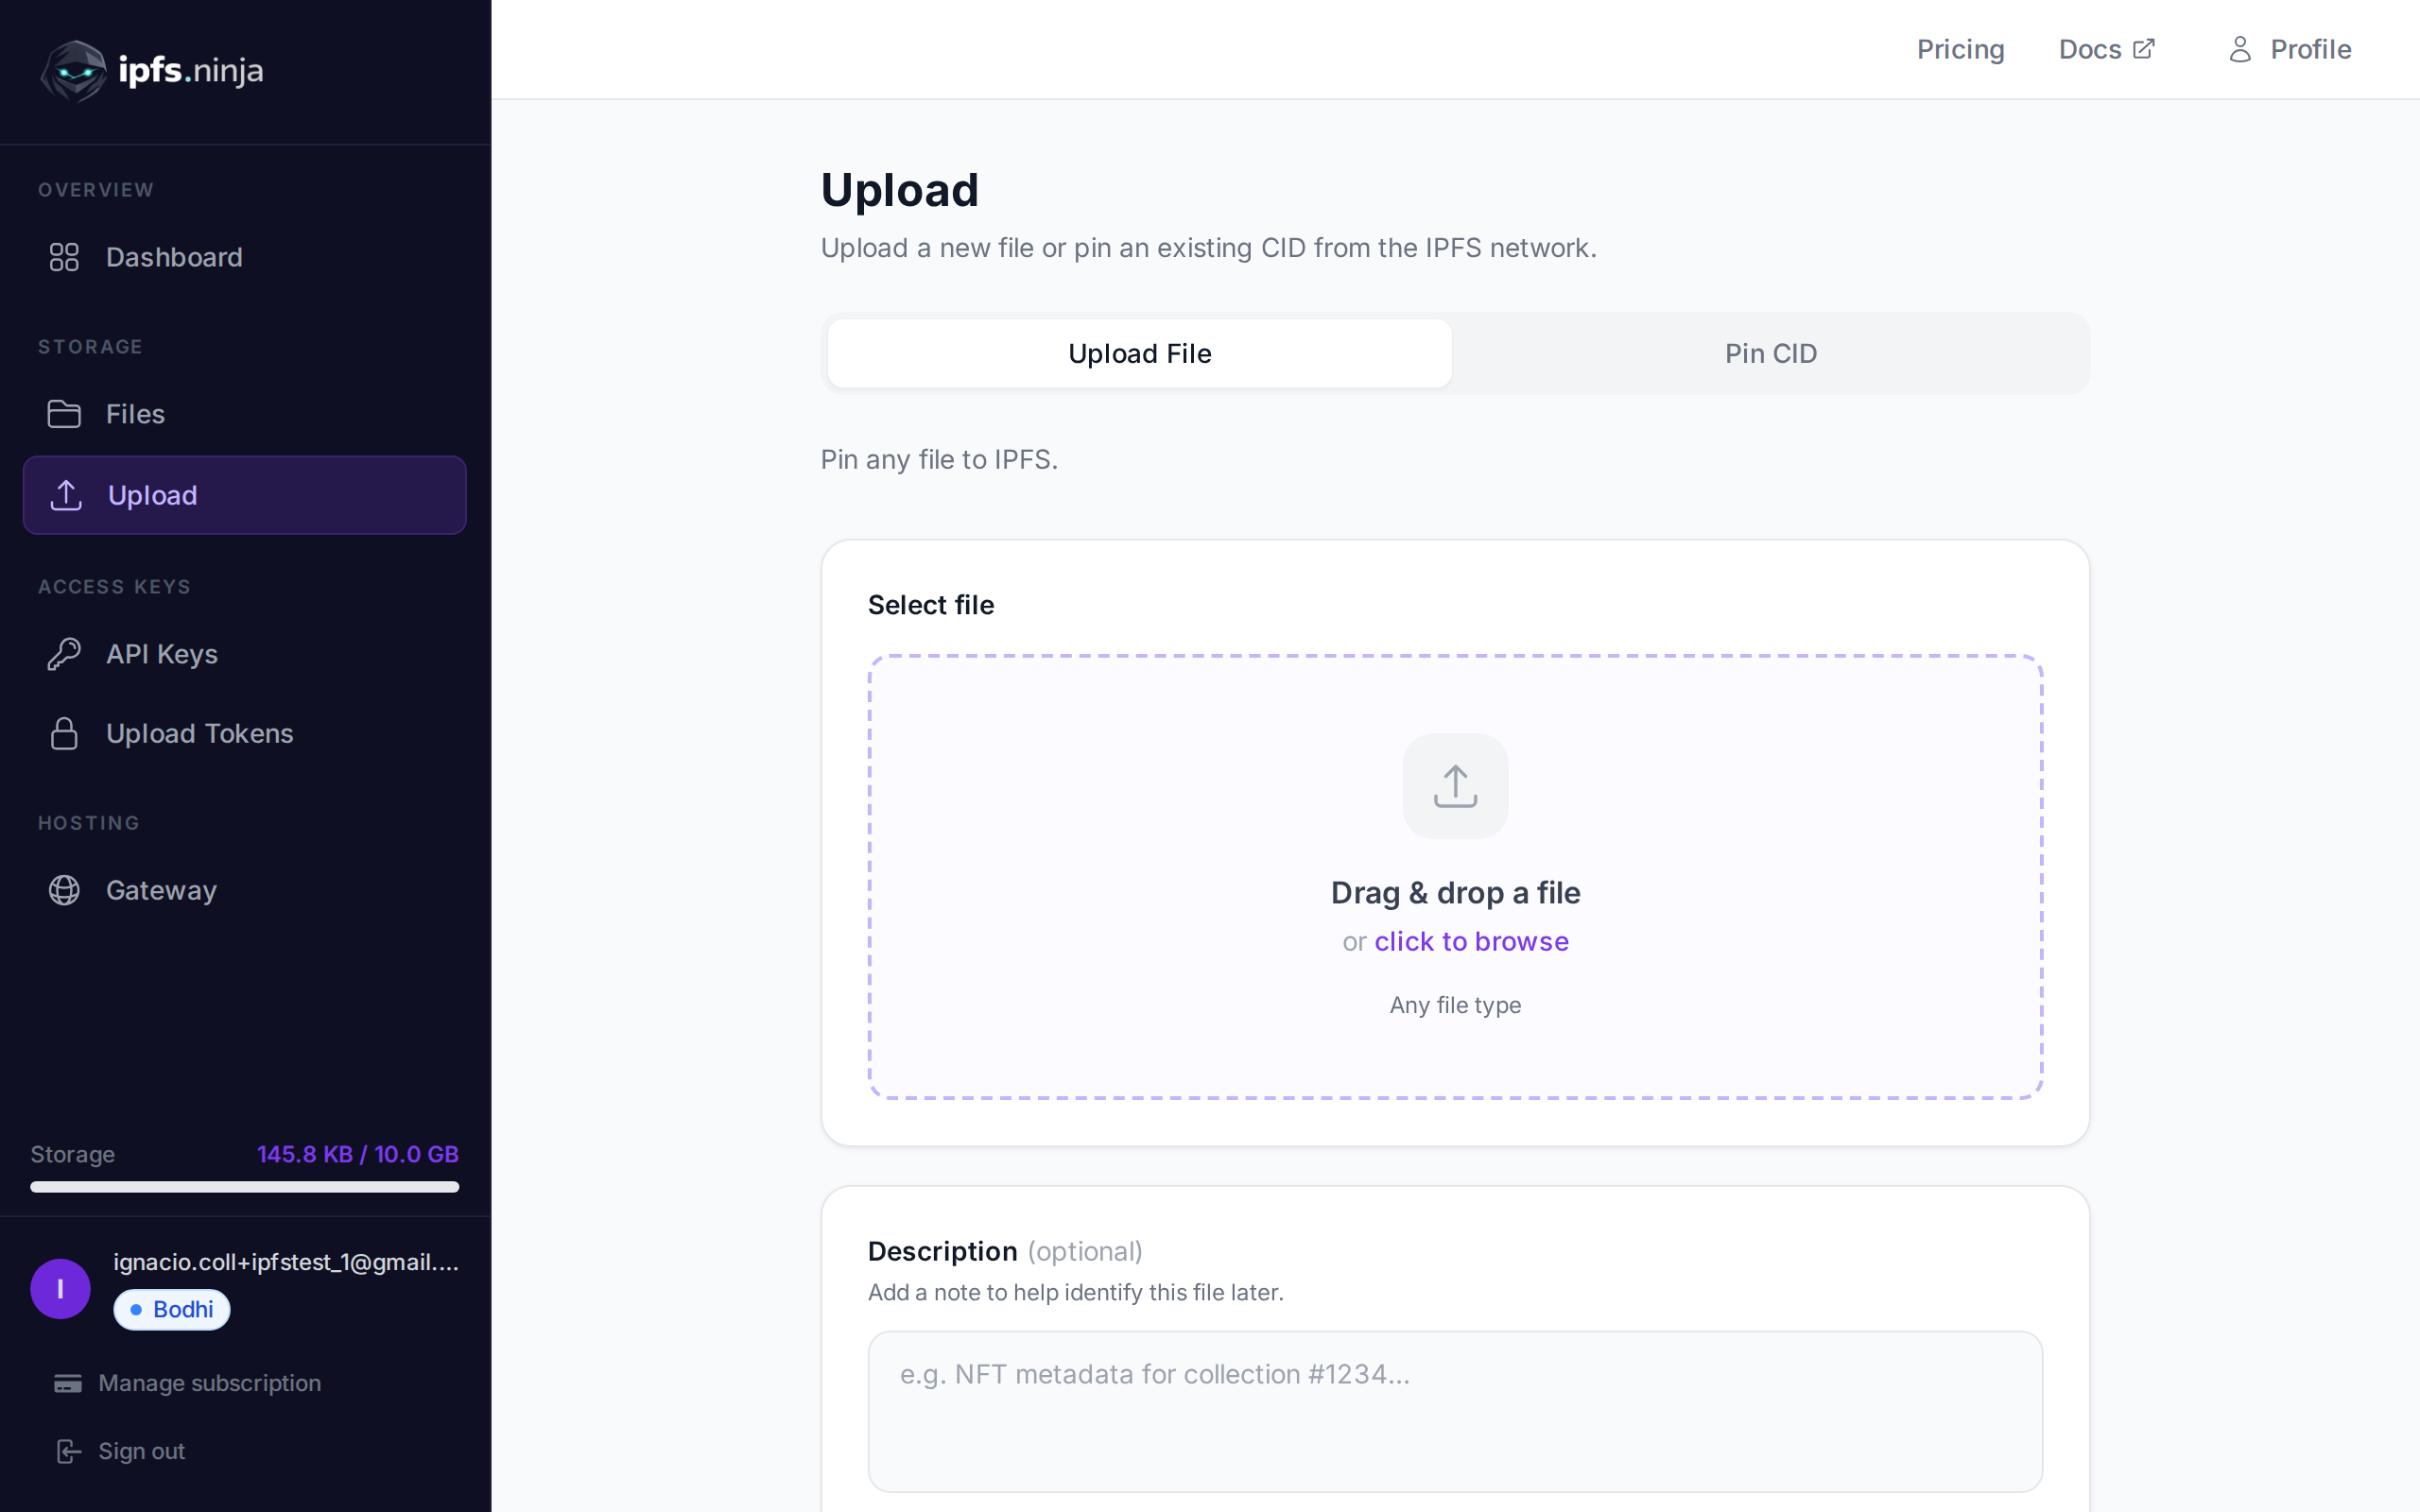
方法 1:通过仪表板上传#
部署前端最简单的方法是通过 IPFS.NINJA 仪表板:
- 导航到 https://ipfs.ninja 并登录
- 转到上传部分
- 为你的项目创建一个新文件夹
- 拖放你的整个
build文件夹 - 添加诸如”My React App v1.0”之类的描述
- 点击上传
仪表板将处理你的文件并返回一个代表整个应用程序的 CID。
方法 2:通过 API 编程上传#
对于更自动化的部署过程,你可以使用 IPFS.NINJA API。这对于 CI/CD 管道特别有用。
创建一个部署脚本:
// deploy.js
const fs = require('fs');
const path = require('path');
const axios = require('axios');

const API_KEY = 'bws_your_32_character_hex_api_key_here';
const API_BASE = 'https://api.ipfs.ninja';

async function uploadFile(filePath, fileName) {
  try {
    const fileContent = fs.readFileSync(filePath);
    const base64Content = fileContent.toString('base64');

    const response = await axios.post(`${API_BASE}/upload/new`, {
      content: base64Content,
      description: `Frontend file: ${fileName}`,
      metadata: {
        filename: fileName,
        type: 'frontend-asset',
        deployment: new Date().toISOString()
      }
    }, {
      headers: {
        'X-Api-Key': API_KEY,
        'Content-Type': 'application/json'
      }
    });

    return response.data;
  } catch (error) {
    console.error(`Failed to upload ${fileName}:`, error.response?.data || error.message);
    throw error;
  }
}

async function uploadDirectory(dirPath) {
  const files = fs.readdirSync(dirPath);
  const uploads = [];

  for (const file of files) {
    const fullPath = path.join(dirPath, file);
    const stat = fs.statSync(fullPath);

    if (stat.isDirectory()) {
      // 递归上传子目录
      const subUploads = await uploadDirectory(fullPath);
      uploads.push(...subUploads);
    } else {
      console.log(`Uploading ${file}...`);
      const result = await uploadFile(fullPath, file);
      uploads.push({
        file: file,
        cid: result.cid,
        url: result.uris.url,
        size: result.sizeMB
      });
    }
  }

  return uploads;
}

async function deployFrontend() {
  try {
    console.log('🚀 Starting IPFS deployment...');

    const buildPath = './build';
    if (!fs.existsSync(buildPath)) {
      throw new Error('Build directory not found. Run "npm run build" first.');
    }

    const uploads = await uploadDirectory(buildPath);

    console.log('\n✅ Deployment complete!');
    console.log('\nUploaded files:');
    uploads.forEach(upload => {
      console.log(`📄 ${upload.file}: ${upload.cid} (${upload.size}MB)`);
    });

    // 查找主 HTML 文件
    const indexUpload = uploads.find(u => u.file === 'index.html');
    if (indexUpload) {
      console.log(`\n🌐 Your app is live at: ${indexUpload.url}`);
      console.log(`📋 Root CID: ${indexUpload.cid}`);
    }

  } catch (error) {
    console.error('❌ Deployment failed:', error.message);
    process.exit(1);
  }
}

// 运行部署
deployFrontend();
将此脚本添加到你的 package.json:
{
  "scripts": {
    "deploy": "node deploy.js",
    "build-and-deploy": "npm run build && npm run deploy"
  }
}
运行部署:
npm run build-and-deploy设置自定义网关#
IPFS.NINJA 的一个突出功能是能够为你的应用创建自定义网关。与公共网关相比,这提供了更好的品牌化和性能。
创建专用网关#
通过 IPFS.NINJA 仪表板:
- 导航到 Gateways 部分
- 点击”Create New Gateway”
- 选择子域名(例如,
myapp.gw.ipfs.ninja) - 配置访问设置:
- Open:公开可访问
- Restricted:需要 API 密钥
- Folder:提供目录列表
- 根据需要设置来源限制
- 配置 IP 白名单以获得额外的安全性
网关配置示例#
// gateway-config.js
const gatewayConfig = {
  slug: 'myapp',
  access: 'open',
  description: 'My React App Gateway',
  settings: {
    cors: true,
    caching: true,
    compression: true
  }
};

async function setupGateway() {
  try {
    const response = await axios.post(`${API_BASE}/gateways`, gatewayConfig, {
      headers: {
        'X-Api-Key': API_KEY,
        'Content-Type': 'application/json'
      }
    });

    console.log('Gateway created:', response.data);
    console.log(`Access your app at: https://${gatewayConfig.slug}.gw.ipfs.ninja/ipfs/${YOUR_APP_CID}`);
  } catch (error) {
    console.error('Gateway setup failed:', error.response?.data);
  }
}自定义网关的好处#
- 品牌 URL:不要使用通用 IPFS 网关,使用自己的子域名
- 更好的性能:为你的应用程序提供专用资源
- 分析:跟踪使用情况和性能指标
- 安全性:使用 API 密钥或 IP 限制控制访问
- 可靠性:减少对公共网关可用性的依赖
高级 IPFS 托管策略#
1. 实施内容更新#
与传统托管不同,传统托管中你可以简单地覆盖文件,IPFS 内容是不可变的。每次更改都会创建一个新的 CID。以下是如何有效处理更新:
// update-manager.js
class IPFSUpdateManager {
  constructor(apiKey) {
    this.apiKey = apiKey;
    this.apiBase = 'https://api.ipfs.ninja';
  }

  async deployUpdate(buildPath, version) {
    // 上传新版本
    const newCID = await this.uploadBuild(buildPath, version);

    // 更新版本映射
    await this.updateVersionMapping(version, newCID);

    // 可选地更新 ENS 记录(稍后会详细介绍)
    // await this.updateENSRecord(newCID);

    return newCID;
  }

  async updateVersionMapping(version, cid) {
    const versionInfo = {
      version,
      cid,
      timestamp: new Date().toISOString(),
      description: `Release ${version}`
    };

    await axios.post(`${this.apiBase}/upload/new`, {
      content: Buffer.from(JSON.stringify(versionInfo)).toString('base64'),
      description: `Version manifest ${version}`,
      metadata: { type: 'version-manifest', version }
    }, {
      headers: { 'X-Api-Key': this.apiKey }
    });
  }
}
2. 性能优化#
// optimization.js
const compressionOptions = {
  // 最小化包大小
  build: {
    optimization: {
      splitChunks: {
        chunks: 'all',
        cacheGroups: {
          vendor: {
            test: /[\\/]node_modules[\\/]/,
            name: 'vendors',
            chunks: 'all',
          }
        }
      }
    }
  },

  // IPFS 特定的优化
  ipfs: {
    chunkSize: '1MB', // IPFS 的最佳块大小
    preloadCriticalAssets: true,
    enableServiceWorker: true
  }
};
3. 添加 Service Worker 以实现离线支持#
创建一个 service worker 来缓存你的应用以供离线使用:
// public/sw.js
const CACHE_NAME = 'ipfs-app-v1';
const urlsToCache = [
  '/',
  '/static/js/bundle.js',
  '/static/css/main.css',
  '/manifest.json'
];

self.addEventListener('install', event => {
  event.waitUntil(
    caches.open(CACHE_NAME)
      .then(cache => cache.addAll(urlsToCache))
  );
});

self.addEventListener('fetch', event => {
  event.respondWith(
    caches.match(event.request)
      .then(response => {
        // 返回缓存版本或从网络获取
        return response || fetch(event.request);
      })
  );
});
在你的 React 应用中注册 service worker:
// src/serviceWorkerRegistration.js
if ('serviceWorker' in navigator) {
  window.addEventListener('load', () => {
    navigator.serviceWorker.register('/sw.js')
      .then(registration => {
        console.log('SW registered: ', registration);
      })
      .catch(registrationError => {
        console.log('SW registration failed: ', registrationError);
      });
  });
}
ENS 集成和自定义域名#
以太坊名称服务(ENS)允许你将人类可读的域名映射到 IPFS 内容。这创造了一种强大的组合,你可以拥有一个指向去中心化内容的传统域名。
为你的 IPFS 站点设置 ENS#
- 注册 ENS 域名:使用 ENS 管理器注册 .eth 域名
- 设置内容哈希:将你的 ENS 域名指向你的 IPFS CID
- 配置 DNS 桥:对于传统域名,设置 DNS 记录
// ens-integration.js
async function updateENSRecord(domain, ipfsCid) {
  // 这通常会使用 web3 提供程序
  // 简化示例用于说明
  const ensContract = new ethers.Contract(ENS_REGISTRY_ADDRESS, ENS_ABI, signer);

  try {
    const tx = await ensContract.setContentHash(
      ethers.utils.namehash(domain),
      `ipfs://${ipfsCid}`
    );

    await tx.wait();
    console.log(`ENS record updated: ${domain} -> ${ipfsCid}`);
  } catch (error) {
    console.error('ENS update failed:', error);
  }
}传统域名集成#
你也可以将传统 DNS 与 IPFS 一起使用:
; example.com 的 DNS TXT 记录
_dnslink.example.com. IN TXT "dnslink=/ipfs/QmYourContentHash"
许多 DNS 提供商支持这一点,允许用户通过常规域名访问你的 IPFS 托管站点。
监控和分析#
了解你的 IPFS 托管前端如何执行至关重要。IPFS.NINJA 为你固定的内容提供全面的分析。
使用 IPFS.NINJA 分析 API#
// analytics.js
async function getDeploymentAnalytics(cid) {
  try {
    const response = await axios.get(`${API_BASE}/analytics/files/${cid}`, {
      headers: { 'X-Api-Key': API_KEY }
    });

    const analytics = response.data;

    console.log('📊 Analytics Report:');
    console.log(`Total Requests: ${analytics.totalRequests}`);
    console.log(`Bandwidth Used: ${analytics.bandwidthGB}GB`);
    console.log(`Geographic Distribution:`, analytics.geoStats);

    return analytics;
  } catch (error) {
    console.error('Failed to fetch analytics:', error);
  }
}

// 设置监控仪表板
async function createMonitoringDashboard() {
  const analytics = await getDeploymentAnalytics(YOUR_APP_CID);

  // 创建可视化仪表板(与你首选的图表库集成)
  const dashboardData = {
    requestsOverTime: analytics.dailyRequests,
    popularAssets: analytics.assetStats,
    performanceMetrics: {
      averageResponseTime: analytics.avgResponseTime,
      cacheHitRatio: analytics.cacheHitRatio
    }
  };

  return dashboardData;
}
IPFS 前端托管的最佳实践#
1. 内容组织#
为最佳 IPFS 性能构建你的构建:
build/
├── index.html (入口点)
├── static/
│   ├── js/
│   │   ├── main.[hash].js
│   │   └── vendor.[hash].js
│   ├── css/
│   │   └── main.[hash].css
│   └── media/
│       └── images/
└── manifest.json
2. 安全考虑#
- 内容完整性:IPFS 的加密哈希确保内容完整性
- 访问控制:使用 IPFS.NINJA 的网关限制进行私有部署
- HTTPS:始终通过 HTTPS 网关访问你的内容
- 定期更新:保持依赖项更新,并在必要时重新部署
3. 性能优化#
// performance-tips.js
const performanceOptimizations = {
  // 包拆分以获得更好的缓存
  splitChunks: true,

  // 预加载关键资源
  preloadStrategy: 'critical-path',

  // 优化图像
  imageOptimization: {
    format: 'webp',
    compression: 0.8,
    lazy: true
  },

  // 启用压缩
  compression: 'gzip',

  // 为通用库使用 CDN
  externals: {
    react: 'React',
    'react-dom': 'ReactDOM'
  }
};常见问题排查#
内容不加载#
如果你的 IPFS 内容未加载:
- 检查 CID 有效性:确保你的 CID 正确
- 网关可用性:尝试不同的网关
- 固定状态:验证文件是否正确固定
- 网络连接:检查 IPFS 网络状态
// troubleshooting.js
async function diagnosticCheck(cid) {
  const gateways = [
    'https://ipfs.io/ipfs/',
    'https://gateway.pinata.cloud/ipfs/',
    'https://cloudflare-ipfs.com/ipfs/'
  ];

  const results = await Promise.allSettled(
    gateways.map(gateway =>
      axios.get(`${gateway}${cid}`, { timeout: 5000 })
    )
  );

  results.forEach((result, index) => {
    const gateway = gateways[index];
    if (result.status === 'fulfilled') {
      console.log(`✅ ${gateway} - Working`);
    } else {
      console.log(`❌ ${gateway} - Failed: ${result.reason.message}`);
    }
  });
}构建问题#
常见的构建问题和解决方案:
# 清除 React 构建缓存
rm -rf build/ node_modules/.cache/

# 使用详细输出重建
CI=true npm run build

# 检查路由问题
# 确保你正在使用 HashRouter 进行 SPA 路由
比较 IPFS 托管解决方案#
在选择用于前端托管的 IPFS 固定服务时,请考虑以下因素:
| 功能 | IPFS.NINJA | 替代品 |
|---|---|---|
| 定价 | 免费层:1GB,每月 $5:10GB | 差异显著 |
| 自定义网关 | ✅ 包括 | 通常是高级功能 |
| API 质量 | RESTful,文档完善 | 质量参差不齐 |
| 分析 | 内置仪表板 | 选项有限 |
| 开发者工具 | 完整的 SDK | 基本工具 |
要进行详细比较,请查看我们对 IPFS 固定服务的全面分析 和与 Pinata 的具体比较。
去中心化前端托管的未来#
Web 托管的格局正在迅速发展。IPFS 仅代表向更分散、更具弹性的 Web 基础设施转变的开始。需要关注的未来发展:
- 协议改进:IPFS 2.0 和其他下一代协议
- 浏览器集成:主流浏览器中的原生 IPFS 支持
- 开发工具:更好的框架和去中心化开发工具
- 性能增强:改进的缓存和内容交付机制
开始你的 IPFS 部署#
现在你了解了将前端部署到 IPFS 的完整过程,你已准备好构建真正的去中心化应用。IPFS 的分布式架构与 IPFS.NINJA 的开发者友好固定服务相结合,为现代 Web 应用程序提供了坚实的基础。
无论你是构建个人作品集、商业网站还是复杂的去中心化应用,IPFS 托管都提供无与伦比的弹性、性能和成本效益。IPFS 内容的不可变性,加上节点的全球分布,确保你的应用程序无论传统托管限制如何都保持可访问。
有关上传和管理文件的更多详细信息,请查看我们的全面 IPFS 上传教程,并了解更多关于 IPFS 固定的工作原理 以充分利用这项强大的技术。
准备好开始固定了吗? 创建免费账户 — 50 个文件,1 GB 存储,2 GB 带宽/月。无需信用卡。
See also: IPFS CIDs explained.

关于作者
Nacho Coll
Founder & Engineer at IPFS.NINJA
Nacho founded IPFS.NINJA to make content-addressed storage feel as simple as an S3 PUT — a single API call, a permanent CID, no wallets or peer discovery to reason about. Writes about IPFS internals, decentralized storage patterns, and the pinning-service landscape from the operator side of the wire.