IPFS Upload API — บทเรียนสำหรับนักพัฒนาแบบสมบูรณ์
เรียนรู้การอัปโหลดไฟล์ไปยัง IPFS ผ่าน REST API ตัวอย่างโค้ดเต็มใน JavaScript, Node.js และ curl อัปโหลด JSON รูปภาพ ใช้โทเค็นที่ลงนามสำหรับการอัปโหลดฝั่งไคลเอนต์
Nacho founded IPFS.NINJA to make content-addressed storage feel as simple as an S3 PUT — a single API call, a permanent CID, no wallets or peer discovery to reason about.

การอัปโหลดไฟล์ไปยัง IPFS ควรง่ายพอ ๆ กับการส่งคำขอ POST ในบทเรียนนี้คุณจะทำเช่นนั้น — อัปโหลดเอกสาร JSON รูปภาพ และ PDF ไปยัง IPFS ด้วย fetch() และ API key เท่านั้น ในตอนท้ายคุณจะมีสคริปต์ Node.js ที่สมบูรณ์ ซึ่งอัปโหลดเนื้อหา แสดงรายการไฟล์ ดึง metadata และสร้างโทเค็นที่ลงนามสำหรับการอัปโหลดฝั่งไคลเอนต์ที่ปลอดภัย ใหม่กับ IPFS? เริ่มที่ IPFS Pinning คืออะไร? เพื่อทำความเข้าใจพื้นฐานก่อนเจาะลึกเข้าไปในโค้ด
สิ่งที่คุณจะสร้าง#
- อัปโหลดออบเจ็กต์ JSON ไปยัง IPFS และรับ content identifier (CID) กลับ
- อัปโหลดรูปภาพ binary จากดิสก์
- แนบคำอธิบายและ metadata แบบกำหนดเองให้กับการอัปโหลด
- ค้นหาประวัติการอัปโหลดของคุณตามช่วงวันที่
- ดึงรายละเอียดของไฟล์ที่ระบุ
- สร้างโทเค็นที่ลงนามแบบมีเวลาจำกัด เพื่อให้เบราว์เซอร์อัปโหลดได้โดยตรงโดยไม่เปิดเผย API key ของคุณ
- จัดการข้อผิดพลาดและใช้ logic การลองใหม่
ทุกอย่างทำงานกับ base URL เดียว: https://api.ipfs.ninja
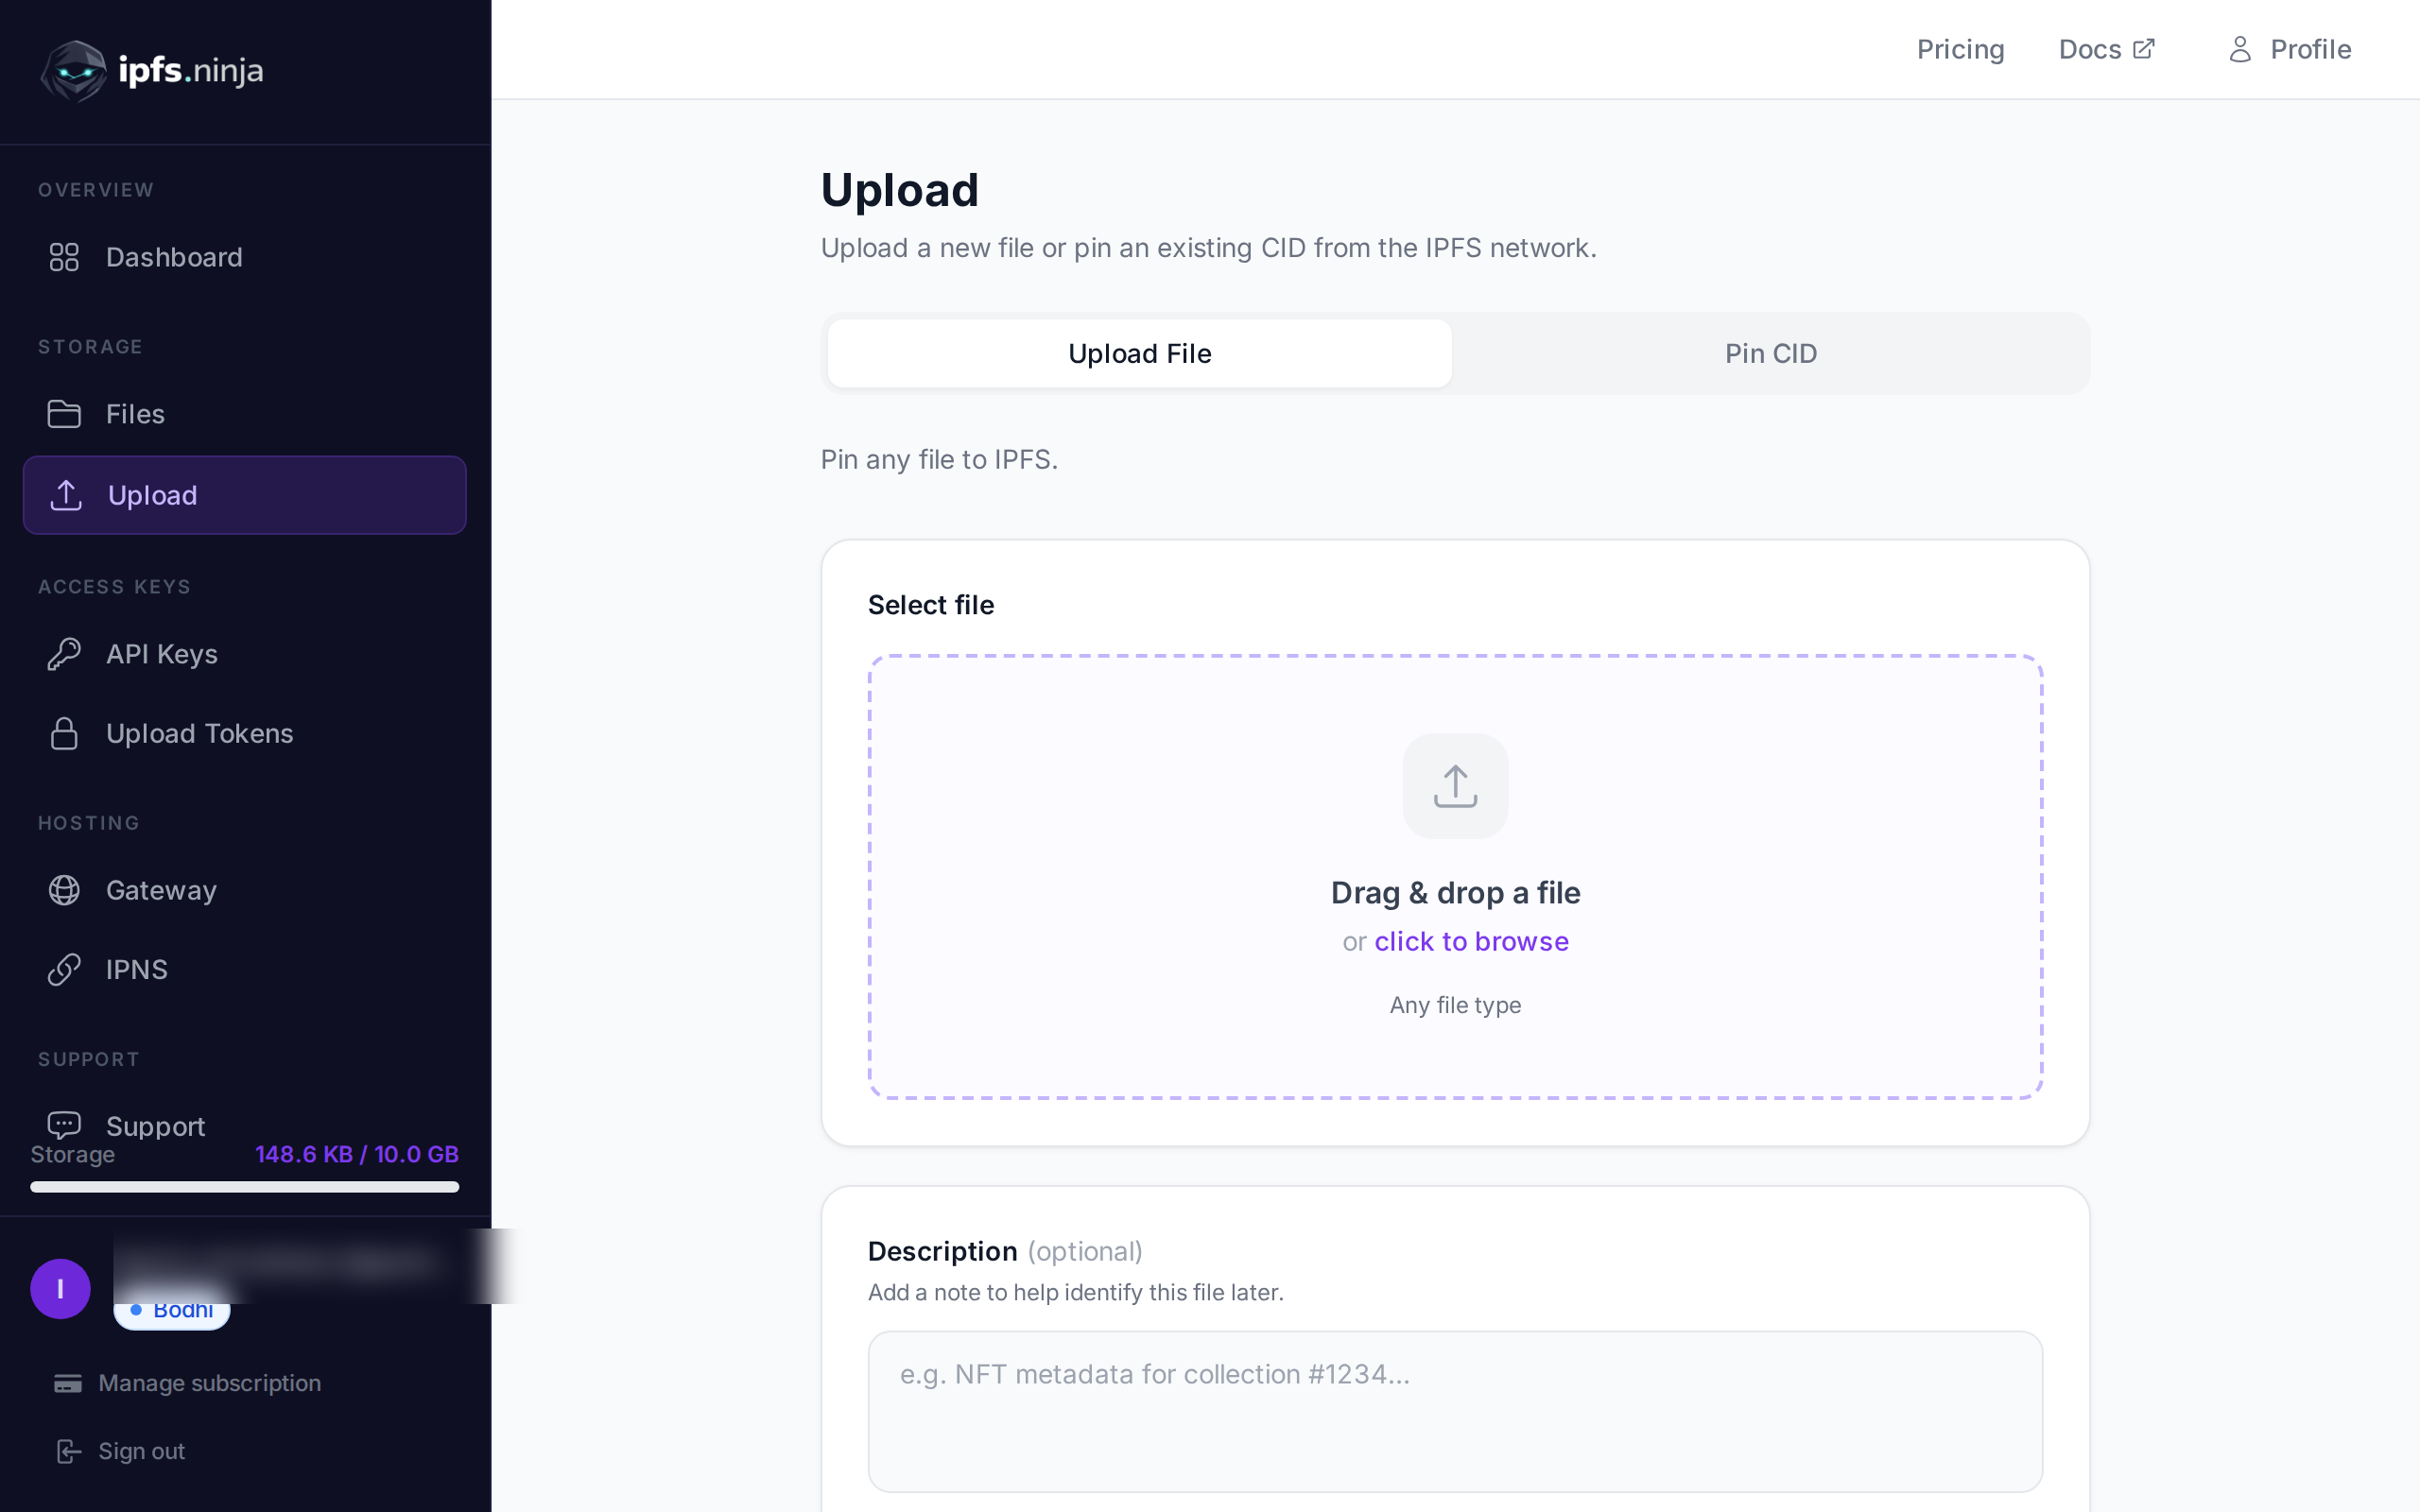
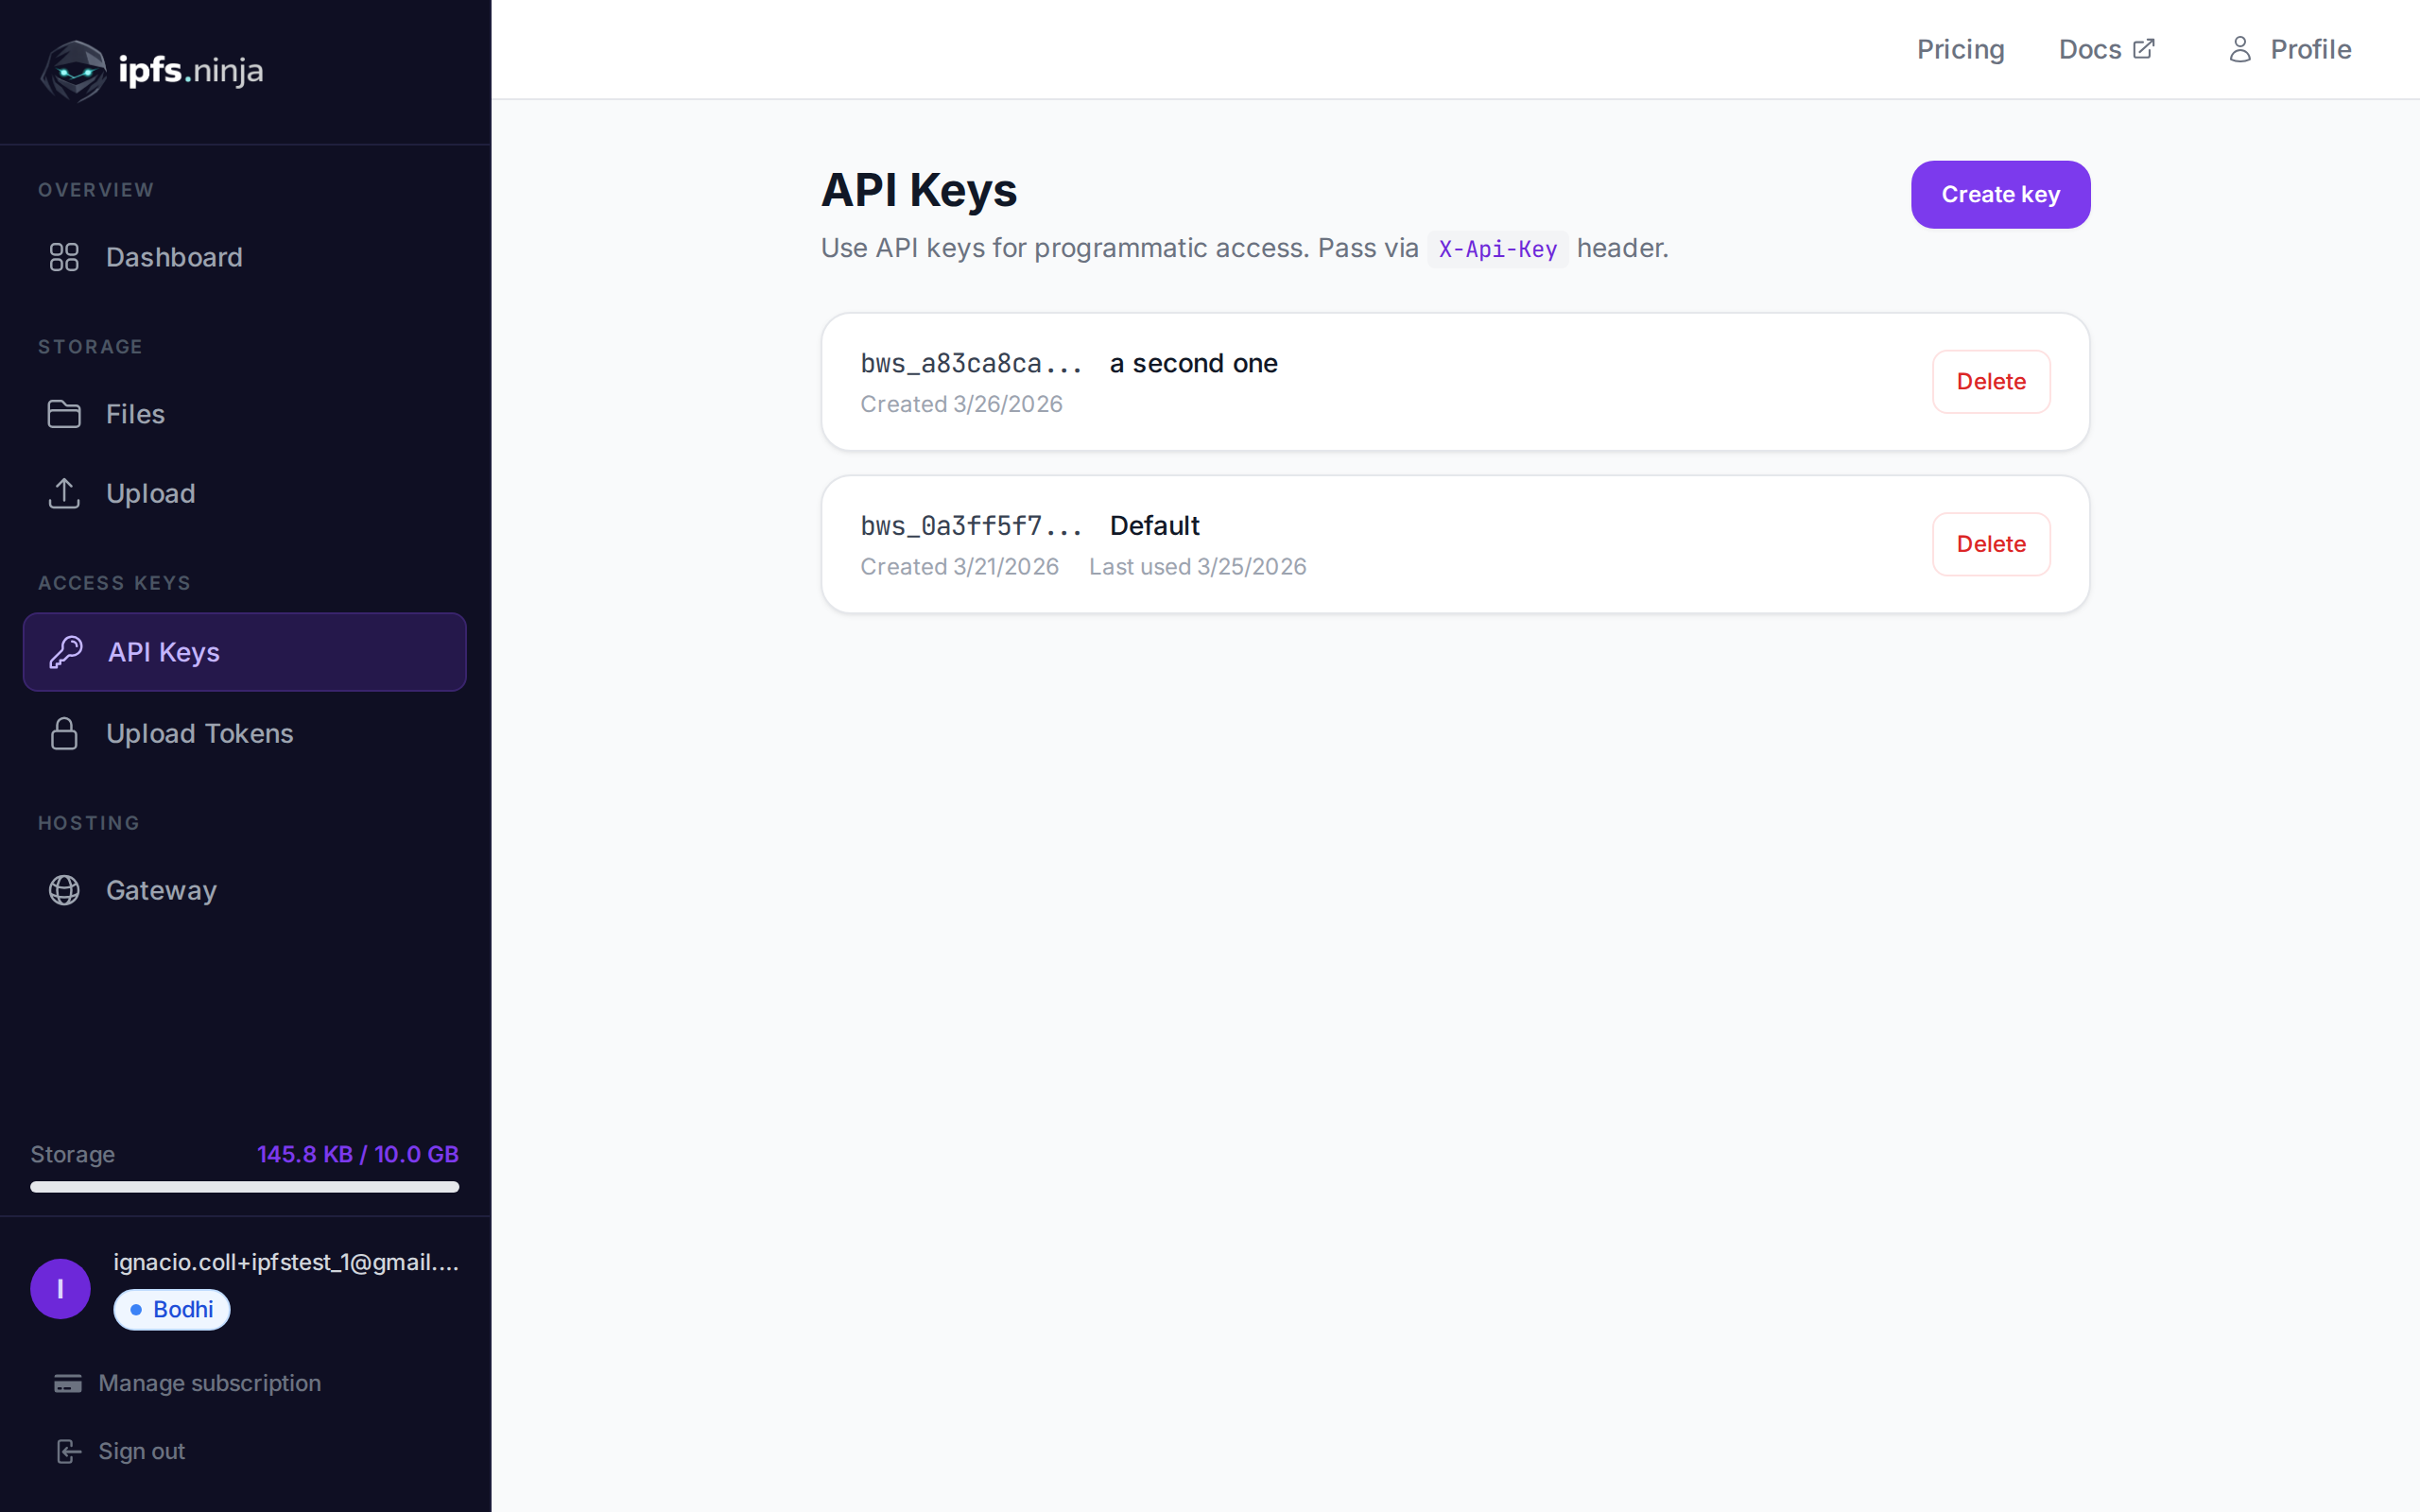
1. ตั้งค่า — ลงทะเบียนและรับ API key#
- ลงทะเบียน สำหรับบัญชีฟรี (ไม่ต้องใช้บัตรเครดิต)
- ไปที่ API Keys ในแถบด้านข้างของแดชบอร์ด
- คลิก Create key ตั้งชื่อ และคัดลอกคีย์ทันที — จะไม่แสดงอีก
คีย์ของคุณมีหน้าตาแบบนี้: bws_a1b2c3d4e5f6a7b8c9d0e1f2a3b4c5d6 ตัวอย่างทุกตัวด้านล่างจะส่งไปใน header X-Api-Key
2. อัปโหลด JSON ไปยัง IPFS#
การอัปโหลดที่ง่ายที่สุด: ส่งออบเจ็กต์ JavaScript ธรรมดาเป็น content แล้ว API จะ serialize, pin ไปที่ IPFS และส่ง CID กลับ
// upload-json.mjs
const API = "https://api.ipfs.ninja";
const API_KEY = "bws_your_key_here";

const payload = {
  content: {
    name: "Galactic Badge #42",
    description: "Proof of attendance — Galactic Meetup 2026",
    attributes: [
      { trait_type: "Event", value: "Galactic Meetup" },
      { trait_type: "Year", value: 2026 }
    ]
  }
};

const res = await fetch(`${API}/upload/new`, {
  method: "POST",
  headers: {
    "Content-Type": "application/json",
    "X-Api-Key": API_KEY
  },
  body: JSON.stringify(payload)
});

const data = await res.json();
console.log("CID :", data.cid);
console.log("Size:", data.sizeMB, "MB");
console.log("IPFS:", data.uris.ipfs);
console.log("URL :", data.uris.url);
รันด้วย node upload-json.mjs การตอบกลับที่สำเร็จมีหน้าตาแบบนี้:
{
  "cid": "bafkreigx7gq...",
  "sizeMB": 0.0004,
  "uris": {
    "ipfs": "ipfs://bafkreigx7gq...",
    "url": "https://ipfs.ninja/ipfs/bafkreigx7gq..."
  }
}
ฟิลด์ url ชี้ไปที่ HTTP gateway สาธารณะ ดังนั้นเนื้อหาจึงเข้าถึงได้ทันทีในเบราว์เซอร์ใด ๆ
3. อัปโหลดรูปภาพ#
ไฟล์ binary (รูปภาพ, PDF, เสียง) ส่งเป็น string ที่เข้ารหัส base64 ในฟิลด์ content
// upload-image.mjs
import { readFileSync } from "node:fs";

const API = "https://api.ipfs.ninja";
const API_KEY = "bws_your_key_here";

const imageBuffer = readFileSync("./photo.png");
const base64 = imageBuffer.toString("base64");

const res = await fetch(`${API}/upload/new`, {
  method: "POST",
  headers: {
    "Content-Type": "application/json",
    "X-Api-Key": API_KEY
  },
  body: JSON.stringify({ content: base64 })
});

const data = await res.json();
console.log("Image CID:", data.cid);
console.log("Gateway  :", data.uris.url);
API จะตรวจหา MIME type อัตโนมัติ — PNG, JPEG, WebP, GIF และ PDF ได้รับการรองรับทั้งหมด ไม่ต้องมี header เพิ่มเติมหรือ override content-type
ด้วย curl การดำเนินการเดียวกันมีหน้าตาแบบนี้:
BASE64=$(base64 -w 0 photo.png)

curl -X POST https://api.ipfs.ninja/upload/new \
  -H "Content-Type: application/json" \
  -H "X-Api-Key: bws_your_key_here" \
  -d "{\"content\": \"$BASE64\"}"
4. อัปโหลดพร้อม metadata#
การอัปโหลดทุกครั้งยอมรับฟิลด์ทางเลือกสองฟิลด์: description (label ข้อความเสรี) และ metadata (คู่ key-value ตามอำเภอใจ) ทั้งสองถูกเก็บไว้ข้าง ๆ CID และส่งคืนเมื่อคุณ list หรือดึงไฟล์ในภายหลัง
// upload-with-metadata.mjs
const API = "https://api.ipfs.ninja";
const API_KEY = "bws_your_key_here";

const res = await fetch(`${API}/upload/new`, {
  method: "POST",
  headers: {
    "Content-Type": "application/json",
    "X-Api-Key": API_KEY
  },
  body: JSON.stringify({
    content: { title: "Meeting Notes", body: "Q1 roadmap recap..." },
    description: "Q1 2026 planning meeting notes",
    metadata: {
      project: "acme-app",
      author: "dana",
      version: "1"
    }
  })
});

const data = await res.json();
console.log("CID:", data.cid);
Metadata ช่วยให้กรองและจัดระเบียบไฟล์ฝั่งคุณได้ง่ายโดยไม่ต้อง parse เนื้อหา IPFS เอง
5. Pin CID ที่มีอยู่#
ถ้าคุณมีเนื้อหาบน IPFS แล้วและต้องการให้แน่ใจว่ายังคงพร้อมใช้งาน ให้ pin ด้วย CID:
// pin-cid.mjs
const API = "https://api.ipfs.ninja";
const API_KEY = "bws_your_key_here";

const res = await fetch(`${API}/pin`, {
  method: "POST",
  headers: {
    "Content-Type": "application/json",
    "X-Api-Key": API_KEY
  },
  body: JSON.stringify({
    cid: "bafkreigx7gq...",
    description: "Pinned from external source"
  })
});

const data = await res.json();
console.log("Pinned:", data.cid);
6. แสดงรายการไฟล์ของคุณ#
ดึงทุกไฟล์ที่คุณอัปโหลดภายในช่วงเวลาที่กำหนด พารามิเตอร์ query from และ to เป็น Unix timestamp ในหน่วยมิลลิวินาที
// list-files.mjs
const API = "https://api.ipfs.ninja";
const API_KEY = "bws_your_key_here";

const now = Date.now();
const oneWeekAgo = now - 7 * 24 * 60 * 60 * 1000;

const url = `${API}/upload/list?from=${oneWeekAgo}&to=${now}`;

const res = await fetch(url, {
  headers: { "X-Api-Key": API_KEY }
});

const files = await res.json();

for (const file of files) {
  console.log(`${file.cid}  ${file.description ?? "(no description)"}`);
}
ด้วย curl:
FROM=$(($(date +%s) * 1000 - 604800000))
TO=$(($(date +%s) * 1000))

curl -s "https://api.ipfs.ninja/upload/list?from=$FROM&to=$TO" \
  -H "X-Api-Key: bws_your_key_here" | jq .
7. ดูรายละเอียดไฟล์#
ดึงเรคคอร์ดทั้งหมดของ CID หนึ่ง รวมถึง metadata ขนาด และ timestamp:
// get-file.mjs
const API = "https://api.ipfs.ninja";
const API_KEY = "bws_your_key_here";
const CID = "bafkreigx7gq...";

const res = await fetch(`${API}/file/${CID}`, {
  headers: { "X-Api-Key": API_KEY }
});

const details = await res.json();
console.log(JSON.stringify(details, null, 2));
8. การอัปโหลดฝั่งไคลเอนต์ด้วยโทเค็นที่ลงนาม#
การฝัง API key ลงใน bundle ของเบราว์เซอร์เป็นความเสี่ยงด้านความปลอดภัย แทนที่จะทำเช่นนั้น ให้สร้าง โทเค็นที่ลงนาม อายุสั้นบนเซิร์ฟเวอร์ของคุณ แล้วส่งให้ไคลเอนต์
เซิร์ฟเวอร์ (Express)#
// server.mjs
import express from "express";

const app = express();
const API = "https://api.ipfs.ninja";
const API_KEY = process.env.IPFS_API_KEY;

app.post("/api/upload-token", async (req, res) => {
  const response = await fetch(`${API}/upload/signed-url`, {
    method: "POST",
    headers: {
      "Content-Type": "application/json",
      "X-Api-Key": API_KEY
    },
    body: JSON.stringify({
      name: "browser-upload",
      expiresIn: 600          // token valid for 10 minutes
    })
  });

  const { token, tokenId, expiresAt } = await response.json();
  res.json({ token, tokenId, expiresAt });
});

app.listen(3000, () => console.log("Server running on :3000"));ไคลเอนต์ในเบราว์เซอร์#
<!-- upload.html -->
<input type="file" id="filePicker" />
<button id="uploadBtn">Upload to IPFS</button>
<pre id="result"></pre>

<script>
  const API = "https://api.ipfs.ninja";

  document.getElementById("uploadBtn").addEventListener("click", async () => {
    // 1. Get a signed token from your own backend
    const tokenRes = await fetch("/api/upload-token", { method: "POST" });
    const { token } = await tokenRes.json();

    // 2. Read the selected file as base64
    const file = document.getElementById("filePicker").files[0];
    if (!file) return alert("Pick a file first");

    const base64 = await new Promise((resolve) => {
      const reader = new FileReader();
      reader.onload = () => resolve(reader.result.split(",")[1]);
      reader.readAsDataURL(file);
    });

    // 3. Upload directly to IPFS using the signed token
    const uploadRes = await fetch(`${API}/upload/new`, {
      method: "POST",
      headers: {
        "Content-Type": "application/json",
        "Authorization": `Signed ${token}`
      },
      body: JSON.stringify({
        content: base64,
        description: file.name
      })
    });

    const data = await uploadRes.json();
    document.getElementById("result").textContent = JSON.stringify(data, null, 2);
  });
</script>
เบราว์เซอร์จะไม่เห็น API key ของคุณเลย โทเค็นที่ลงนามจะหมดอายุโดยอัตโนมัติ โทเค็นสามารถใช้ได้หลายครั้ง — สามารถใช้ได้หลายครั้งจนกว่าจะหมดอายุหรือถูกเพิกถอน useCount ถูกติดตามแต่ไม่ได้บังคับใช้เป็นขีดจำกัด
9. การจัดการข้อผิดพลาด#
API ใช้รหัสสถานะ HTTP ตามปกติ นี่คือรหัสที่คุณควรจัดการอย่างชัดเจน:
| สถานะ | ความหมาย | สิ่งที่ควรทำ |
|---|---|---|
| 400 | Bad request — ฟิลด์ที่ขาดหายหรือไม่ถูกต้อง | ตรวจสอบว่ามี content และถูกต้อง |
| 401 | Unauthorized — API key ผิดหรือไม่มี | ยืนยัน header X-Api-Key |
| 413 | Payload too large | ลดขนาดไฟล์หรือแบ่งเนื้อหา |
| 429 | Rate limited | ถอยกลับและลองใหม่ด้วยการหน่วงเวลาแบบ exponential |
| 500 | Server error | ลองใหม่หลังจากดีเลย์สั้น ๆ |
ฟังก์ชันอัปโหลดที่ทนทานพร้อม exponential backoff:
// resilient-upload.mjs
const API = "https://api.ipfs.ninja";
const API_KEY = "bws_your_key_here";

async function uploadWithRetry(content, retries = 3) {
  for (let attempt = 1; attempt <= retries; attempt++) {
    const res = await fetch(`${API}/upload/new`, {
      method: "POST",
      headers: {
        "Content-Type": "application/json",
        "X-Api-Key": API_KEY
      },
      body: JSON.stringify({ content })
    });

    if (res.ok) return await res.json();

    const body = await res.text();

    if (res.status === 401) {
      throw new Error(`Authentication failed: ${body}`);
    }

    if (res.status === 413) {
      throw new Error(`Payload too large — reduce file size. ${body}`);
    }

    if (res.status === 429 || res.status >= 500) {
      const delay = Math.pow(2, attempt) * 1000;    // 2s, 4s, 8s
      console.warn(`Attempt ${attempt} failed (${res.status}). Retrying in ${delay}ms...`);
      await new Promise((r) => setTimeout(r, delay));
      continue;
    }

    throw new Error(`Upload failed (${res.status}): ${body}`);
  }

  throw new Error("Upload failed after all retries");
}

// Usage
const data = await uploadWithRetry({ hello: "world" });
console.log("CID:", data.cid);
10. ตัวอย่างใช้งานเต็ม#
สคริปต์เดี่ยวที่เรียกใช้ทุก endpoint ที่ครอบคลุมในบทเรียนนี้ บันทึกเป็น ipfs-demo.mjs และรันด้วย node ipfs-demo.mjs
// ipfs-demo.mjs
import { readFileSync } from "node:fs";

const API = "https://api.ipfs.ninja";
const API_KEY = "bws_your_key_here";

const headers = {
  "Content-Type": "application/json",
  "X-Api-Key": API_KEY
};

async function request(method, path, body) {
  const opts = { method, headers };
  if (body) opts.body = JSON.stringify(body);
  const res = await fetch(`${API}${path}`, opts);
  if (!res.ok) throw new Error(`${method} ${path} → ${res.status}: ${await res.text()}`);
  return res.json();
}

// --- 1. Upload JSON ---
console.log("--- Upload JSON ---");
const jsonResult = await request("POST", "/upload/new", {
  content: { name: "Demo Token", edition: 1 },
  description: "Tutorial demo — JSON upload",
  metadata: { tutorial: "true" }
});
console.log("CID:", jsonResult.cid);
console.log("URL:", jsonResult.uris.url);

// --- 2. Upload an image (if photo.png exists) ---
try {
  const img = readFileSync("./photo.png");
  console.log("\n--- Upload Image ---");
  const imgResult = await request("POST", "/upload/new", {
    content: img.toString("base64"),
    description: "Tutorial demo — image upload"
  });
  console.log("CID:", imgResult.cid);
  console.log("URL:", imgResult.uris.url);
} catch {
  console.log("\n--- Skipping image upload (no photo.png found) ---");
}

// --- 3. Pin the JSON CID ---
console.log("\n--- Pin CID ---");
const pinResult = await request("POST", "/pin", {
  cid: jsonResult.cid,
  description: "Pinned from tutorial"
});
console.log("Pinned:", pinResult.cid);

// --- 4. Get file details ---
console.log("\n--- File Details ---");
const details = await request("GET", `/file/${jsonResult.cid}`);
console.log(JSON.stringify(details, null, 2));

// --- 5. List recent files ---
console.log("\n--- Recent Files ---");
const now = Date.now();
const oneHourAgo = now - 60 * 60 * 1000;
const files = await request("GET", `/upload/list?from=${oneHourAgo}&to=${now}`);
console.log(`Found ${files.length} file(s) in the last hour`);
for (const f of files) {
  console.log(` - ${f.cid}  ${f.description ?? ""}`);
}

// --- 6. Create a signed upload token ---
console.log("\n--- Signed Token ---");
const tokenResult = await request("POST", "/upload/signed-url", {
  name: "demo-token",
  expiresIn: 300
});
console.log("Token ID :", tokenResult.tokenId);
console.log("Expires  :", new Date(tokenResult.expiresAt).toISOString());

// --- 7. Upload using the signed token ---
console.log("\n--- Upload with Signed Token ---");
const signedRes = await fetch(`${API}/upload/new`, {
  method: "POST",
  headers: {
    "Content-Type": "application/json",
    "Authorization": `Signed ${tokenResult.token}`
  },
  body: JSON.stringify({
    content: { note: "Uploaded with a signed token" }
  })
});
const signedData = await signedRes.json();
console.log("CID:", signedData.cid);

console.log("\nDone.");
แทน bws_your_key_here ด้วยคีย์จริง แล้วรันสคริปต์ แต่ละขั้นจะพิมพ์ผลลัพธ์ออกมา เพื่อให้คุณติดตามได้
11. ขั้นตอนถัดไป#
ตอนนี้คุณรู้วิธีอัปโหลด, pin, แสดงรายการ และดึงไฟล์ผ่าน IPFS Upload API และวิธีให้การอัปโหลดจากเบราว์เซอร์ปลอดภัยด้วยโทเค็นที่ลงนาม สำหรับภาพรวมที่กว้างขึ้น รวมถึง UI แดชบอร์ดและตัวอย่าง Python ดูที่ วิธีอัปโหลดไฟล์ไปยัง IPFS นี่คือทิศทางต่อไป:
- API Reference — เอกสาร endpoint แบบสมบูรณ์ที่ ipfs.ninja/docs
- Gateway ที่กำหนดเอง — ให้บริการเนื้อหา IPFS จากโดเมนของคุณเอง ดู คู่มือการตั้งค่า gateway
- Analytics — ติดตามปริมาณการอัปโหลด แบนด์วิธ และจำนวน pin ใน แดชบอร์ด
- HTTP Client — ไม่จำเป็นต้องใช้ SDK คุณสามารถใช้
fetch()มาตรฐานหรือ HTTP client ใด ๆ เพื่อโต้ตอบกับ API
หากคุณพบปัญหา ให้เปิด ticket ที่ support.ipfs.ninja หรือเข้าร่วมชุมชนบน Discord
สำหรับความปลอดภัยเพิ่มเติม ดู IPFS Upload Token
สำหรับคำแนะนำฉบับสมบูรณ์เกี่ยวกับโครงสร้างเมตาดาต้า NFT และรูปแบบ ERC-721 tokenURI โปรดดูคู่มือการจัดเก็บเมตาดาต้า NFTของเรา

เกี่ยวกับผู้เขียน
Nacho Coll
Founder & Engineer at IPFS.NINJA
Nacho founded IPFS.NINJA to make content-addressed storage feel as simple as an S3 PUT — a single API call, a permanent CID, no wallets or peer discovery to reason about. Writes about IPFS internals, decentralized storage patterns, and the pinning-service landscape from the operator side of the wire.