IPFS Upload API — Tutorial completo per sviluppatori
Impara a caricare file su IPFS tramite REST API. Esempi di codice completi in JavaScript, Node.js e curl. Carica JSON, immagini, usa token firmati per caricamenti lato client.
Nacho founded IPFS.NINJA to make content-addressed storage feel as simple as an S3 PUT — a single API call, a permanent CID, no wallets or peer discovery to reason about.

- Carica JSON, immagini e PDF su IPFS con una singola richiesta POST e una chiave API.
- Genera token firmati e a tempo limitato in modo che le app lato client possano caricare file senza esporre la tua chiave API.
- Interroga la cronologia dei tuoi upload per intervallo di date e recupera i metadati di qualsiasi file caricato in precedenza.
- Ogni upload viene eseguito verso un unico URL di base, senza bisogno di installare SDK per nessun linguaggio.
Caricare file su IPFS dovrebbe essere semplice come fare una richiesta POST. In questo tutorial farai esattamente questo — caricare documenti JSON, immagini e PDF su IPFS con nient’altro che fetch() e una chiave API. Alla fine avrai uno script Node.js completo che carica contenuti, elenca file, recupera metadati e genera token firmati per caricamenti sicuri lato client. Nuovo su IPFS? Inizia con Cos’è l’IPFS Pinning? per comprendere i fondamenti prima di immergerti nel codice.
Cosa costruirai#
- Caricare un oggetto JSON su IPFS e ottenere un content identifier (CID).
- Caricare un’immagine binaria dal disco.
- Allegare descrizioni e metadati personalizzati ai caricamenti.
- Interrogare la cronologia dei caricamenti per intervallo di date.
- Recuperare i dettagli per un file specifico.
- Creare token firmati con tempo limitato in modo che un browser possa caricare direttamente senza esporre la chiave API.
- Gestire gli errori e implementare la logica di retry.
Tutto gira su un singolo URL base: https://api.ipfs.ninja
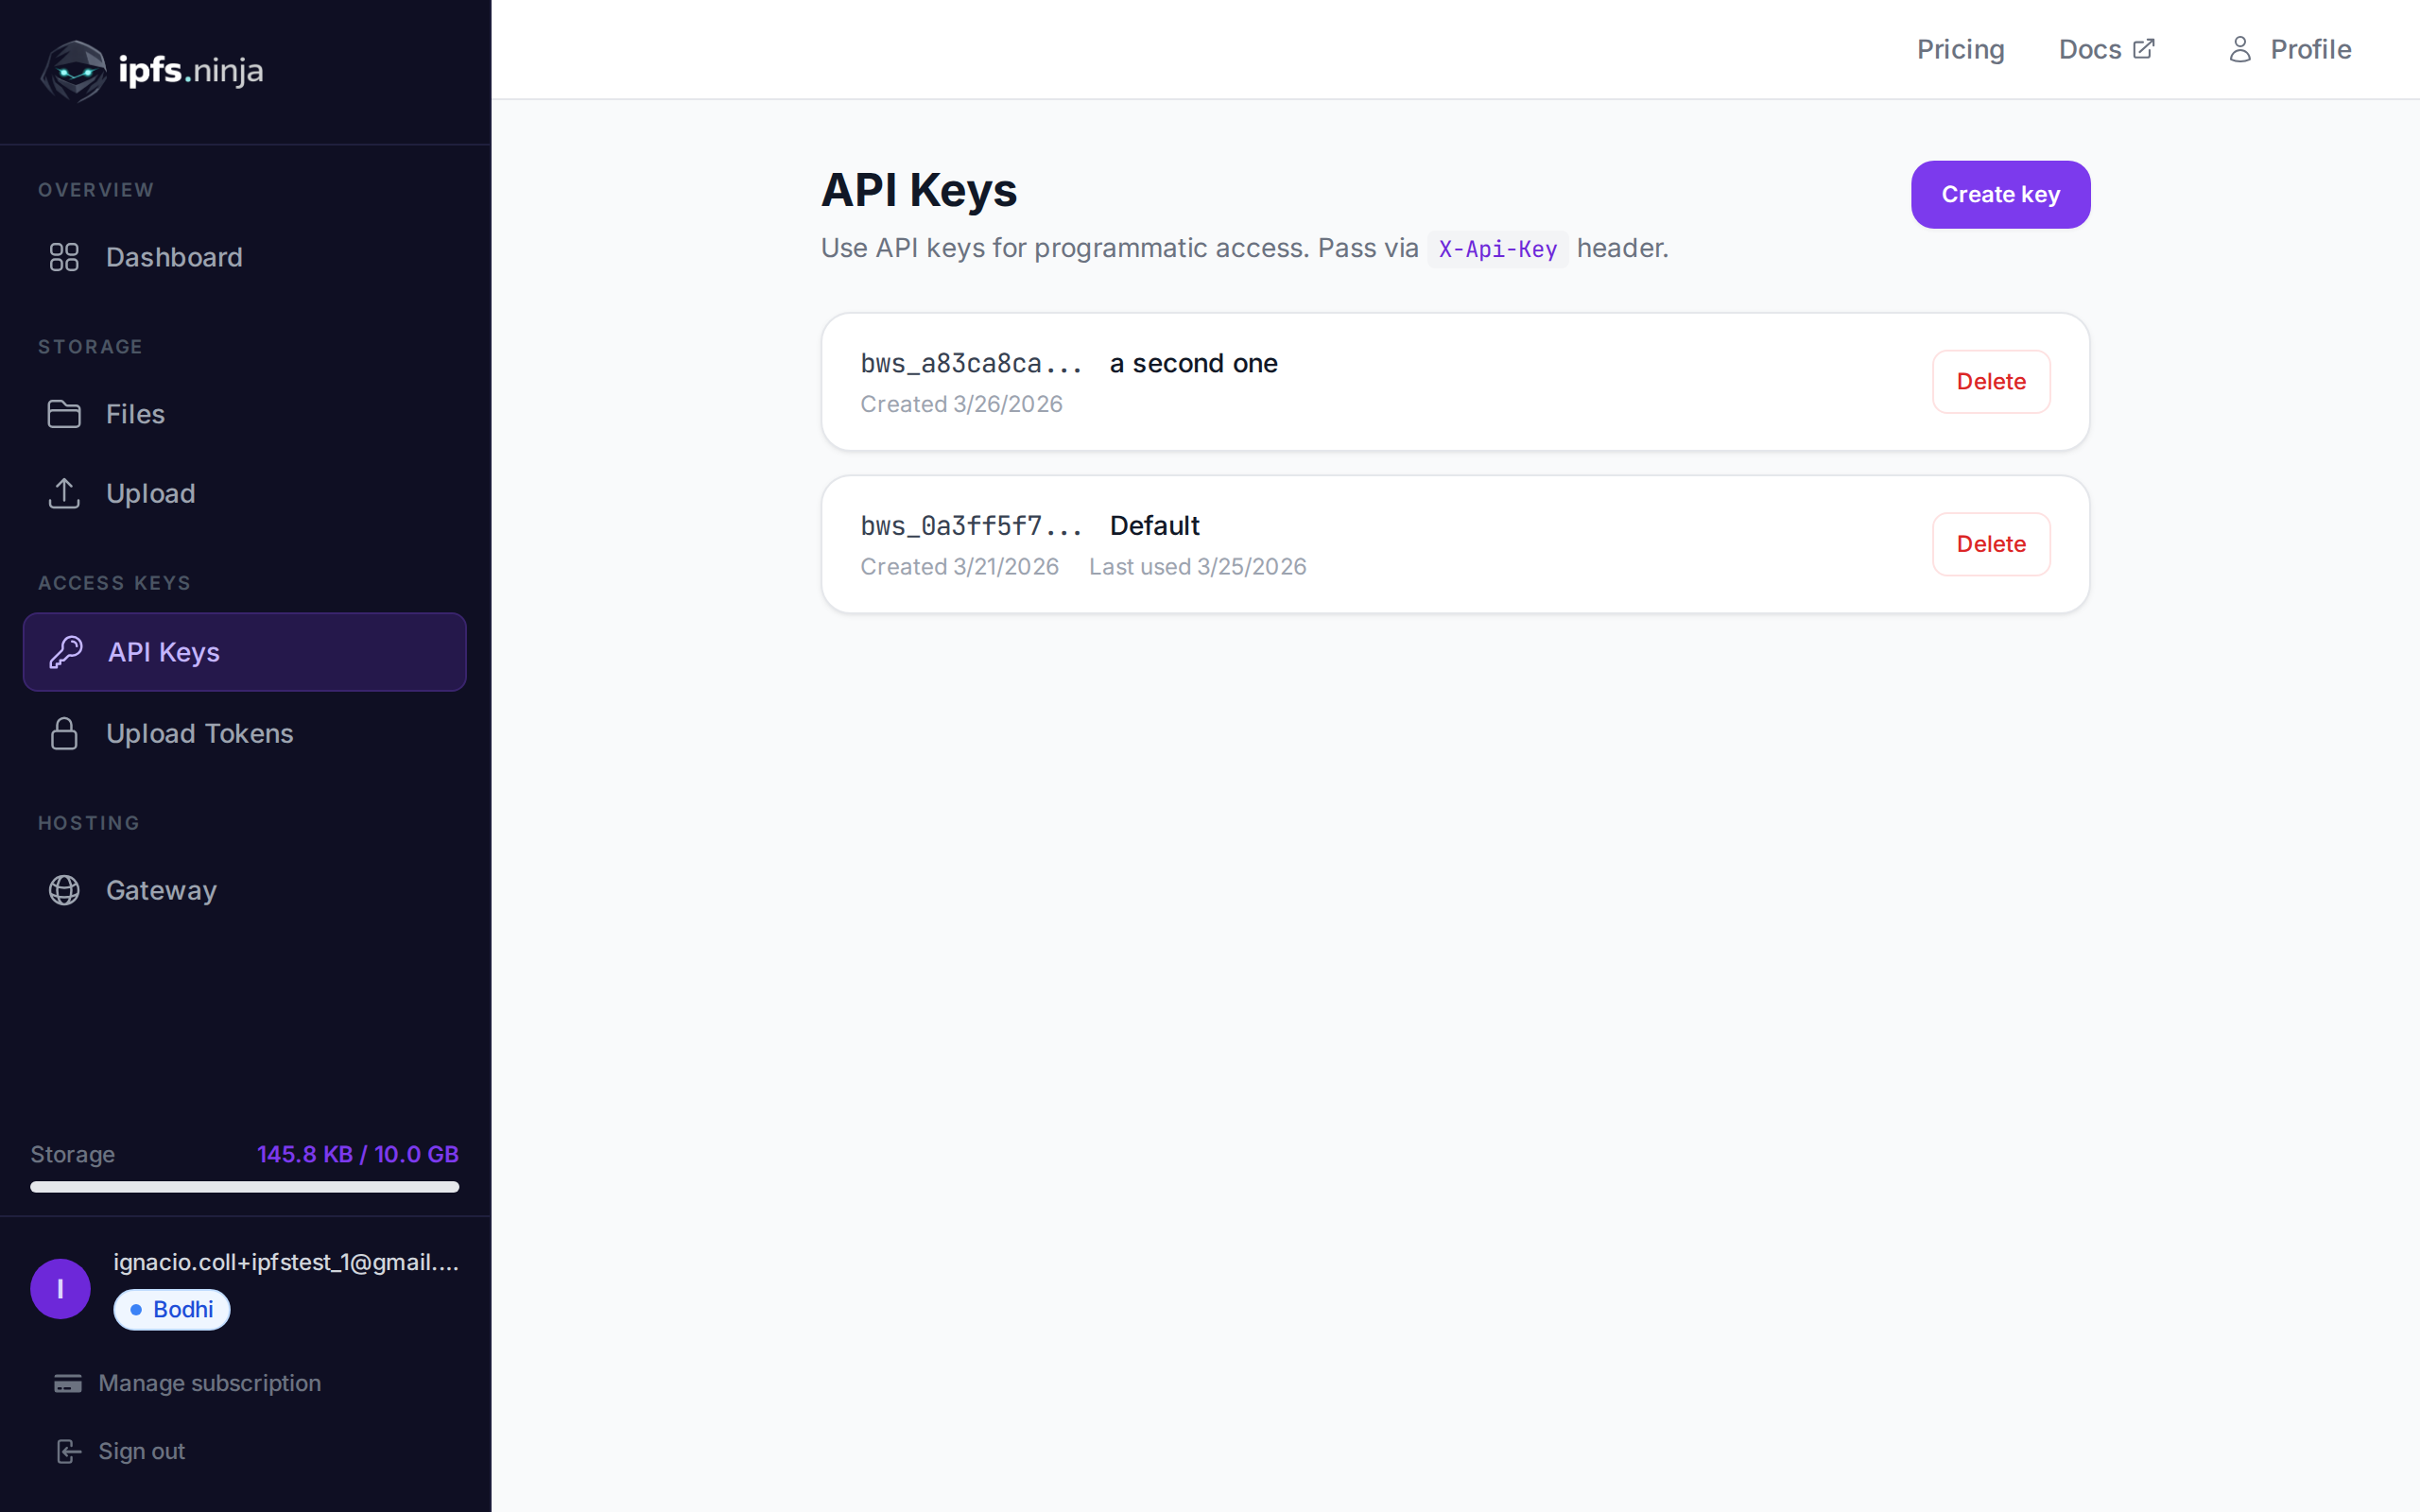
1. Setup — Iscrizione e ottenimento di una chiave API#
- Iscriviti per un account gratuito (nessuna carta di credito richiesta).
- Vai su API Keys nella barra laterale della dashboard.
- Clicca su Create key, dagli un nome e copia la chiave immediatamente — non sarà mostrata di nuovo.
La tua chiave appare come bws_a1b2c3d4e5f6a7b8c9d0e1f2a3b4c5d6. Ogni esempio qui sotto la invia nell’header X-Api-Key.
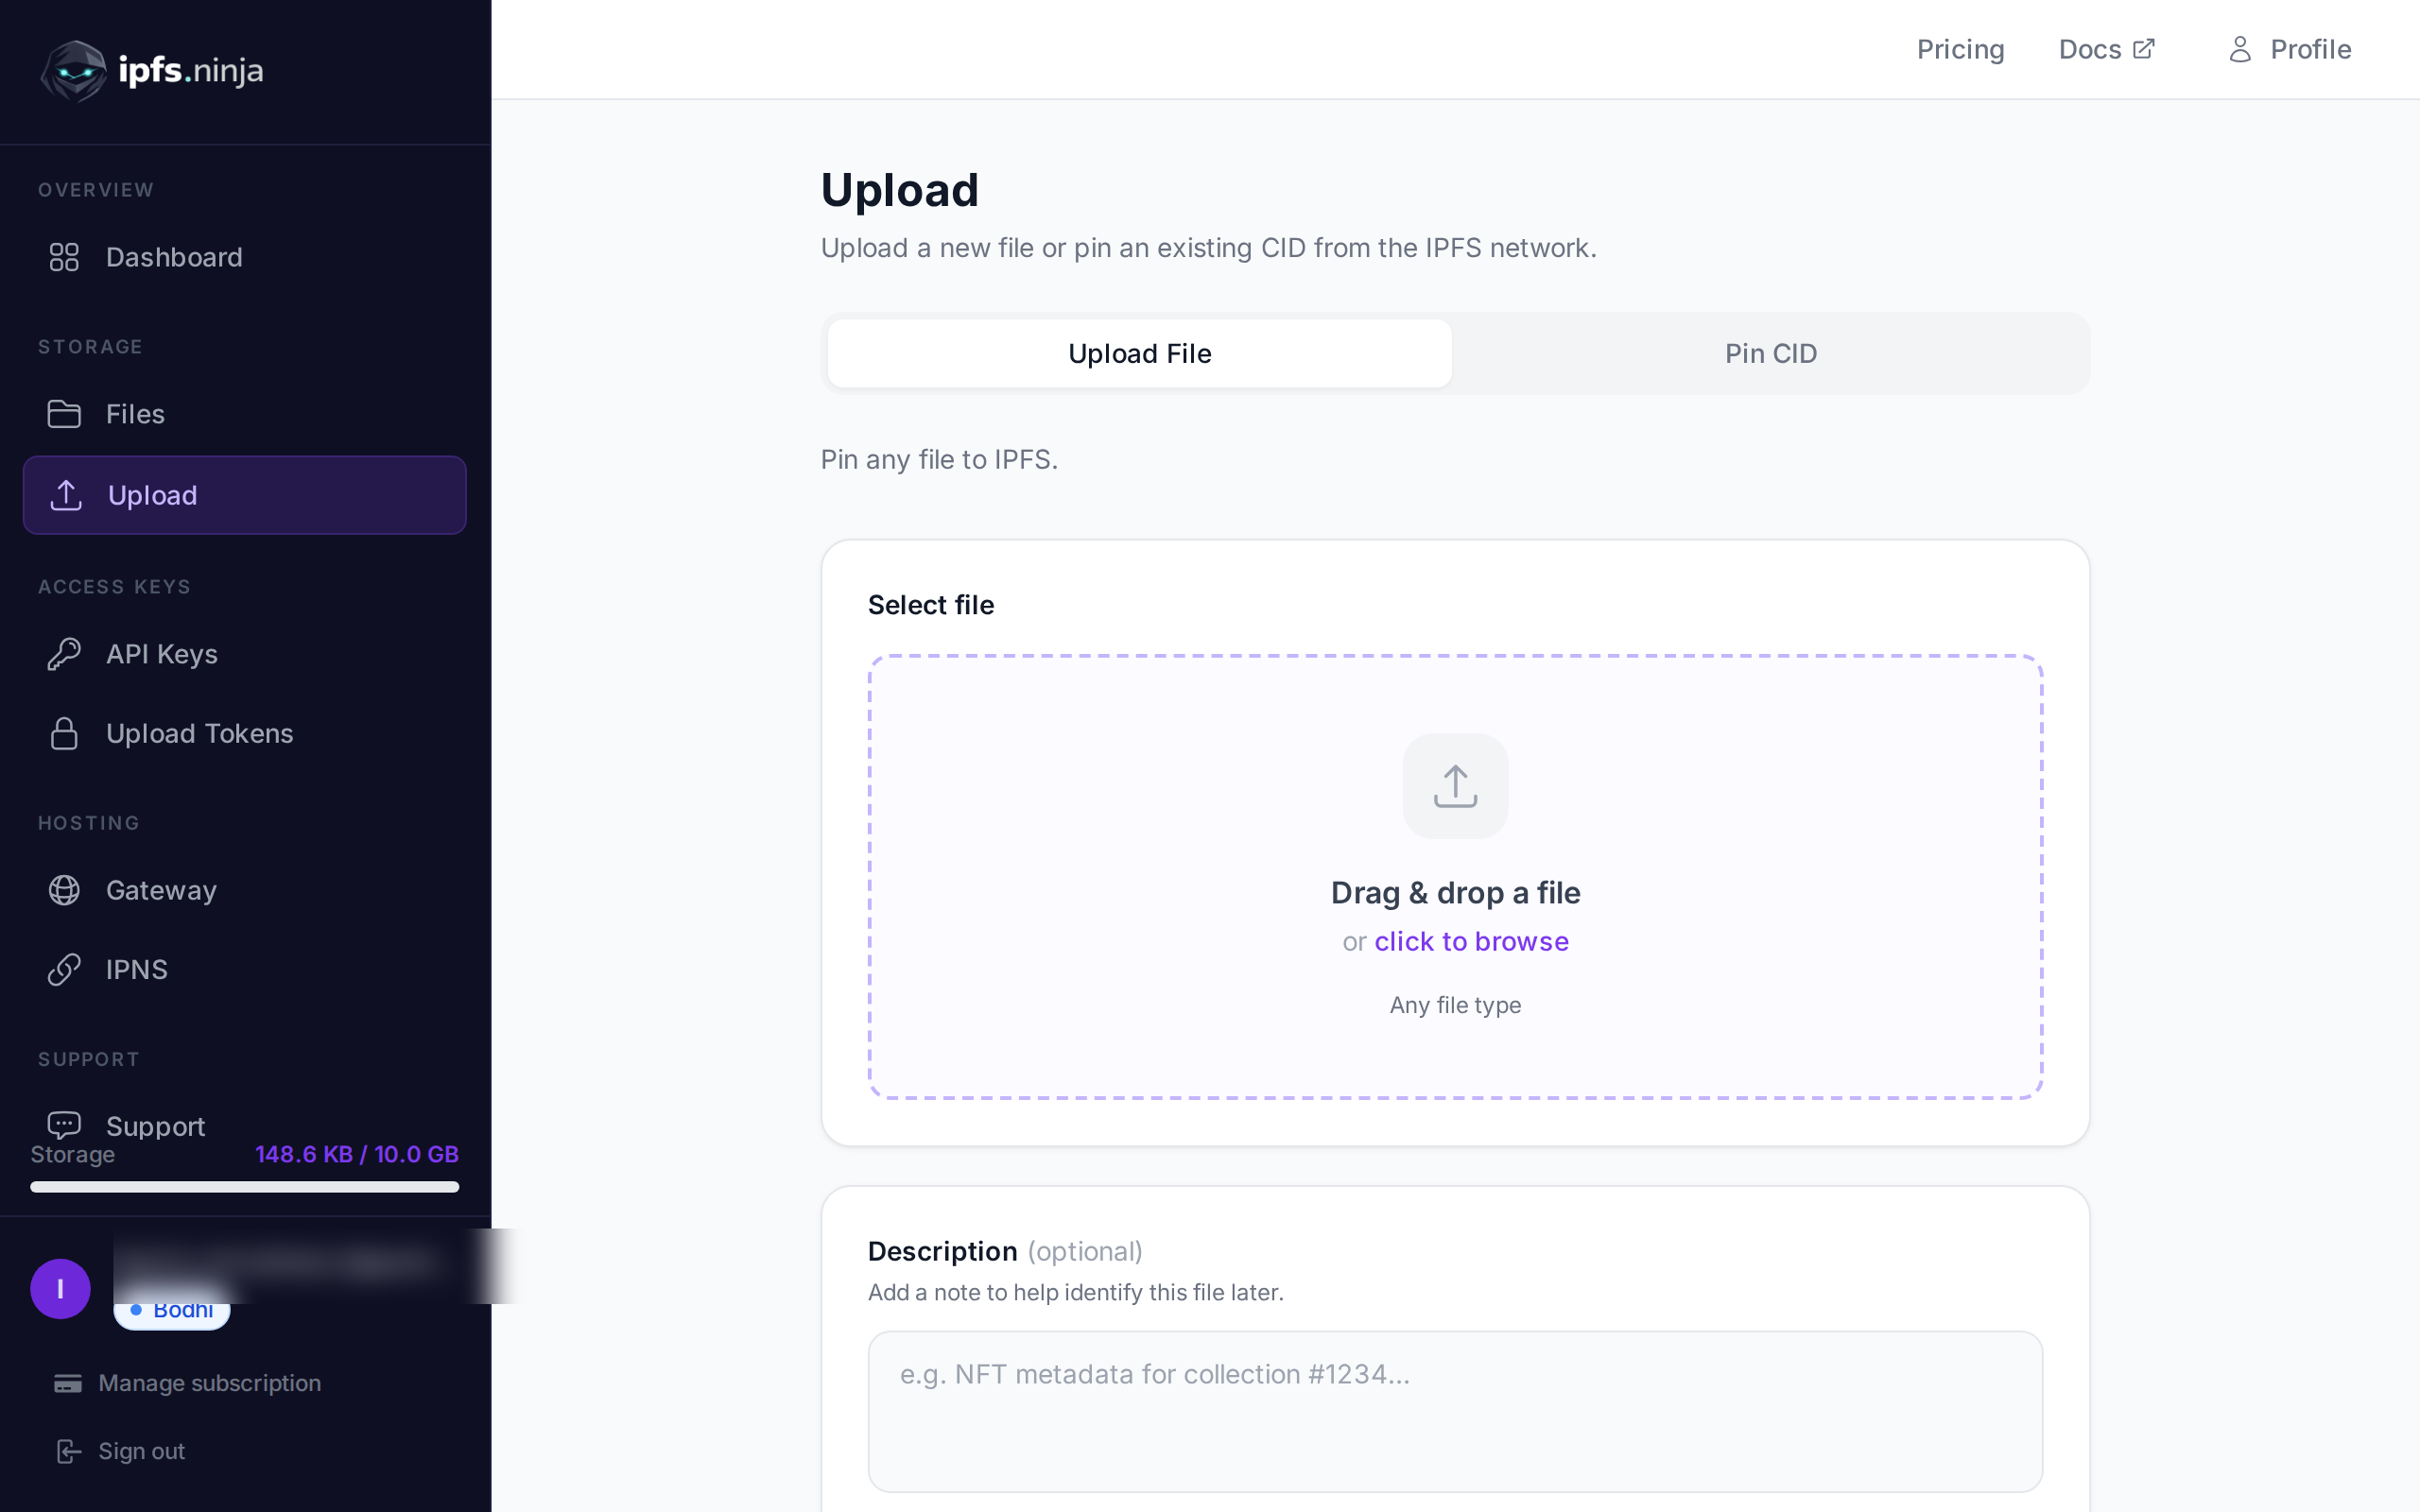
2. Carica JSON su IPFS#
Il caricamento più semplice: passa un oggetto JavaScript puro come content e l’API lo serializza, lo fissa su IPFS e restituisce il CID.
// upload-json.mjs
const API = "https://api.ipfs.ninja";
const API_KEY = "bws_your_key_here";

const payload = {
  content: {
    name: "Galactic Badge #42",
    description: "Proof of attendance — Galactic Meetup 2026",
    attributes: [
      { trait_type: "Event", value: "Galactic Meetup" },
      { trait_type: "Year", value: 2026 }
    ]
  }
};

const res = await fetch(`${API}/upload/new`, {
  method: "POST",
  headers: {
    "Content-Type": "application/json",
    "X-Api-Key": API_KEY
  },
  body: JSON.stringify(payload)
});

const data = await res.json();
console.log("CID :", data.cid);
console.log("Size:", data.sizeMB, "MB");
console.log("IPFS:", data.uris.ipfs);
console.log("URL :", data.uris.url);
Esegui con node upload-json.mjs. Una risposta riuscita appare così:
{
  "cid": "bafkreigx7gq...",
  "sizeMB": 0.0004,
  "uris": {
    "ipfs": "ipfs://bafkreigx7gq...",
    "url": "https://ipfs.ninja/ipfs/bafkreigx7gq..."
  }
}
Il campo url punta a un gateway HTTP pubblico, quindi il contenuto è immediatamente accessibile in qualsiasi browser.
3. Carica un’immagine#
I file binari (immagini, PDF, audio) vengono inviati come stringhe codificate in base64 nel campo content.
// upload-image.mjs
import { readFileSync } from "node:fs";

const API = "https://api.ipfs.ninja";
const API_KEY = "bws_your_key_here";

const imageBuffer = readFileSync("./photo.png");
const base64 = imageBuffer.toString("base64");

const res = await fetch(`${API}/upload/new`, {
  method: "POST",
  headers: {
    "Content-Type": "application/json",
    "X-Api-Key": API_KEY
  },
  body: JSON.stringify({ content: base64 })
});

const data = await res.json();
console.log("Image CID:", data.cid);
console.log("Gateway  :", data.uris.url);
L’API rileva automaticamente il tipo MIME — PNG, JPEG, WebP, GIF e PDF sono tutti supportati. Non sono richiesti header aggiuntivi o override del content-type.
Con curl la stessa operazione appare così:
BASE64=$(base64 -w 0 photo.png)

curl -X POST https://api.ipfs.ninja/upload/new \
  -H "Content-Type: application/json" \
  -H "X-Api-Key: bws_your_key_here" \
  -d "{\"content\": \"$BASE64\"}"
4. Upload con metadati#
Ogni upload accetta due campi opzionali: description (etichetta di testo libero) e metadata (coppie chiave-valore arbitrarie). Entrambi vengono memorizzati insieme al CID e restituiti quando elenchi o recuperi il file più tardi.
// upload-with-metadata.mjs
const API = "https://api.ipfs.ninja";
const API_KEY = "bws_your_key_here";

const res = await fetch(`${API}/upload/new`, {
  method: "POST",
  headers: {
    "Content-Type": "application/json",
    "X-Api-Key": API_KEY
  },
  body: JSON.stringify({
    content: { title: "Meeting Notes", body: "Q1 roadmap recap..." },
    description: "Q1 2026 planning meeting notes",
    metadata: {
      project: "acme-app",
      author: "dana",
      version: "1"
    }
  })
});

const data = await res.json();
console.log("CID:", data.cid);
I metadati rendono facile filtrare e organizzare i file dal tuo lato senza analizzare il contenuto IPFS stesso.
5. Fissare un CID esistente#
Se hai già contenuto su IPFS e vuoi assicurarti che rimanga disponibile, fissalo tramite CID:
// pin-cid.mjs
const API = "https://api.ipfs.ninja";
const API_KEY = "bws_your_key_here";

const res = await fetch(`${API}/pin`, {
  method: "POST",
  headers: {
    "Content-Type": "application/json",
    "X-Api-Key": API_KEY
  },
  body: JSON.stringify({
    cid: "bafkreigx7gq...",
    description: "Pinned from external source"
  })
});

const data = await res.json();
console.log("Pinned:", data.cid);
6. Elenca i tuoi file#
Recupera ogni file che hai caricato in una finestra temporale. I parametri di query from e to sono timestamp Unix in millisecondi.
// list-files.mjs
const API = "https://api.ipfs.ninja";
const API_KEY = "bws_your_key_here";

const now = Date.now();
const oneWeekAgo = now - 7 * 24 * 60 * 60 * 1000;

const url = `${API}/upload/list?from=${oneWeekAgo}&to=${now}`;

const res = await fetch(url, {
  headers: { "X-Api-Key": API_KEY }
});

const files = await res.json();

for (const file of files) {
  console.log(`${file.cid}  ${file.description ?? "(no description)"}`);
}
Con curl:
FROM=$(($(date +%s) * 1000 - 604800000))
TO=$(($(date +%s) * 1000))

curl -s "https://api.ipfs.ninja/upload/list?from=$FROM&to=$TO" \
  -H "X-Api-Key: bws_your_key_here" | jq .
7. Ottieni dettagli del file#
Recupera il record completo per un singolo CID, inclusi metadati, dimensione e timestamp:
// get-file.mjs
const API = "https://api.ipfs.ninja";
const API_KEY = "bws_your_key_here";
const CID = "bafkreigx7gq...";

const res = await fetch(`${API}/file/${CID}`, {
  headers: { "X-Api-Key": API_KEY }
});

const details = await res.json();
console.log(JSON.stringify(details, null, 2));
8. Caricamenti lato client con token firmati#
Incorporare una chiave API in un bundle del browser è un rischio per la sicurezza. Invece, genera un token firmato a breve termine sul tuo server e passalo al client.
Server (Express)#
// server.mjs
import express from "express";

const app = express();
const API = "https://api.ipfs.ninja";
const API_KEY = process.env.IPFS_API_KEY;

app.post("/api/upload-token", async (req, res) => {
  const response = await fetch(`${API}/upload/signed-url`, {
    method: "POST",
    headers: {
      "Content-Type": "application/json",
      "X-Api-Key": API_KEY
    },
    body: JSON.stringify({
      name: "browser-upload",
      expiresIn: 600          // token valid for 10 minutes
    })
  });

  const { token, tokenId, expiresAt } = await response.json();
  res.json({ token, tokenId, expiresAt });
});

app.listen(3000, () => console.log("Server running on :3000"));
Client browser#
<!-- upload.html -->
<input type="file" id="filePicker" />
<button id="uploadBtn">Upload to IPFS</button>
<pre id="result"></pre>

<script>
  const API = "https://api.ipfs.ninja";

  document.getElementById("uploadBtn").addEventListener("click", async () => {
    // 1. Get a signed token from your own backend
    const tokenRes = await fetch("/api/upload-token", { method: "POST" });
    const { token } = await tokenRes.json();

    // 2. Read the selected file as base64
    const file = document.getElementById("filePicker").files[0];
    if (!file) return alert("Pick a file first");

    const base64 = await new Promise((resolve) => {
      const reader = new FileReader();
      reader.onload = () => resolve(reader.result.split(",")[1]);
      reader.readAsDataURL(file);
    });

    // 3. Upload directly to IPFS using the signed token
    const uploadRes = await fetch(`${API}/upload/new`, {
      method: "POST",
      headers: {
        "Content-Type": "application/json",
        "Authorization": `Signed ${token}`
      },
      body: JSON.stringify({
        content: base64,
        description: file.name
      })
    });

    const data = await uploadRes.json();
    document.getElementById("result").textContent = JSON.stringify(data, null, 2);
  });
</script>
Il browser non vede mai la tua chiave API. Il token firmato scade automaticamente. I token sono multi-uso — possono essere usati più volte fino a quando non scadono o vengono revocati. Il useCount viene tracciato ma non applicato come limite.
9. Gestione degli errori#
L’API utilizza codici di stato HTTP convenzionali. Ecco quelli che dovresti gestire esplicitamente:
| Status | Significato | Cosa fare |
|---|---|---|
| 400 | Bad request — campi mancanti o non validi | Verifica che content sia presente e valido |
| 401 | Unauthorized — chiave API errata o mancante | Verifica l’header X-Api-Key |
| 413 | Payload troppo grande | Riduci la dimensione del file o dividi il contenuto |
| 429 | Rate limited | Indietreggia e riprova con ritardo esponenziale |
| 500 | Errore del server | Riprova dopo un breve ritardo |
Una funzione di upload resiliente con backoff esponenziale:
// resilient-upload.mjs
const API = "https://api.ipfs.ninja";
const API_KEY = "bws_your_key_here";

async function uploadWithRetry(content, retries = 3) {
  for (let attempt = 1; attempt <= retries; attempt++) {
    const res = await fetch(`${API}/upload/new`, {
      method: "POST",
      headers: {
        "Content-Type": "application/json",
        "X-Api-Key": API_KEY
      },
      body: JSON.stringify({ content })
    });

    if (res.ok) return await res.json();

    const body = await res.text();

    if (res.status === 401) {
      throw new Error(`Authentication failed: ${body}`);
    }

    if (res.status === 413) {
      throw new Error(`Payload too large — reduce file size. ${body}`);
    }

    if (res.status === 429 || res.status >= 500) {
      const delay = Math.pow(2, attempt) * 1000;    // 2s, 4s, 8s
      console.warn(`Attempt ${attempt} failed (${res.status}). Retrying in ${delay}ms...`);
      await new Promise((r) => setTimeout(r, delay));
      continue;
    }

    throw new Error(`Upload failed (${res.status}): ${body}`);
  }

  throw new Error("Upload failed after all retries");
}

// Usage
const data = await uploadWithRetry({ hello: "world" });
console.log("CID:", data.cid);
10. Esempio completo funzionante#
Un singolo script che esegue ogni endpoint coperto in questo tutorial. Salvalo come ipfs-demo.mjs ed esegui con node ipfs-demo.mjs.
// ipfs-demo.mjs
import { readFileSync } from "node:fs";

const API = "https://api.ipfs.ninja";
const API_KEY = "bws_your_key_here";

const headers = {
  "Content-Type": "application/json",
  "X-Api-Key": API_KEY
};

async function request(method, path, body) {
  const opts = { method, headers };
  if (body) opts.body = JSON.stringify(body);
  const res = await fetch(`${API}${path}`, opts);
  if (!res.ok) throw new Error(`${method} ${path} → ${res.status}: ${await res.text()}`);
  return res.json();
}

// --- 1. Upload JSON ---
console.log("--- Upload JSON ---");
const jsonResult = await request("POST", "/upload/new", {
  content: { name: "Demo Token", edition: 1 },
  description: "Tutorial demo — JSON upload",
  metadata: { tutorial: "true" }
});
console.log("CID:", jsonResult.cid);
console.log("URL:", jsonResult.uris.url);

// --- 2. Upload an image (if photo.png exists) ---
try {
  const img = readFileSync("./photo.png");
  console.log("\n--- Upload Image ---");
  const imgResult = await request("POST", "/upload/new", {
    content: img.toString("base64"),
    description: "Tutorial demo — image upload"
  });
  console.log("CID:", imgResult.cid);
  console.log("URL:", imgResult.uris.url);
} catch {
  console.log("\n--- Skipping image upload (no photo.png found) ---");
}

// --- 3. Pin the JSON CID ---
console.log("\n--- Pin CID ---");
const pinResult = await request("POST", "/pin", {
  cid: jsonResult.cid,
  description: "Pinned from tutorial"
});
console.log("Pinned:", pinResult.cid);

// --- 4. Get file details ---
console.log("\n--- File Details ---");
const details = await request("GET", `/file/${jsonResult.cid}`);
console.log(JSON.stringify(details, null, 2));

// --- 5. List recent files ---
console.log("\n--- Recent Files ---");
const now = Date.now();
const oneHourAgo = now - 60 * 60 * 1000;
const files = await request("GET", `/upload/list?from=${oneHourAgo}&to=${now}`);
console.log(`Found ${files.length} file(s) in the last hour`);
for (const f of files) {
  console.log(` - ${f.cid}  ${f.description ?? ""}`);
}

// --- 6. Create a signed upload token ---
console.log("\n--- Signed Token ---");
const tokenResult = await request("POST", "/upload/signed-url", {
  name: "demo-token",
  expiresIn: 300
});
console.log("Token ID :", tokenResult.tokenId);
console.log("Expires  :", new Date(tokenResult.expiresAt).toISOString());

// --- 7. Upload using the signed token ---
console.log("\n--- Upload with Signed Token ---");
const signedRes = await fetch(`${API}/upload/new`, {
  method: "POST",
  headers: {
    "Content-Type": "application/json",
    "Authorization": `Signed ${tokenResult.token}`
  },
  body: JSON.stringify({
    content: { note: "Uploaded with a signed token" }
  })
});
const signedData = await signedRes.json();
console.log("CID:", signedData.cid);

console.log("\nDone.");
Sostituisci bws_your_key_here con una vera chiave ed esegui lo script. Ogni passaggio stampa il suo risultato in modo che tu possa seguire.
11. Prossimi passi#
Ora sai come caricare, fissare, elencare e recuperare file tramite l’IPFS Upload API e come mantenere sicuri i caricamenti dal browser con token firmati. Per una panoramica più ampia che include l’UI della dashboard e esempi Python, vedi Come caricare file su IPFS. Ecco dove andare da qui:
- Riferimento API — Documentazione completa degli endpoint su ipfs.ninja/docs.
- Gateway personalizzati — Servi contenuto IPFS dal tuo dominio. Vedi la guida al setup del gateway.
- Analytics — Traccia volume di upload, larghezza di banda e conteggio dei pin nella dashboard.
- Client HTTP — Nessun SDK richiesto. Puoi usare il
fetch()standard o qualsiasi client HTTP per interagire con l’API.
Se incontri problemi, apri un ticket su support.ipfs.ninja o unisciti alla community su Discord.
Per una guida completa sulla struttura dei metadati NFT e i pattern ERC-721 tokenURI, consulta la nostra guida all’archiviazione dei metadati NFT.

Sull'autore
Nacho Coll
Founder & Engineer at IPFS.NINJA
Nacho founded IPFS.NINJA to make content-addressed storage feel as simple as an S3 PUT — a single API call, a permanent CID, no wallets or peer discovery to reason about. Writes about IPFS internals, decentralized storage patterns, and the pinning-service landscape from the operator side of the wire.