IPFS Upload API — Komplettes Entwickler-Tutorial
Dateien per REST API auf IPFS hochladen. Vollständige Codebeispiele in JavaScript, Node.js und curl. JSON, Bilder hochladen und signierte Tokens verwenden.
Nacho founded IPFS.NINJA to make content-addressed storage feel as simple as an S3 PUT — a single API call, a permanent CID, no wallets or peer discovery to reason about.

- Laden Sie JSON, Bilder und PDFs mit einem einzigen POST-Request und einem API-Schlüssel auf IPFS hoch.
- Erzeugen Sie signierte, zeitlich begrenzte Tokens, damit clientseitige Apps hochladen können, ohne Ihren API-Schlüssel preiszugeben.
- Fragen Sie Ihre Upload-Historie nach Datumsbereich ab und rufen Sie Metadaten für jede zuvor hochgeladene Datei ab.
- Jeder Upload läuft gegen eine einzige Basis-URL — keine SDK-Installation in irgendeiner Sprache nötig.
Das Hochladen von Dateien zu IPFS sollte so einfach sein wie ein POST-Request. In diesem Tutorial machst du genau das — JSON-Dokumente, Bilder und PDFs auf IPFS hochladen mit nichts mehr als fetch() und einem API-Schlüssel. Am Ende hast du ein vollständiges Node.js-Skript, das Inhalte hochlädt, Dateien auflistet, Metadaten abruft und signierte Tokens für sichere Client-seitige Uploads generiert. Neu bei IPFS? Starte mit Was ist IPFS Pinning?, um die Grundlagen zu verstehen, bevor du in den Code eintauchst.
Datei in 3 Schritten auf IPFS hochladen#
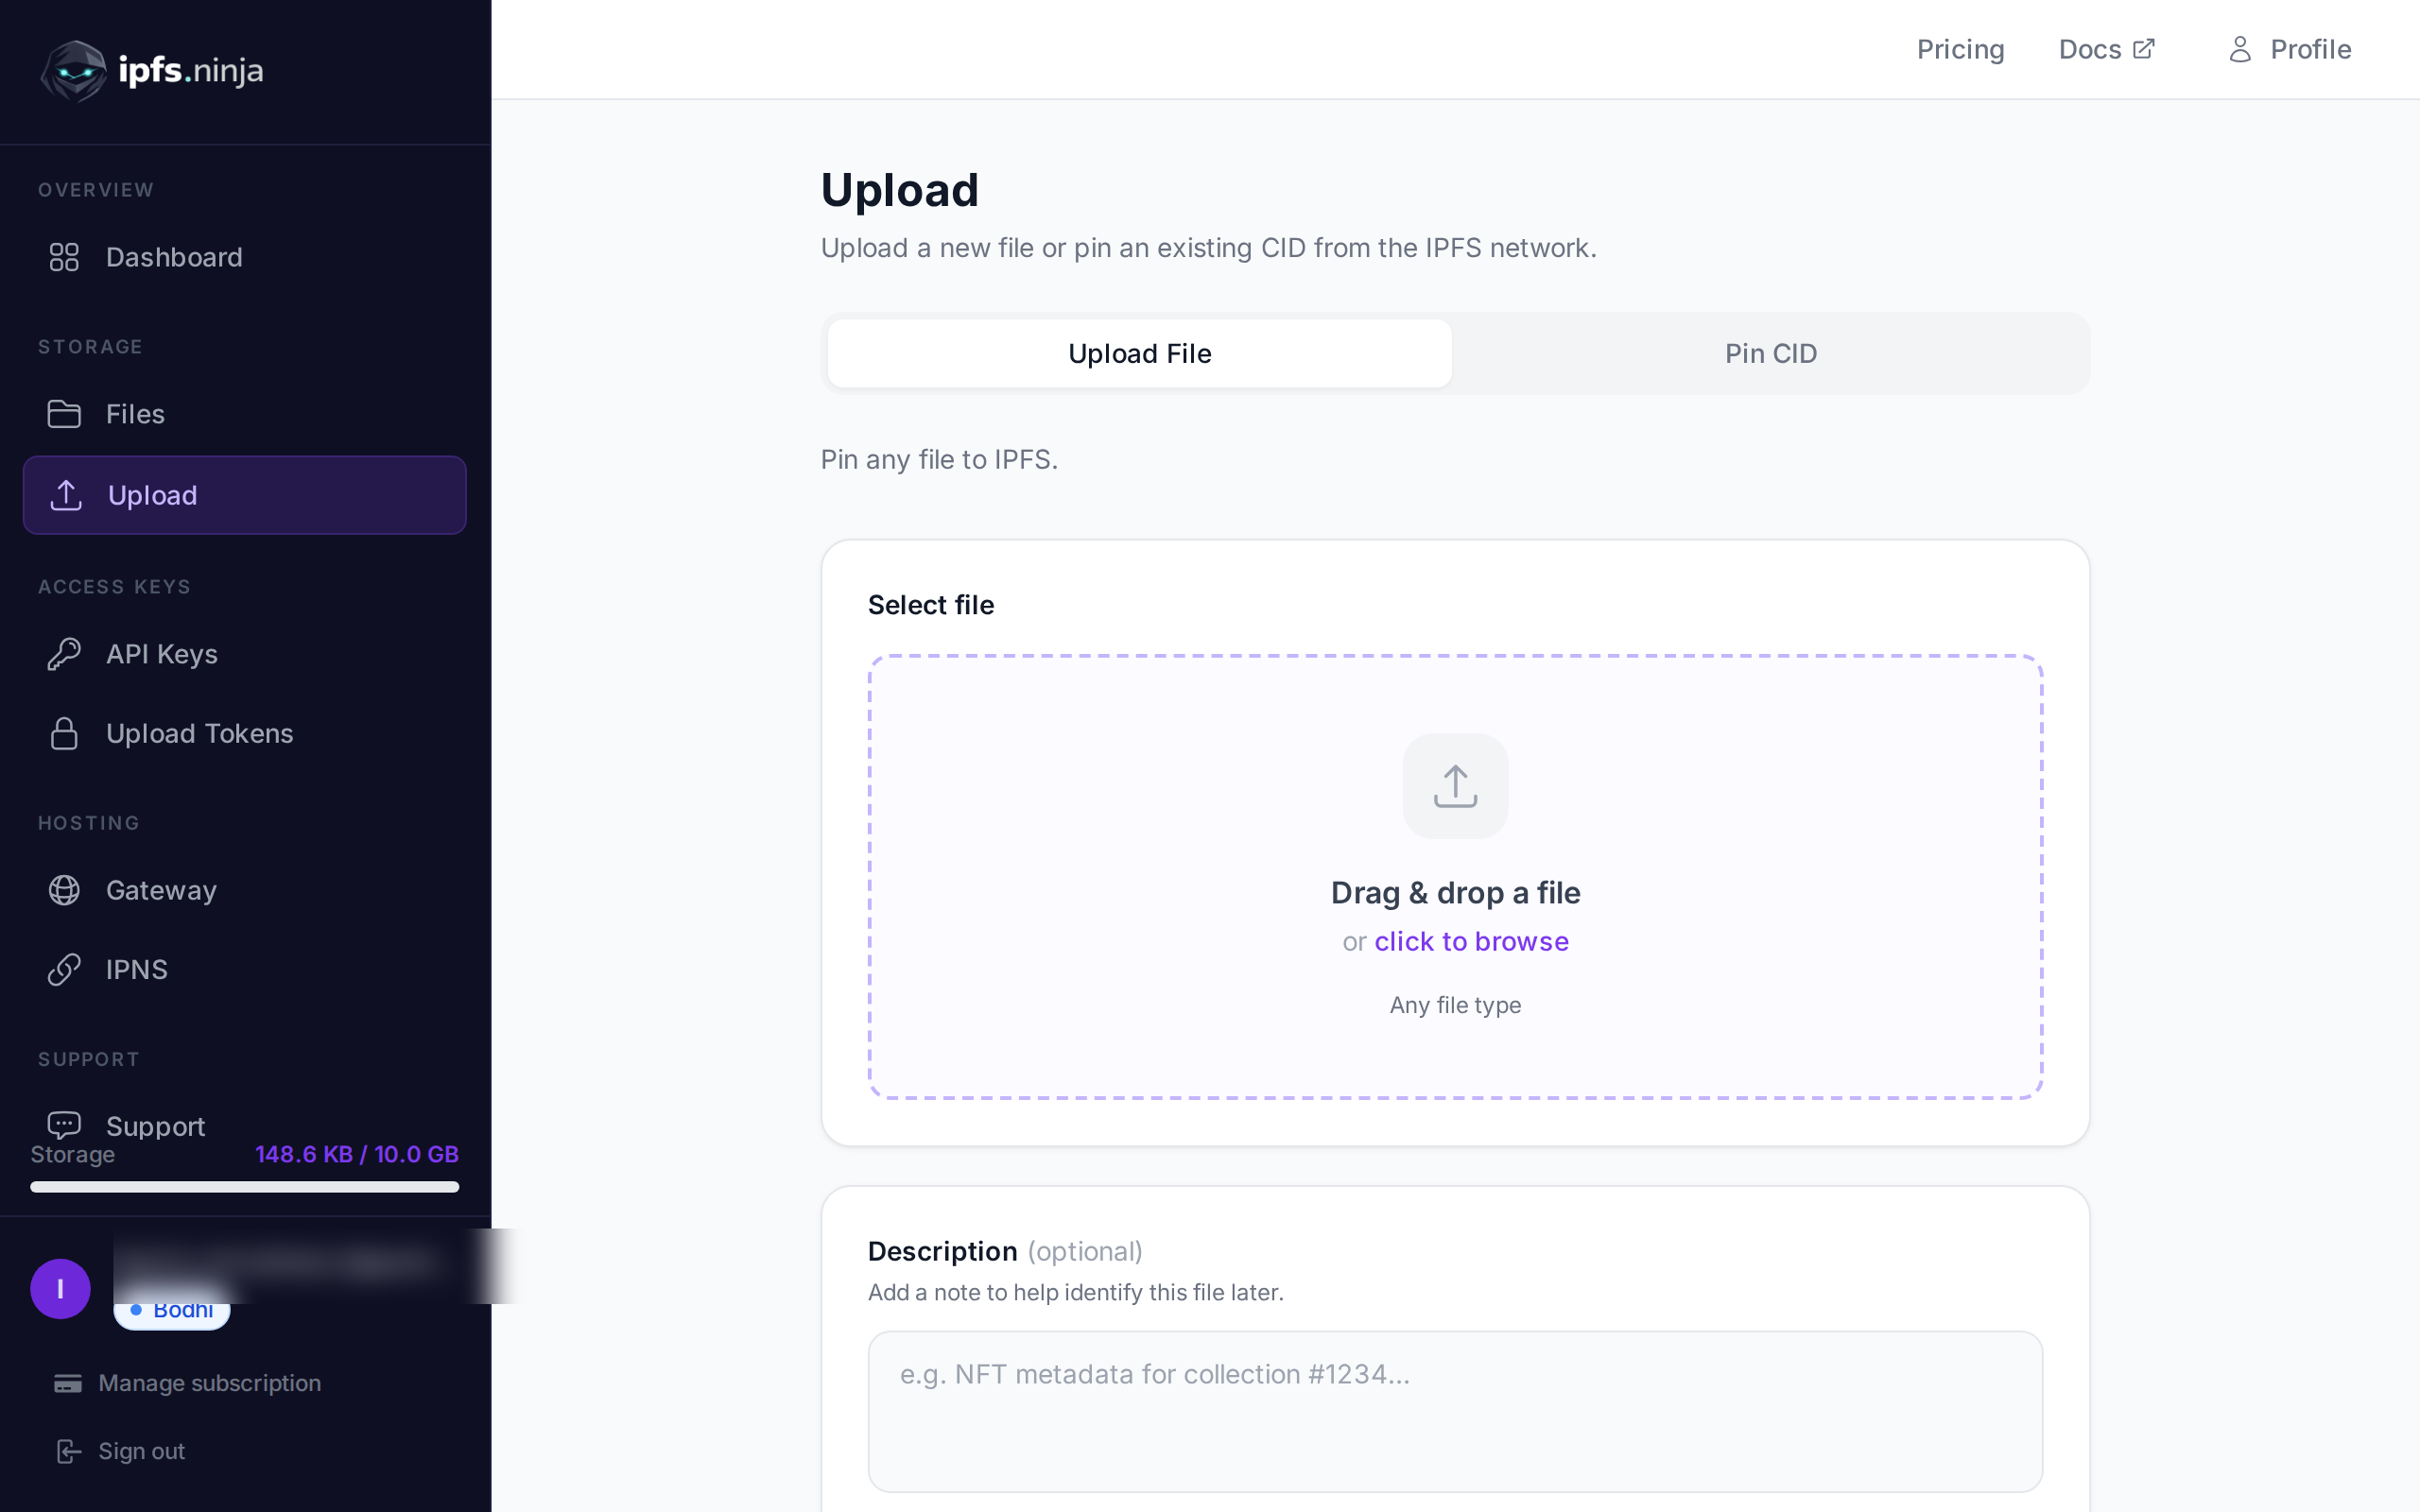
- Erstelle einen API-Schlüssel im Dashboard und sende ein JSON-Objekt oder eine base64-codierte Binärdatei per POST an
/upload/new. - Erhalte sofort eine CID und eine öffentliche Gateway-URL in der Antwort zurück.
- Optional: Erzeuge ein zeitlich begrenztes signiertes Token, damit ein Browser oder eine mobile App direkt hochladen kann, ohne deinen API-Schlüssel preiszugeben.
Im Rest dieses Tutorials gehst du jeden dieser Schritte im Detail durch — inklusive Metadaten, Dateilisten, Fehlerbehandlung und einem vollständigen Arbeitsbeispiel.
Alles läuft gegen eine einzige Basis-URL: https://api.ipfs.ninja
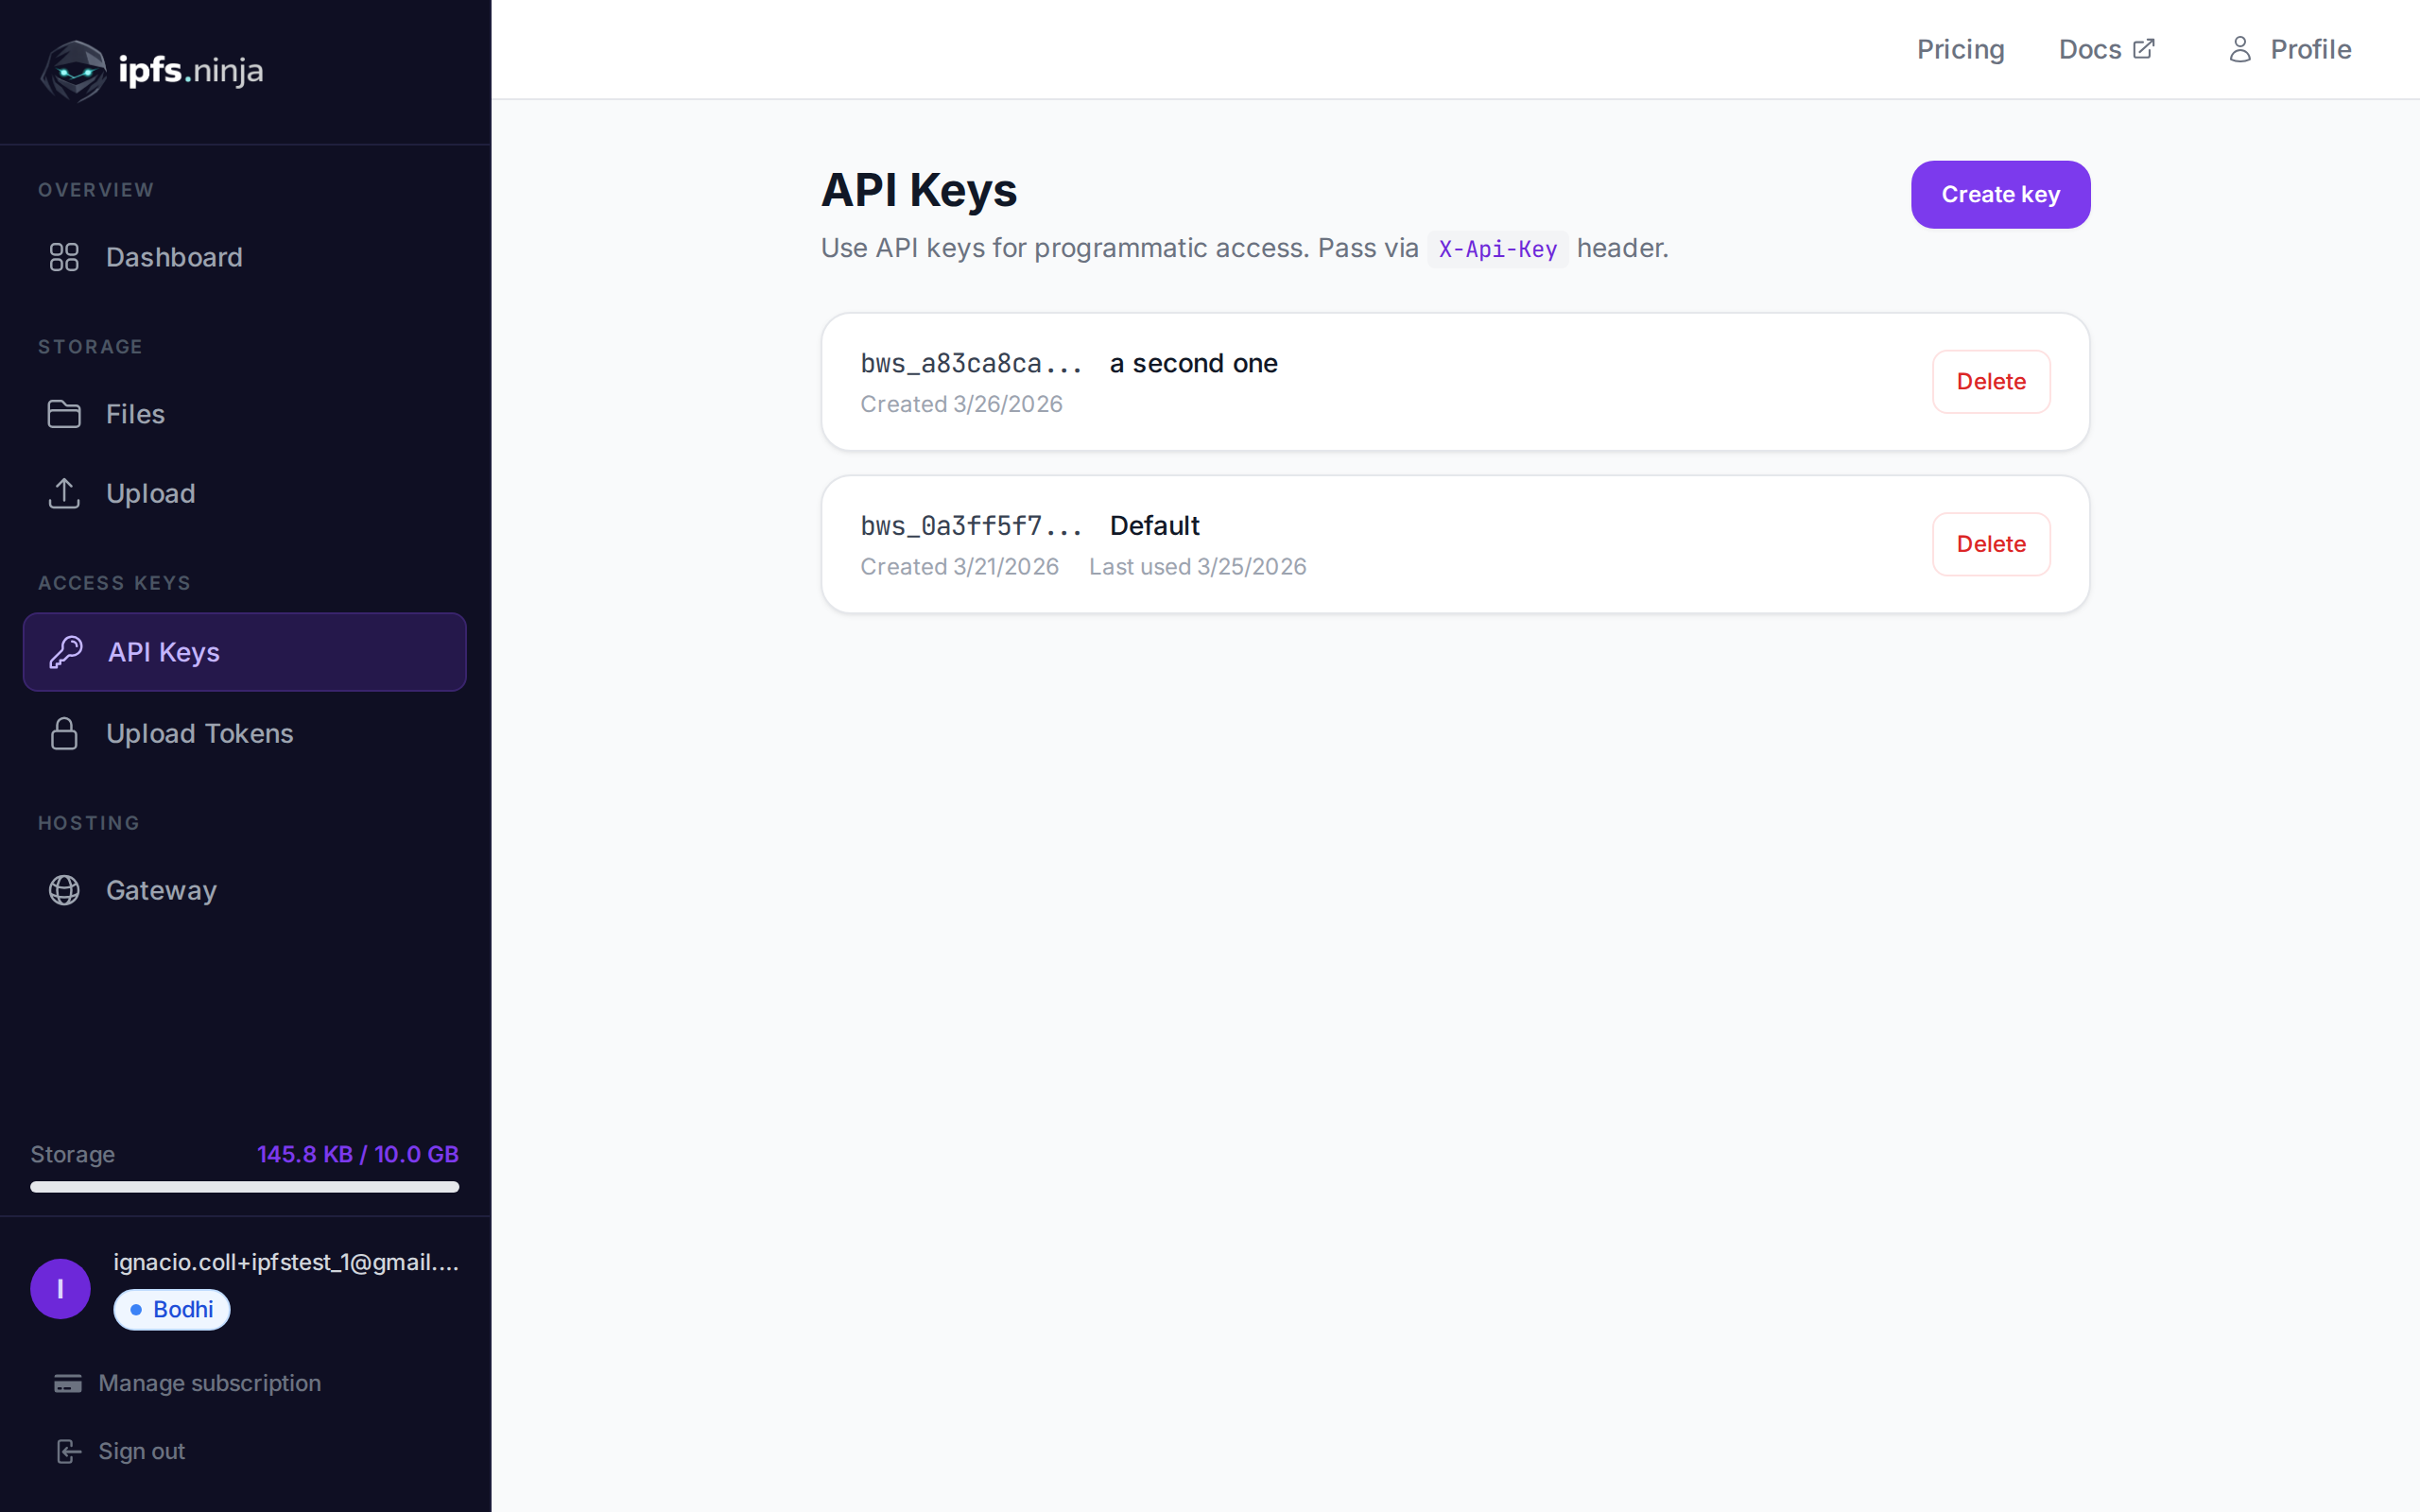
1. Setup — Registrieren und API-Schlüssel erhalten#
- Registriere dich für ein kostenloses Konto (keine Kreditkarte erforderlich).
- Gehe zu API Keys in der Dashboard-Seitenleiste.
- Klicke auf Create key, gib ihm einen Namen und kopiere den Schlüssel sofort — er wird nicht wieder angezeigt.
Dein Schlüssel sieht aus wie bws_a1b2c3d4e5f6a7b8c9d0e1f2a3b4c5d6. Jedes Beispiel unten sendet ihn im X-Api-Key-Header.
2. JSON auf IPFS hochladen#
Der einfachste Upload: Übergebe ein einfaches JavaScript-Objekt als content und die API serialisiert es, pinnt es auf IPFS und gibt die CID zurück.
// upload-json.mjs
const API = "https://api.ipfs.ninja";
const API_KEY = "bws_your_key_here";

const payload = {
  content: {
    name: "Galactic Badge #42",
    description: "Proof of attendance — Galactic Meetup 2026",
    attributes: [
      { trait_type: "Event", value: "Galactic Meetup" },
      { trait_type: "Year", value: 2026 }
    ]
  }
};

const res = await fetch(`${API}/upload/new`, {
  method: "POST",
  headers: {
    "Content-Type": "application/json",
    "X-Api-Key": API_KEY
  },
  body: JSON.stringify(payload)
});

const data = await res.json();
console.log("CID :", data.cid);
console.log("Size:", data.sizeMB, "MB");
console.log("IPFS:", data.uris.ipfs);
console.log("URL :", data.uris.url);
Mit node upload-json.mjs ausführen. Eine erfolgreiche Antwort sieht so aus:
{
  "cid": "bafkreigx7gq...",
  "sizeMB": 0.0004,
  "uris": {
    "ipfs": "ipfs://bafkreigx7gq...",
    "url": "https://ipfs.ninja/ipfs/bafkreigx7gq..."
  }
}
Das url-Feld verweist auf ein öffentliches HTTP-Gateway, sodass der Inhalt sofort in jedem Browser zugänglich ist.
3. Ein Bild hochladen#
Binärdateien (Bilder, PDFs, Audio) werden als base64-codierte Strings im content-Feld gesendet.
// upload-image.mjs
import { readFileSync } from "node:fs";

const API = "https://api.ipfs.ninja";
const API_KEY = "bws_your_key_here";

const imageBuffer = readFileSync("./photo.png");
const base64 = imageBuffer.toString("base64");

const res = await fetch(`${API}/upload/new`, {
  method: "POST",
  headers: {
    "Content-Type": "application/json",
    "X-Api-Key": API_KEY
  },
  body: JSON.stringify({ content: base64 })
});

const data = await res.json();
console.log("Image CID:", data.cid);
console.log("Gateway  :", data.uris.url);
Die API erkennt den MIME-Typ automatisch — PNG, JPEG, WebP, GIF und PDF werden alle unterstützt. Keine zusätzlichen Header oder Content-Type-Overrides erforderlich.
Mit curl sieht die gleiche Operation so aus:
BASE64=$(base64 -w 0 photo.png)

curl -X POST https://api.ipfs.ninja/upload/new \
  -H "Content-Type: application/json" \
  -H "X-Api-Key: bws_your_key_here" \
  -d "{\"content\": \"$BASE64\"}"
4. Upload mit Metadaten#
Jeder Upload akzeptiert zwei optionale Felder: description (frei wählbares Text-Label) und metadata (beliebige Schlüssel-Wert-Paare). Beide werden neben der CID gespeichert und zurückgegeben, wenn du die Datei später auflistest oder abrufst.
// upload-with-metadata.mjs
const API = "https://api.ipfs.ninja";
const API_KEY = "bws_your_key_here";

const res = await fetch(`${API}/upload/new`, {
  method: "POST",
  headers: {
    "Content-Type": "application/json",
    "X-Api-Key": API_KEY
  },
  body: JSON.stringify({
    content: { title: "Meeting Notes", body: "Q1 roadmap recap..." },
    description: "Q1 2026 planning meeting notes",
    metadata: {
      project: "acme-app",
      author: "dana",
      version: "1"
    }
  })
});

const data = await res.json();
console.log("CID:", data.cid);
Metadaten machen es einfach, Dateien auf deiner Seite zu filtern und zu organisieren, ohne den IPFS-Inhalt selbst zu parsen.
5. Eine existierende CID pinnen#
Wenn du bereits Inhalte auf IPFS hast und sicherstellen möchtest, dass sie verfügbar bleiben, pinne sie per CID:
// pin-cid.mjs
const API = "https://api.ipfs.ninja";
const API_KEY = "bws_your_key_here";

const res = await fetch(`${API}/pin`, {
  method: "POST",
  headers: {
    "Content-Type": "application/json",
    "X-Api-Key": API_KEY
  },
  body: JSON.stringify({
    cid: "bafkreigx7gq...",
    description: "Pinned from external source"
  })
});

const data = await res.json();
console.log("Pinned:", data.cid);
6. Deine Dateien auflisten#
Rufe jede Datei ab, die du innerhalb eines Zeitfensters hochgeladen hast. Die Query-Parameter from und to sind Unix-Timestamps in Millisekunden.
// list-files.mjs
const API = "https://api.ipfs.ninja";
const API_KEY = "bws_your_key_here";

const now = Date.now();
const oneWeekAgo = now - 7 * 24 * 60 * 60 * 1000;

const url = `${API}/upload/list?from=${oneWeekAgo}&to=${now}`;

const res = await fetch(url, {
  headers: { "X-Api-Key": API_KEY }
});

const files = await res.json();

for (const file of files) {
  console.log(`${file.cid}  ${file.description ?? "(no description)"}`);
}
Mit curl:
FROM=$(($(date +%s) * 1000 - 604800000))
TO=$(($(date +%s) * 1000))

curl -s "https://api.ipfs.ninja/upload/list?from=$FROM&to=$TO" \
  -H "X-Api-Key: bws_your_key_here" | jq .
7. Datei-Details abrufen#
Rufe den vollständigen Datensatz für eine einzelne CID ab, einschließlich Metadaten, Größe und Zeitstempel:
// get-file.mjs
const API = "https://api.ipfs.ninja";
const API_KEY = "bws_your_key_here";
const CID = "bafkreigx7gq...";

const res = await fetch(`${API}/file/${CID}`, {
  headers: { "X-Api-Key": API_KEY }
});

const details = await res.json();
console.log(JSON.stringify(details, null, 2));
8. Client-seitige Uploads mit signierten Tokens#
Das Einbetten eines API-Schlüssels in ein Browser-Bundle ist ein Sicherheitsrisiko. Generiere stattdessen ein kurzlebiges signiertes Token auf deinem Server und übergebe es an den Client. Für Browser- und mobile Apps, bei denen das Einbetten eines API-Schlüssels ein Sicherheitsrisiko darstellt, sieh dir an, wie IPFS Upload-Tokens sichere clientseitige Uploads ermöglichen. Für eine vollständige React-Komponente mit Drag-and-Drop und TanStack Query, siehe unser React-IPFS-Upload-Tutorial.
Server (Express)#
// server.mjs
import express from "express";

const app = express();
const API = "https://api.ipfs.ninja";
const API_KEY = process.env.IPFS_API_KEY;

app.post("/api/upload-token", async (req, res) => {
  const response = await fetch(`${API}/upload/signed-url`, {
    method: "POST",
    headers: {
      "Content-Type": "application/json",
      "X-Api-Key": API_KEY
    },
    body: JSON.stringify({
      name: "browser-upload",
      expiresIn: 600          // token valid for 10 minutes
    })
  });

  const { token, tokenId, expiresAt } = await response.json();
  res.json({ token, tokenId, expiresAt });
});

app.listen(3000, () => console.log("Server running on :3000"));Browser-Client#
<!-- upload.html -->
<input type="file" id="filePicker" />
<button id="uploadBtn">Upload to IPFS</button>
<pre id="result"></pre>

<script>
  const API = "https://api.ipfs.ninja";

  document.getElementById("uploadBtn").addEventListener("click", async () => {
    // 1. Get a signed token from your own backend
    const tokenRes = await fetch("/api/upload-token", { method: "POST" });
    const { token } = await tokenRes.json();

    // 2. Read the selected file as base64
    const file = document.getElementById("filePicker").files[0];
    if (!file) return alert("Pick a file first");

    const base64 = await new Promise((resolve) => {
      const reader = new FileReader();
      reader.onload = () => resolve(reader.result.split(",")[1]);
      reader.readAsDataURL(file);
    });

    // 3. Upload directly to IPFS using the signed token
    const uploadRes = await fetch(`${API}/upload/new`, {
      method: "POST",
      headers: {
        "Content-Type": "application/json",
        "Authorization": `Signed ${token}`
      },
      body: JSON.stringify({
        content: base64,
        description: file.name
      })
    });

    const data = await uploadRes.json();
    document.getElementById("result").textContent = JSON.stringify(data, null, 2);
  });
</script>
Der Browser sieht deinen API-Schlüssel nie. Das signierte Token läuft automatisch ab. Tokens sind mehrfach verwendbar — sie können mehrmals verwendet werden, bis sie ablaufen oder widerrufen werden. Der useCount wird verfolgt, aber nicht als Grenze durchgesetzt.
9. Fehlerbehandlung#
Die API verwendet konventionelle HTTP-Statuscodes. Hier sind die, die du explizit behandeln solltest:
| Status | Bedeutung | Was zu tun ist |
|---|---|---|
| 400 | Bad Request — fehlende oder ungültige Felder | Überprüfe, ob content vorhanden und gültig ist |
| 401 | Unauthorized — falscher oder fehlender API-Schlüssel | Überprüfe den X-Api-Key-Header |
| 413 | Payload zu groß | Reduziere Dateigröße oder teile Inhalt |
| 429 | Rate-limit überschritten | Pause und Wiederholung mit exponentieller Verzögerung |
| 500 | Server-Fehler | Wiederholung nach kurzer Verzögerung |
Eine widerstandsfähige Upload-Funktion mit exponentiellem Backoff:
// resilient-upload.mjs
const API = "https://api.ipfs.ninja";
const API_KEY = "bws_your_key_here";

async function uploadWithRetry(content, retries = 3) {
  for (let attempt = 1; attempt <= retries; attempt++) {
    const res = await fetch(`${API}/upload/new`, {
      method: "POST",
      headers: {
        "Content-Type": "application/json",
        "X-Api-Key": API_KEY
      },
      body: JSON.stringify({ content })
    });

    if (res.ok) return await res.json();

    const body = await res.text();

    if (res.status === 401) {
      throw new Error(`Authentication failed: ${body}`);
    }

    if (res.status === 413) {
      throw new Error(`Payload too large — reduce file size. ${body}`);
    }

    if (res.status === 429 || res.status >= 500) {
      const delay = Math.pow(2, attempt) * 1000;    // 2s, 4s, 8s
      console.warn(`Attempt ${attempt} failed (${res.status}). Retrying in ${delay}ms...`);
      await new Promise((r) => setTimeout(r, delay));
      continue;
    }

    throw new Error(`Upload failed (${res.status}): ${body}`);
  }

  throw new Error("Upload failed after all retries");
}

// Usage
const data = await uploadWithRetry({ hello: "world" });
console.log("CID:", data.cid);
10. Vollständiges Arbeitsbeispiel#
Ein einzelnes Skript, das jeden in diesem Tutorial behandelten Endpunkt nutzt. Speichere es als ipfs-demo.mjs und führe es mit node ipfs-demo.mjs aus.
// ipfs-demo.mjs
import { readFileSync } from "node:fs";

const API = "https://api.ipfs.ninja";
const API_KEY = "bws_your_key_here";

const headers = {
  "Content-Type": "application/json",
  "X-Api-Key": API_KEY
};

async function request(method, path, body) {
  const opts = { method, headers };
  if (body) opts.body = JSON.stringify(body);
  const res = await fetch(`${API}${path}`, opts);
  if (!res.ok) throw new Error(`${method} ${path} → ${res.status}: ${await res.text()}`);
  return res.json();
}

// --- 1. Upload JSON ---
console.log("--- Upload JSON ---");
const jsonResult = await request("POST", "/upload/new", {
  content: { name: "Demo Token", edition: 1 },
  description: "Tutorial demo — JSON upload",
  metadata: { tutorial: "true" }
});
console.log("CID:", jsonResult.cid);
console.log("URL:", jsonResult.uris.url);

// --- 2. Upload an image (if photo.png exists) ---
try {
  const img = readFileSync("./photo.png");
  console.log("\n--- Upload Image ---");
  const imgResult = await request("POST", "/upload/new", {
    content: img.toString("base64"),
    description: "Tutorial demo — image upload"
  });
  console.log("CID:", imgResult.cid);
  console.log("URL:", imgResult.uris.url);
} catch {
  console.log("\n--- Skipping image upload (no photo.png found) ---");
}

// --- 3. Pin the JSON CID ---
console.log("\n--- Pin CID ---");
const pinResult = await request("POST", "/pin", {
  cid: jsonResult.cid,
  description: "Pinned from tutorial"
});
console.log("Pinned:", pinResult.cid);

// --- 4. Get file details ---
console.log("\n--- File Details ---");
const details = await request("GET", `/file/${jsonResult.cid}`);
console.log(JSON.stringify(details, null, 2));

// --- 5. List recent files ---
console.log("\n--- Recent Files ---");
const now = Date.now();
const oneHourAgo = now - 60 * 60 * 1000;
const files = await request("GET", `/upload/list?from=${oneHourAgo}&to=${now}`);
console.log(`Found ${files.length} file(s) in the last hour`);
for (const f of files) {
  console.log(` - ${f.cid}  ${f.description ?? ""}`);
}

// --- 6. Create a signed upload token ---
console.log("\n--- Signed Token ---");
const tokenResult = await request("POST", "/upload/signed-url", {
  name: "demo-token",
  expiresIn: 300
});
console.log("Token ID :", tokenResult.tokenId);
console.log("Expires  :", new Date(tokenResult.expiresAt).toISOString());

// --- 7. Upload using the signed token ---
console.log("\n--- Upload with Signed Token ---");
const signedRes = await fetch(`${API}/upload/new`, {
  method: "POST",
  headers: {
    "Content-Type": "application/json",
    "Authorization": `Signed ${tokenResult.token}`
  },
  body: JSON.stringify({
    content: { note: "Uploaded with a signed token" }
  })
});
const signedData = await signedRes.json();
console.log("CID:", signedData.cid);

console.log("\nDone.");
Ersetze bws_your_key_here durch einen echten Schlüssel und führe das Skript aus. Jeder Schritt gibt sein Ergebnis aus, sodass du mitverfolgen kannst. Mit denselben API-Aufrufen kannst du ein vollständiges Frontend auf IPFS hosten.
11. Nächste Schritte#
Du weißt jetzt, wie du Dateien über die IPFS Upload API hochlädst, pinnst, auflistest und abrufst und wie du Browser-Uploads mit signierten Tokens sicher hältst. Für einen breiteren Überblick einschließlich der Dashboard-UI und Python-Beispiele siehe How to Upload Files to IPFS. Hier ist, wohin du von hier aus gehen kannst:
- API-Referenz — Vollständige Endpunkt-Dokumentation unter ipfs.ninja/docs.
- Custom Gateways — Bediene IPFS-Inhalte von deiner eigenen Domain. Siehe den Gateway-Setup-Guide.
- Analytics — Verfolge Upload-Volumen, Bandbreite und Pin-Anzahl im Dashboard.
- HTTP-Client — Kein SDK erforderlich. Du kannst Standard-
fetch()oder einen beliebigen HTTP-Client verwenden, um mit der API zu interagieren.
Wenn du auf Probleme stößt, öffne ein Ticket bei support.ipfs.ninja oder tritt der Community auf Discord bei.
Eine vollständige Anleitung zur NFT-Metadatenstruktur und ERC-721-tokenURI-Mustern finden Sie in unserem Leitfaden zur NFT-Metadaten-Speicherung.
Für eine vollständige Anleitung mit Pythons requests-Bibliothek, siehe IPFS-Dateien mit Python hochladen.

Über den Autor
Nacho Coll
Founder & Engineer at IPFS.NINJA
Nacho founded IPFS.NINJA to make content-addressed storage feel as simple as an S3 PUT — a single API call, a permanent CID, no wallets or peer discovery to reason about. Writes about IPFS internals, decentralized storage patterns, and the pinning-service landscape from the operator side of the wire.