IPFS Upload API — Hướng dẫn dành cho lập trình viên đầy đủ
Học cách tải tệp lên IPFS qua REST API. Các ví dụ mã hoàn chỉnh trong JavaScript, Node.js và curl. Tải JSON, hình ảnh, sử dụng token đã ký cho tải lên phía client.
Nacho founded IPFS.NINJA to make content-addressed storage feel as simple as an S3 PUT — a single API call, a permanent CID, no wallets or peer discovery to reason about.

Tải tệp lên IPFS phải đơn giản như thực hiện một yêu cầu POST. Trong hướng dẫn này, bạn sẽ làm chính xác điều đó — tải tài liệu JSON, hình ảnh, và PDF lên IPFS chỉ với fetch() và một khóa API. Ở cuối, bạn sẽ có một script Node.js hoàn chỉnh tải nội dung lên, liệt kê các tệp, lấy siêu dữ liệu, và tạo token đã ký cho tải lên phía client an toàn. Mới với IPFS? Bắt đầu với IPFS Pinning là gì? để hiểu các khái niệm cơ bản trước khi đi vào mã.
Những gì bạn sẽ xây dựng#
- Tải một đối tượng JSON lên IPFS và nhận lại một định danh nội dung (CID).
- Tải lên một hình ảnh nhị phân từ đĩa.
- Đính kèm mô tả và siêu dữ liệu tùy chỉnh vào các tải lên.
- Truy vấn lịch sử tải lên của bạn theo phạm vi ngày.
- Lấy chi tiết cho một tệp cụ thể.
- Tạo token đã ký có giới hạn thời gian để trình duyệt có thể tải lên trực tiếp mà không tiết lộ khóa API của bạn.
- Xử lý lỗi và triển khai logic thử lại.
Mọi thứ đều chạy đối với một URL cơ sở duy nhất: https://api.ipfs.ninja
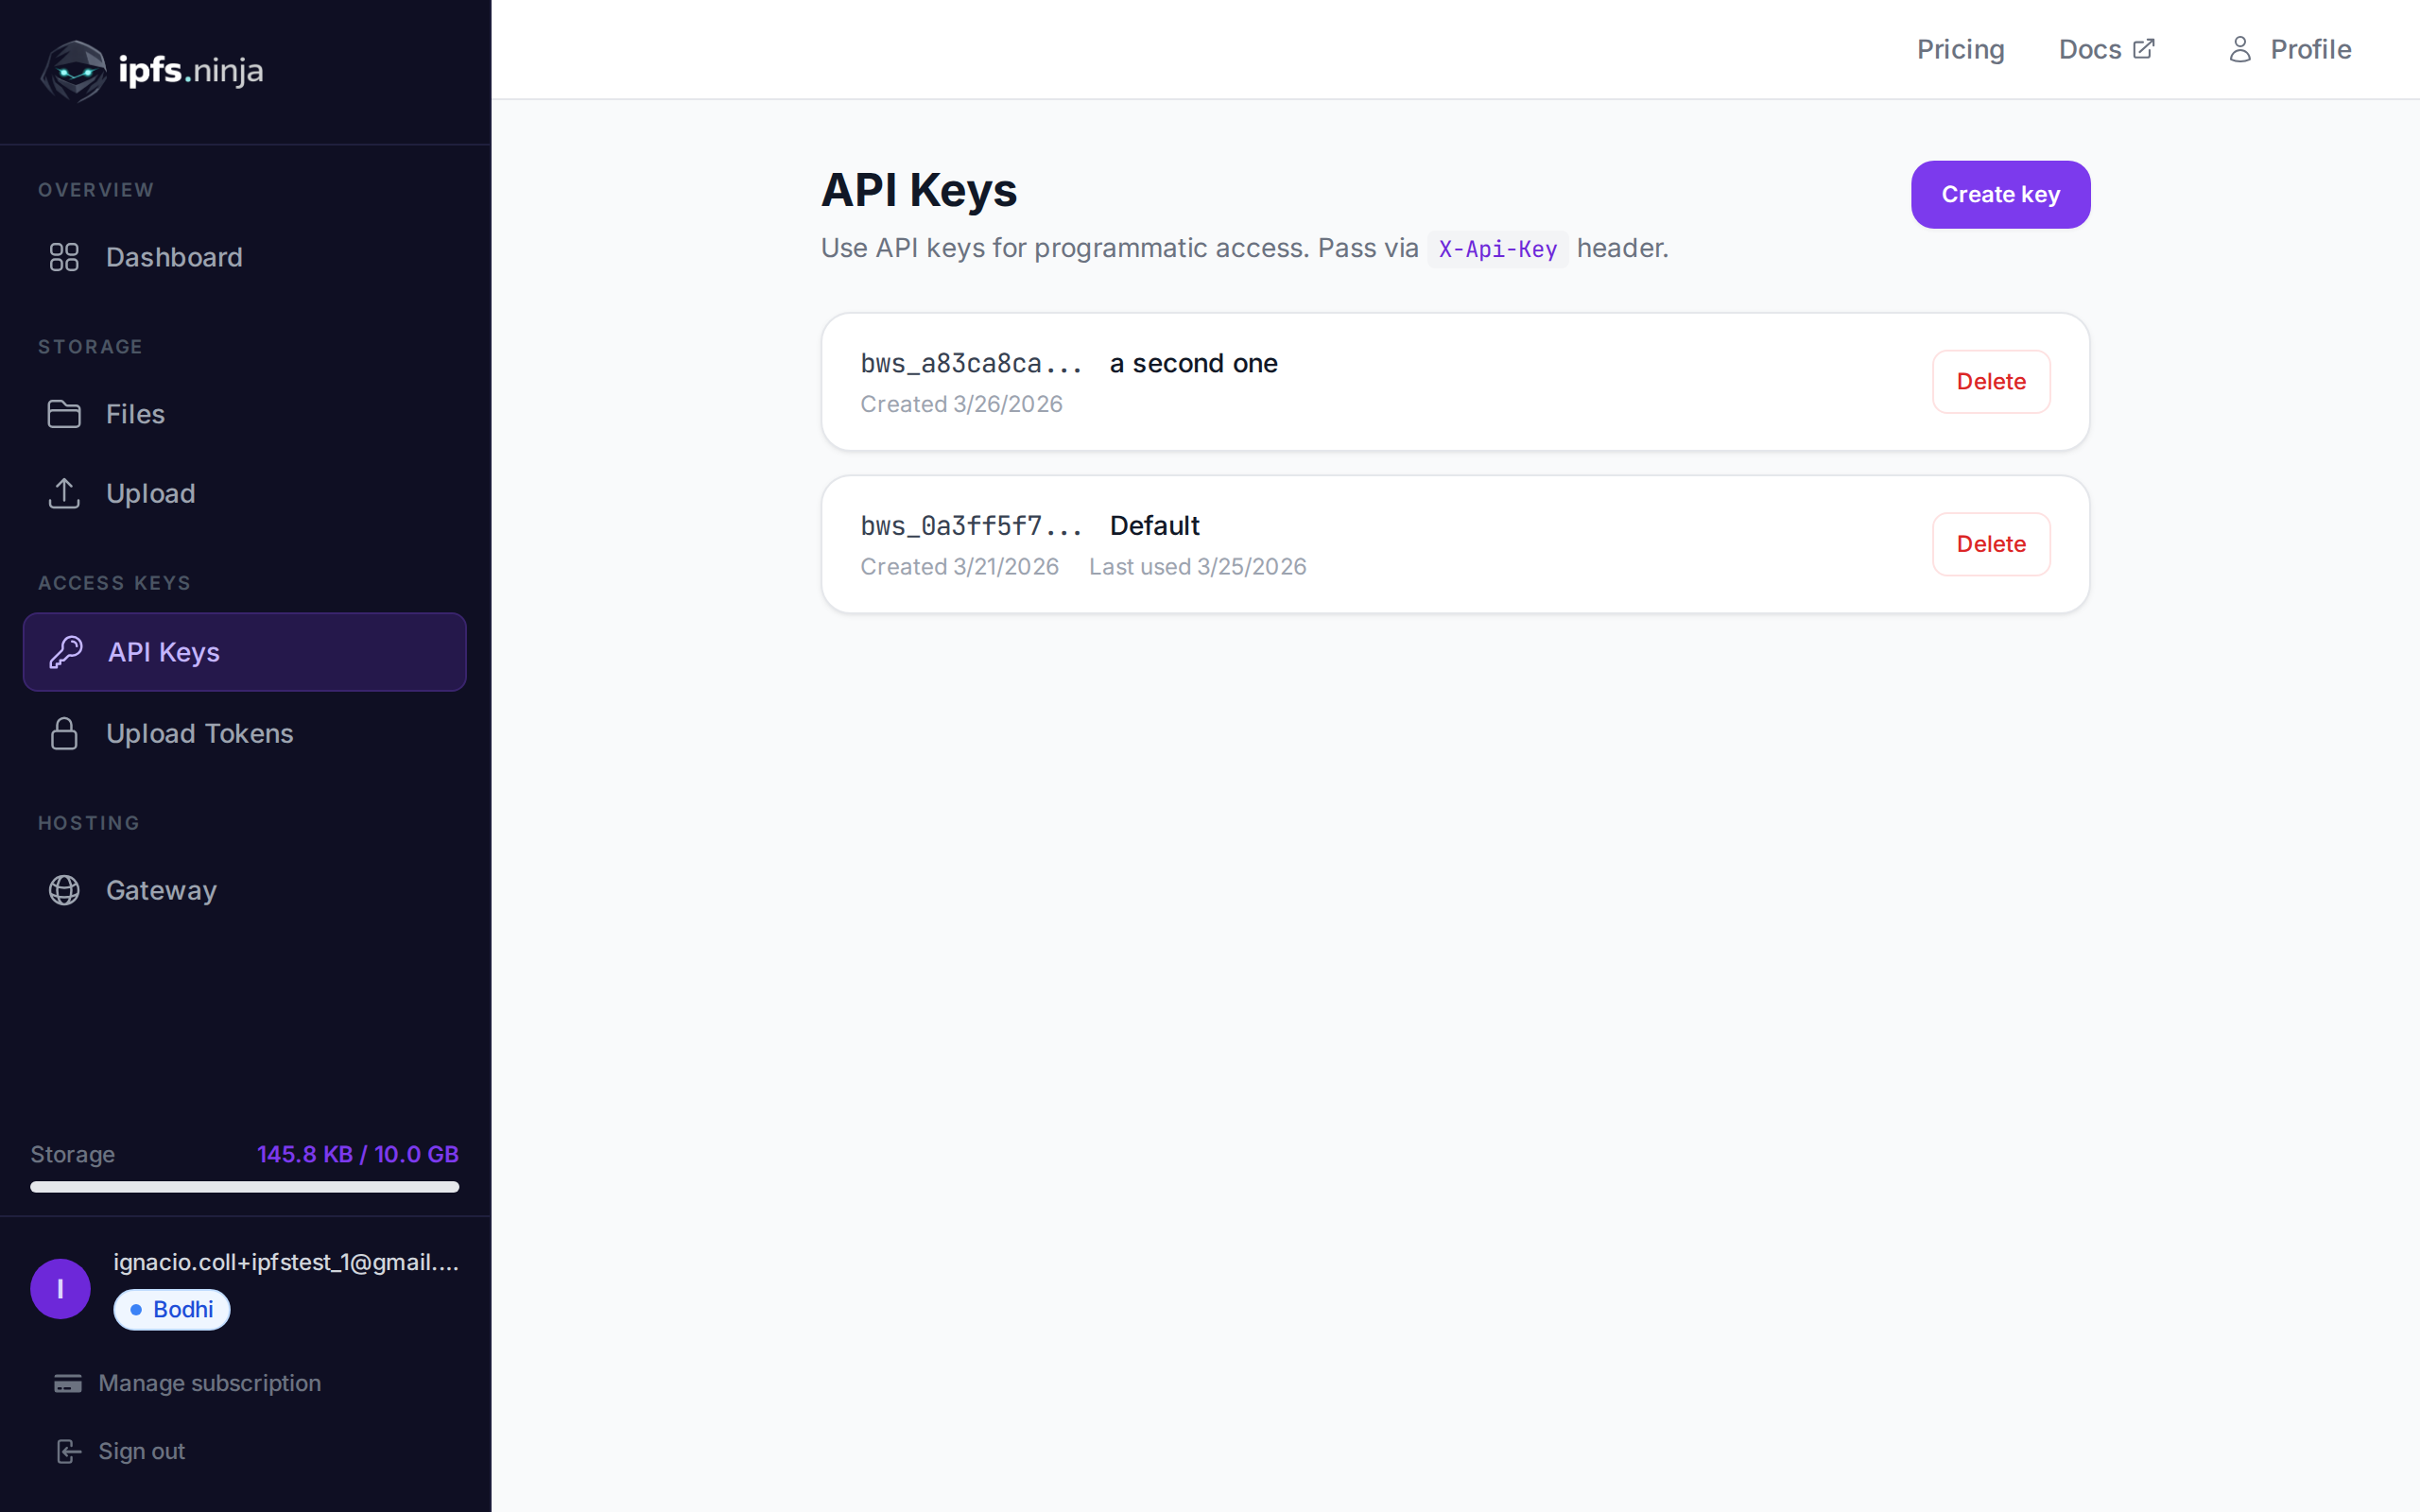
1. Thiết lập — Đăng ký và lấy khóa API#
- Đăng ký một tài khoản miễn phí (không cần thẻ tín dụng).
- Đi đến API Keys trong thanh bên dashboard.
- Nhấp vào Create key, đặt tên cho nó, và sao chép khóa ngay lập tức — nó sẽ không được hiển thị lại.
Khóa của bạn trông giống như bws_a1b2c3d4e5f6a7b8c9d0e1f2a3b4c5d6. Mỗi ví dụ bên dưới gửi nó trong header X-Api-Key.
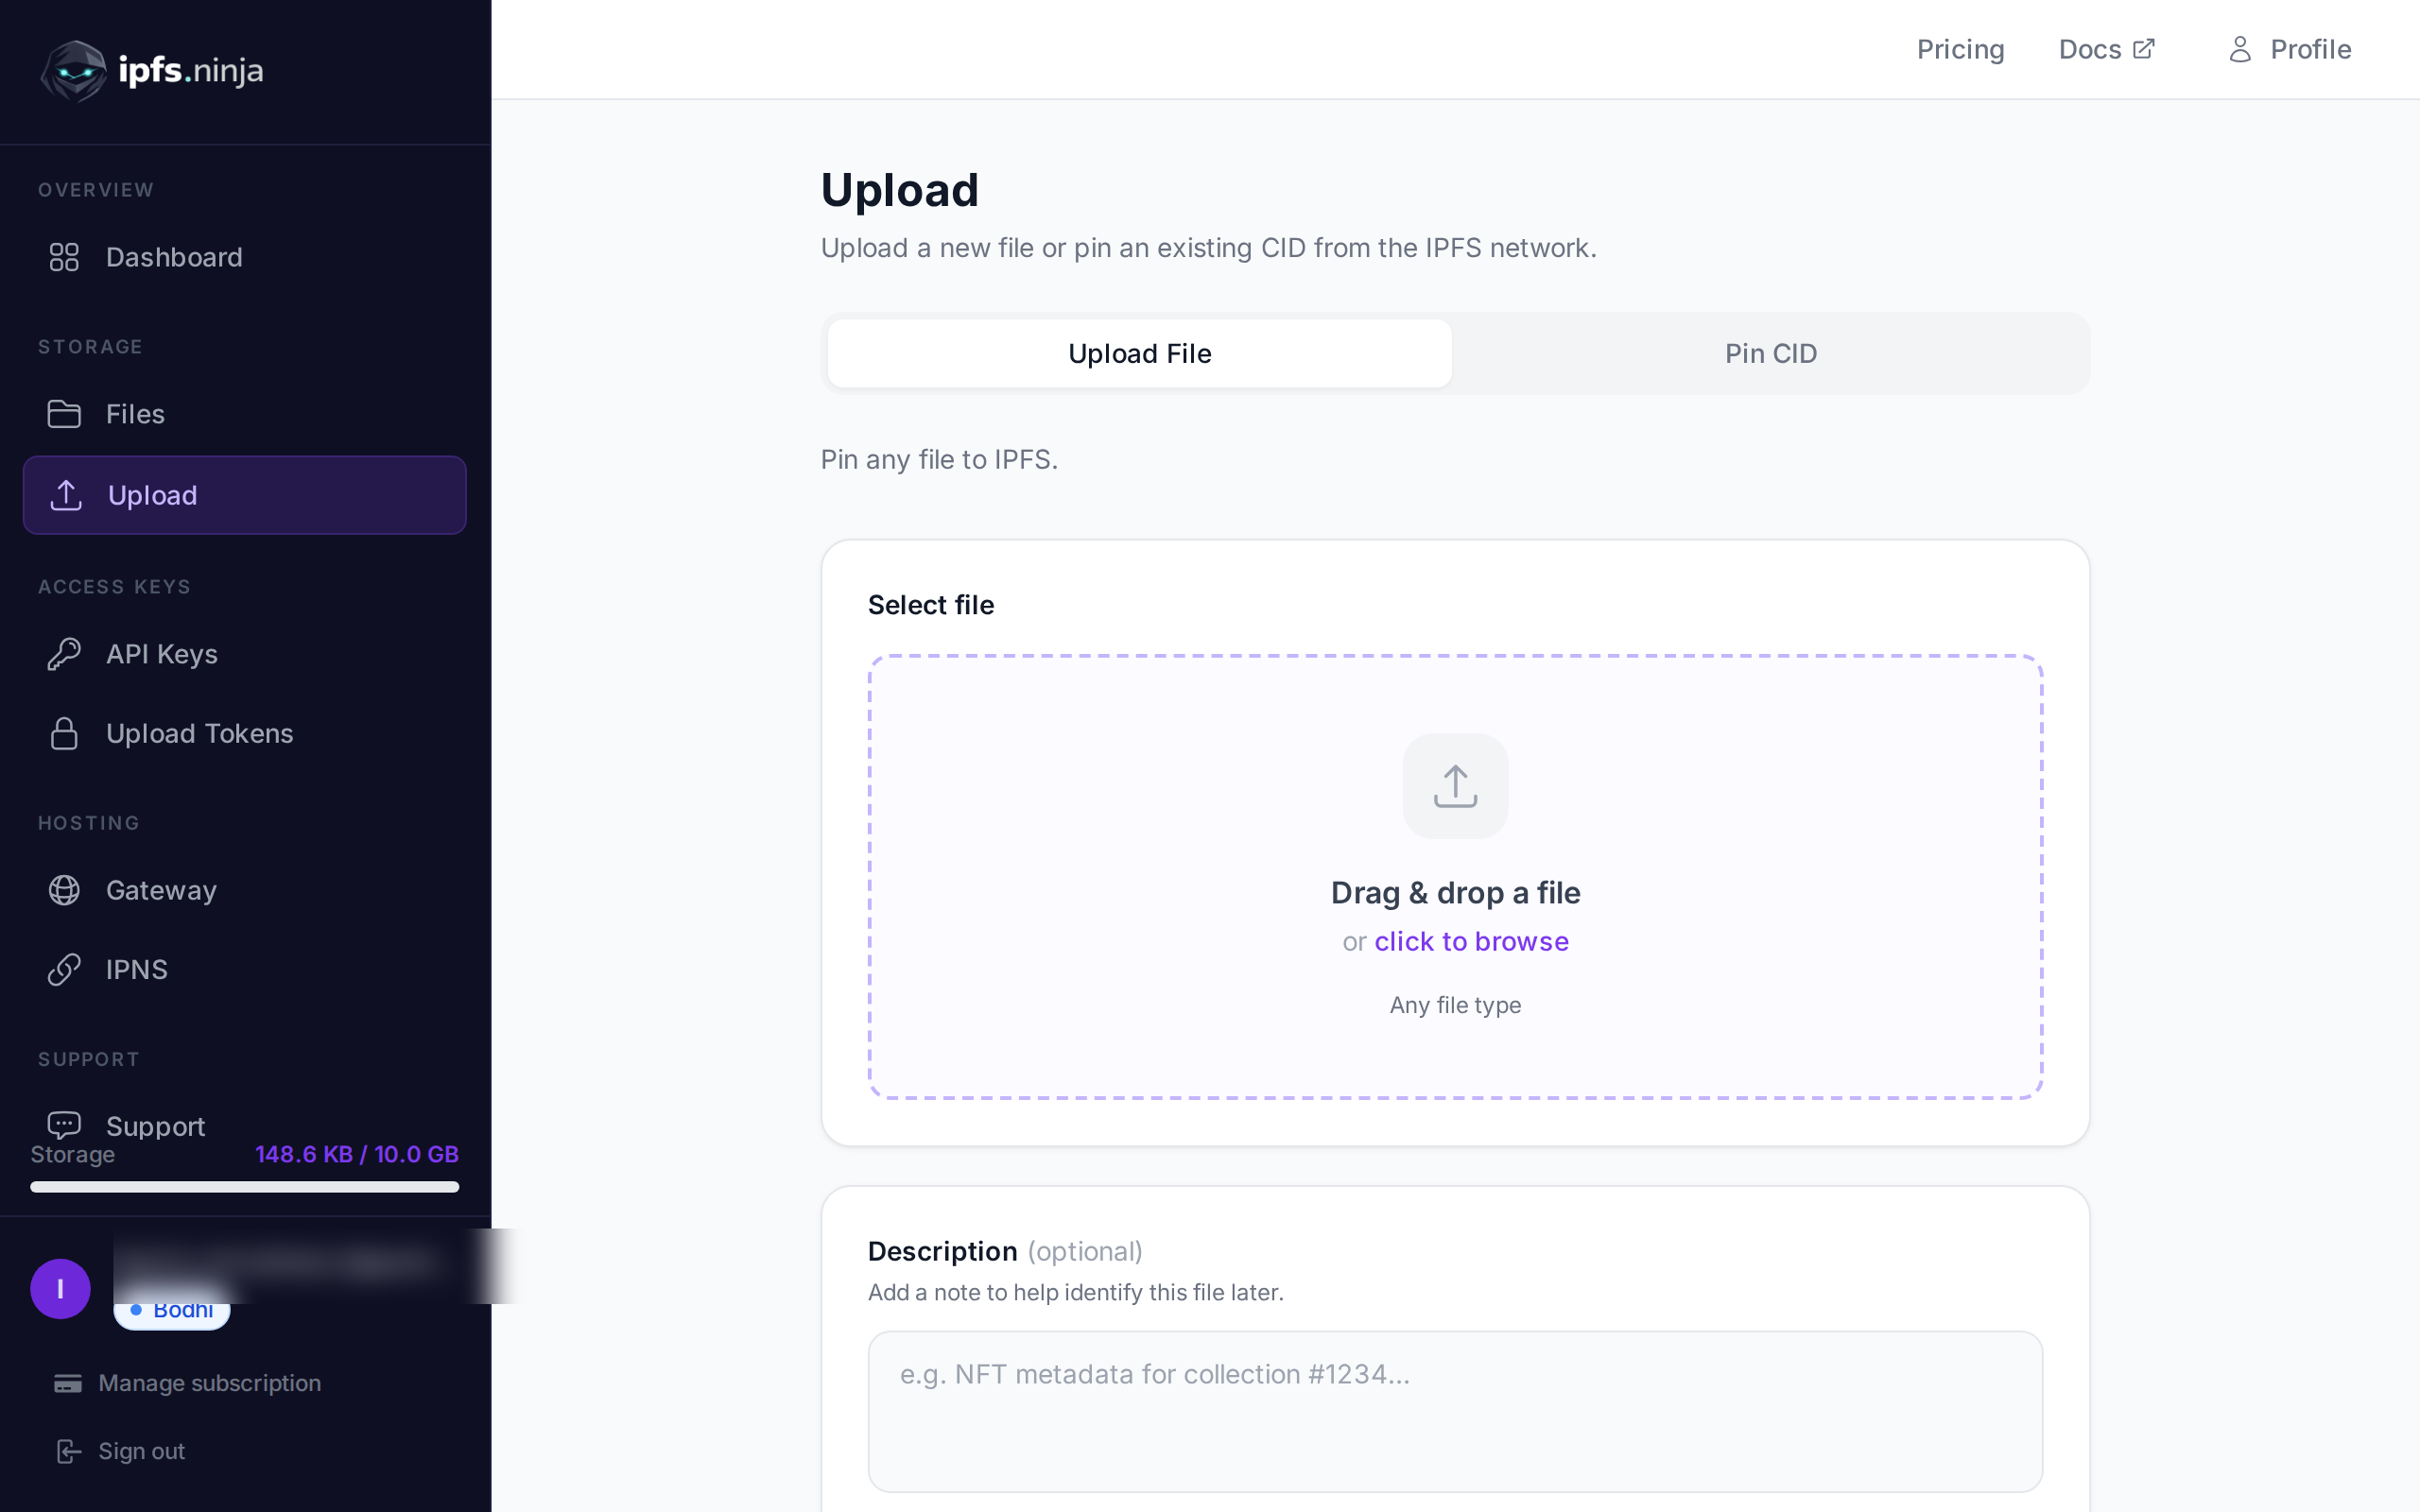
2. Tải JSON lên IPFS#
Tải lên đơn giản nhất: truyền một đối tượng JavaScript thuần như content và API sẽ serialize nó, pin nó lên IPFS, và trả về CID.
// upload-json.mjs
const API = "https://api.ipfs.ninja";
const API_KEY = "bws_your_key_here";

const payload = {
  content: {
    name: "Galactic Badge #42",
    description: "Proof of attendance — Galactic Meetup 2026",
    attributes: [
      { trait_type: "Event", value: "Galactic Meetup" },
      { trait_type: "Year", value: 2026 }
    ]
  }
};

const res = await fetch(`${API}/upload/new`, {
  method: "POST",
  headers: {
    "Content-Type": "application/json",
    "X-Api-Key": API_KEY
  },
  body: JSON.stringify(payload)
});

const data = await res.json();
console.log("CID :", data.cid);
console.log("Size:", data.sizeMB, "MB");
console.log("IPFS:", data.uris.ipfs);
console.log("URL :", data.uris.url);
Chạy với node upload-json.mjs. Một phản hồi thành công trông như sau:
{
  "cid": "bafkreigx7gq...",
  "sizeMB": 0.0004,
  "uris": {
    "ipfs": "ipfs://bafkreigx7gq...",
    "url": "https://ipfs.ninja/ipfs/bafkreigx7gq..."
  }
}
Trường url trỏ đến một gateway HTTP công khai, nên nội dung có thể truy cập ngay lập tức trên bất kỳ trình duyệt nào.
3. Tải lên một hình ảnh#
Các tệp nhị phân (hình ảnh, PDF, âm thanh) được gửi dưới dạng chuỗi được mã hóa base64 trong trường content.
// upload-image.mjs
import { readFileSync } from "node:fs";

const API = "https://api.ipfs.ninja";
const API_KEY = "bws_your_key_here";

const imageBuffer = readFileSync("./photo.png");
const base64 = imageBuffer.toString("base64");

const res = await fetch(`${API}/upload/new`, {
  method: "POST",
  headers: {
    "Content-Type": "application/json",
    "X-Api-Key": API_KEY
  },
  body: JSON.stringify({ content: base64 })
});

const data = await res.json();
console.log("Image CID:", data.cid);
console.log("Gateway  :", data.uris.url);
API tự động phát hiện loại MIME — PNG, JPEG, WebP, GIF, và PDF đều được hỗ trợ. Không yêu cầu header thêm hoặc ghi đè content-type.
Với curl, cùng thao tác trông như sau:
BASE64=$(base64 -w 0 photo.png)

curl -X POST https://api.ipfs.ninja/upload/new \
  -H "Content-Type: application/json" \
  -H "X-Api-Key: bws_your_key_here" \
  -d "{\"content\": \"$BASE64\"}"
4. Tải lên với siêu dữ liệu#
Mỗi lần tải lên chấp nhận hai trường tùy chọn: description (nhãn văn bản tự do) và metadata (các cặp khóa-giá trị tùy ý). Cả hai đều được lưu trữ cùng với CID và được trả về khi bạn liệt kê hoặc tìm nạp tệp sau này.
// upload-with-metadata.mjs
const API = "https://api.ipfs.ninja";
const API_KEY = "bws_your_key_here";

const res = await fetch(`${API}/upload/new`, {
  method: "POST",
  headers: {
    "Content-Type": "application/json",
    "X-Api-Key": API_KEY
  },
  body: JSON.stringify({
    content: { title: "Meeting Notes", body: "Q1 roadmap recap..." },
    description: "Q1 2026 planning meeting notes",
    metadata: {
      project: "acme-app",
      author: "dana",
      version: "1"
    }
  })
});

const data = await res.json();
console.log("CID:", data.cid);
Siêu dữ liệu giúp dễ dàng lọc và sắp xếp các tệp ở phía bạn mà không cần phân tích cú pháp nội dung IPFS.
5. Pin một CID hiện có#
Nếu bạn đã có nội dung trên IPFS và muốn đảm bảo nó vẫn có sẵn, hãy pin nó bằng CID:
// pin-cid.mjs
const API = "https://api.ipfs.ninja";
const API_KEY = "bws_your_key_here";

const res = await fetch(`${API}/pin`, {
  method: "POST",
  headers: {
    "Content-Type": "application/json",
    "X-Api-Key": API_KEY
  },
  body: JSON.stringify({
    cid: "bafkreigx7gq...",
    description: "Pinned from external source"
  })
});

const data = await res.json();
console.log("Pinned:", data.cid);
6. Liệt kê các tệp của bạn#
Truy xuất mọi tệp bạn đã tải lên trong khoảng thời gian. Các tham số truy vấn from và to là dấu thời gian Unix tính bằng mili giây.
// list-files.mjs
const API = "https://api.ipfs.ninja";
const API_KEY = "bws_your_key_here";

const now = Date.now();
const oneWeekAgo = now - 7 * 24 * 60 * 60 * 1000;

const url = `${API}/upload/list?from=${oneWeekAgo}&to=${now}`;

const res = await fetch(url, {
  headers: { "X-Api-Key": API_KEY }
});

const files = await res.json();

for (const file of files) {
  console.log(`${file.cid}  ${file.description ?? "(no description)"}`);
}
Với curl:
FROM=$(($(date +%s) * 1000 - 604800000))
TO=$(($(date +%s) * 1000))

curl -s "https://api.ipfs.ninja/upload/list?from=$FROM&to=$TO" \
  -H "X-Api-Key: bws_your_key_here" | jq .
7. Lấy chi tiết tệp#
Tìm nạp bản ghi đầy đủ cho một CID duy nhất, bao gồm siêu dữ liệu, kích thước, và dấu thời gian:
// get-file.mjs
const API = "https://api.ipfs.ninja";
const API_KEY = "bws_your_key_here";
const CID = "bafkreigx7gq...";

const res = await fetch(`${API}/file/${CID}`, {
  headers: { "X-Api-Key": API_KEY }
});

const details = await res.json();
console.log(JSON.stringify(details, null, 2));
8. Tải lên phía client với token đã ký#
Nhúng khóa API vào gói trình duyệt là rủi ro bảo mật. Thay vào đó, hãy tạo một token đã ký ngắn hạn trên máy chủ của bạn và chuyển nó cho client.
Máy chủ (Express)#
// server.mjs
import express from "express";

const app = express();
const API = "https://api.ipfs.ninja";
const API_KEY = process.env.IPFS_API_KEY;

app.post("/api/upload-token", async (req, res) => {
  const response = await fetch(`${API}/upload/signed-url`, {
    method: "POST",
    headers: {
      "Content-Type": "application/json",
      "X-Api-Key": API_KEY
    },
    body: JSON.stringify({
      name: "browser-upload",
      expiresIn: 600          // token valid for 10 minutes
    })
  });

  const { token, tokenId, expiresAt } = await response.json();
  res.json({ token, tokenId, expiresAt });
});

app.listen(3000, () => console.log("Server running on :3000"));
Client trình duyệt#
<!-- upload.html -->
<input type="file" id="filePicker" />
<button id="uploadBtn">Upload to IPFS</button>
<pre id="result"></pre>

<script>
  const API = "https://api.ipfs.ninja";

  document.getElementById("uploadBtn").addEventListener("click", async () => {
    // 1. Get a signed token from your own backend
    const tokenRes = await fetch("/api/upload-token", { method: "POST" });
    const { token } = await tokenRes.json();

    // 2. Read the selected file as base64
    const file = document.getElementById("filePicker").files[0];
    if (!file) return alert("Pick a file first");

    const base64 = await new Promise((resolve) => {
      const reader = new FileReader();
      reader.onload = () => resolve(reader.result.split(",")[1]);
      reader.readAsDataURL(file);
    });

    // 3. Upload directly to IPFS using the signed token
    const uploadRes = await fetch(`${API}/upload/new`, {
      method: "POST",
      headers: {
        "Content-Type": "application/json",
        "Authorization": `Signed ${token}`
      },
      body: JSON.stringify({
        content: base64,
        description: file.name
      })
    });

    const data = await uploadRes.json();
    document.getElementById("result").textContent = JSON.stringify(data, null, 2);
  });
</script>
Trình duyệt không bao giờ thấy khóa API của bạn. Token đã ký tự động hết hạn. Token có thể sử dụng nhiều lần — chúng có thể được sử dụng nhiều lần cho đến khi hết hạn hoặc bị thu hồi. useCount được theo dõi nhưng không được thực thi như một giới hạn.
9. Xử lý lỗi#
API sử dụng mã trạng thái HTTP thông thường. Đây là những mã bạn nên xử lý rõ ràng:
| Status | Ý nghĩa | Phải làm gì |
|---|---|---|
| 400 | Bad request — thiếu hoặc trường không hợp lệ | Kiểm tra content có hiện diện và hợp lệ không |
| 401 | Unauthorized — khóa API xấu hoặc thiếu | Xác minh header X-Api-Key |
| 413 | Payload quá lớn | Giảm kích thước tệp hoặc chia nội dung |
| 429 | Giới hạn tốc độ | Lùi lại và thử lại với độ trễ theo cấp số nhân |
| 500 | Lỗi máy chủ | Thử lại sau độ trễ ngắn |
Một hàm tải lên có khả năng phục hồi với backoff theo cấp số nhân:
// resilient-upload.mjs
const API = "https://api.ipfs.ninja";
const API_KEY = "bws_your_key_here";

async function uploadWithRetry(content, retries = 3) {
  for (let attempt = 1; attempt <= retries; attempt++) {
    const res = await fetch(`${API}/upload/new`, {
      method: "POST",
      headers: {
        "Content-Type": "application/json",
        "X-Api-Key": API_KEY
      },
      body: JSON.stringify({ content })
    });

    if (res.ok) return await res.json();

    const body = await res.text();

    if (res.status === 401) {
      throw new Error(`Authentication failed: ${body}`);
    }

    if (res.status === 413) {
      throw new Error(`Payload too large — reduce file size. ${body}`);
    }

    if (res.status === 429 || res.status >= 500) {
      const delay = Math.pow(2, attempt) * 1000;    // 2s, 4s, 8s
      console.warn(`Attempt ${attempt} failed (${res.status}). Retrying in ${delay}ms...`);
      await new Promise((r) => setTimeout(r, delay));
      continue;
    }

    throw new Error(`Upload failed (${res.status}): ${body}`);
  }

  throw new Error("Upload failed after all retries");
}

// Usage
const data = await uploadWithRetry({ hello: "world" });
console.log("CID:", data.cid);
10. Ví dụ hoạt động đầy đủ#
Một script duy nhất thực hiện mọi endpoint được đề cập trong hướng dẫn này. Lưu nó dưới dạng ipfs-demo.mjs và chạy bằng node ipfs-demo.mjs.
// ipfs-demo.mjs
import { readFileSync } from "node:fs";

const API = "https://api.ipfs.ninja";
const API_KEY = "bws_your_key_here";

const headers = {
  "Content-Type": "application/json",
  "X-Api-Key": API_KEY
};

async function request(method, path, body) {
  const opts = { method, headers };
  if (body) opts.body = JSON.stringify(body);
  const res = await fetch(`${API}${path}`, opts);
  if (!res.ok) throw new Error(`${method} ${path} → ${res.status}: ${await res.text()}`);
  return res.json();
}

// --- 1. Upload JSON ---
console.log("--- Upload JSON ---");
const jsonResult = await request("POST", "/upload/new", {
  content: { name: "Demo Token", edition: 1 },
  description: "Tutorial demo — JSON upload",
  metadata: { tutorial: "true" }
});
console.log("CID:", jsonResult.cid);
console.log("URL:", jsonResult.uris.url);

// --- 2. Upload an image (if photo.png exists) ---
try {
  const img = readFileSync("./photo.png");
  console.log("\n--- Upload Image ---");
  const imgResult = await request("POST", "/upload/new", {
    content: img.toString("base64"),
    description: "Tutorial demo — image upload"
  });
  console.log("CID:", imgResult.cid);
  console.log("URL:", imgResult.uris.url);
} catch {
  console.log("\n--- Skipping image upload (no photo.png found) ---");
}

// --- 3. Pin the JSON CID ---
console.log("\n--- Pin CID ---");
const pinResult = await request("POST", "/pin", {
  cid: jsonResult.cid,
  description: "Pinned from tutorial"
});
console.log("Pinned:", pinResult.cid);

// --- 4. Get file details ---
console.log("\n--- File Details ---");
const details = await request("GET", `/file/${jsonResult.cid}`);
console.log(JSON.stringify(details, null, 2));

// --- 5. List recent files ---
console.log("\n--- Recent Files ---");
const now = Date.now();
const oneHourAgo = now - 60 * 60 * 1000;
const files = await request("GET", `/upload/list?from=${oneHourAgo}&to=${now}`);
console.log(`Found ${files.length} file(s) in the last hour`);
for (const f of files) {
  console.log(` - ${f.cid}  ${f.description ?? ""}`);
}

// --- 6. Create a signed upload token ---
console.log("\n--- Signed Token ---");
const tokenResult = await request("POST", "/upload/signed-url", {
  name: "demo-token",
  expiresIn: 300
});
console.log("Token ID :", tokenResult.tokenId);
console.log("Expires  :", new Date(tokenResult.expiresAt).toISOString());

// --- 7. Upload using the signed token ---
console.log("\n--- Upload with Signed Token ---");
const signedRes = await fetch(`${API}/upload/new`, {
  method: "POST",
  headers: {
    "Content-Type": "application/json",
    "Authorization": `Signed ${tokenResult.token}`
  },
  body: JSON.stringify({
    content: { note: "Uploaded with a signed token" }
  })
});
const signedData = await signedRes.json();
console.log("CID:", signedData.cid);

console.log("\nDone.");
Thay thế bws_your_key_here bằng một khóa thực và chạy script. Mỗi bước in ra kết quả của nó để bạn có thể theo dõi.
11. Các bước tiếp theo#
Bây giờ bạn đã biết cách tải lên, pin, liệt kê, và truy xuất tệp qua IPFS Upload API và cách giữ an toàn cho tải lên trình duyệt với token đã ký. Để có cái nhìn rộng hơn bao gồm UI dashboard và ví dụ Python, xem Cách tải tệp lên IPFS. Đây là nơi để đi từ đây:
- Tham chiếu API — Tài liệu endpoint đầy đủ tại ipfs.ninja/docs.
- Gateway tùy chỉnh — Phục vụ nội dung IPFS từ tên miền của riêng bạn. Xem hướng dẫn thiết lập gateway.
- Phân tích — Theo dõi khối lượng tải lên, băng thông, và số lượng pin trong dashboard.
- HTTP client — Không cần SDK. Bạn có thể sử dụng
fetch()tiêu chuẩn hoặc bất kỳ HTTP client nào để tương tác với API.
Nếu bạn gặp vấn đề, mở một vé tại support.ipfs.ninja hoặc tham gia cộng đồng trên Discord.
Để tăng cường bảo mật, xem IPFS Upload Token.
Để có hướng dẫn đầy đủ về cấu trúc metadata NFT và các mẫu ERC-721 tokenURI, xem hướng dẫn lưu trữ metadata NFT của chúng tôi.

Về tác giả
Nacho Coll
Founder & Engineer at IPFS.NINJA
Nacho founded IPFS.NINJA to make content-addressed storage feel as simple as an S3 PUT — a single API call, a permanent CID, no wallets or peer discovery to reason about. Writes about IPFS internals, decentralized storage patterns, and the pinning-service landscape from the operator side of the wire.